You can create a beautiful Macrame owl wall hanging in just one weekend. This project uses simple knots and basic materials. With the right steps, even beginners can achieve a clean and professional result.
This guide walks you through everything. You will learn which materials to choose, how to form the owl shape, and how to finish and hang your piece. By the end, you can confidently design an owl that matches your home decor.
Key Takeaways:
- Choose the right materials. Cotton cord works best for soft texture, while jute adds a rustic feel.
- Learn a few basic knots. Lark’s head, square knots, and half hitches create the full owl shape.
- Follow a clear pattern. Build the eyes first, then shape the body and fringe.
- Customize the look. Change cord thickness, colors, and bead styles to match your decor.
- Finish carefully. Trim the fringe evenly and hang the owl using secure hardware.
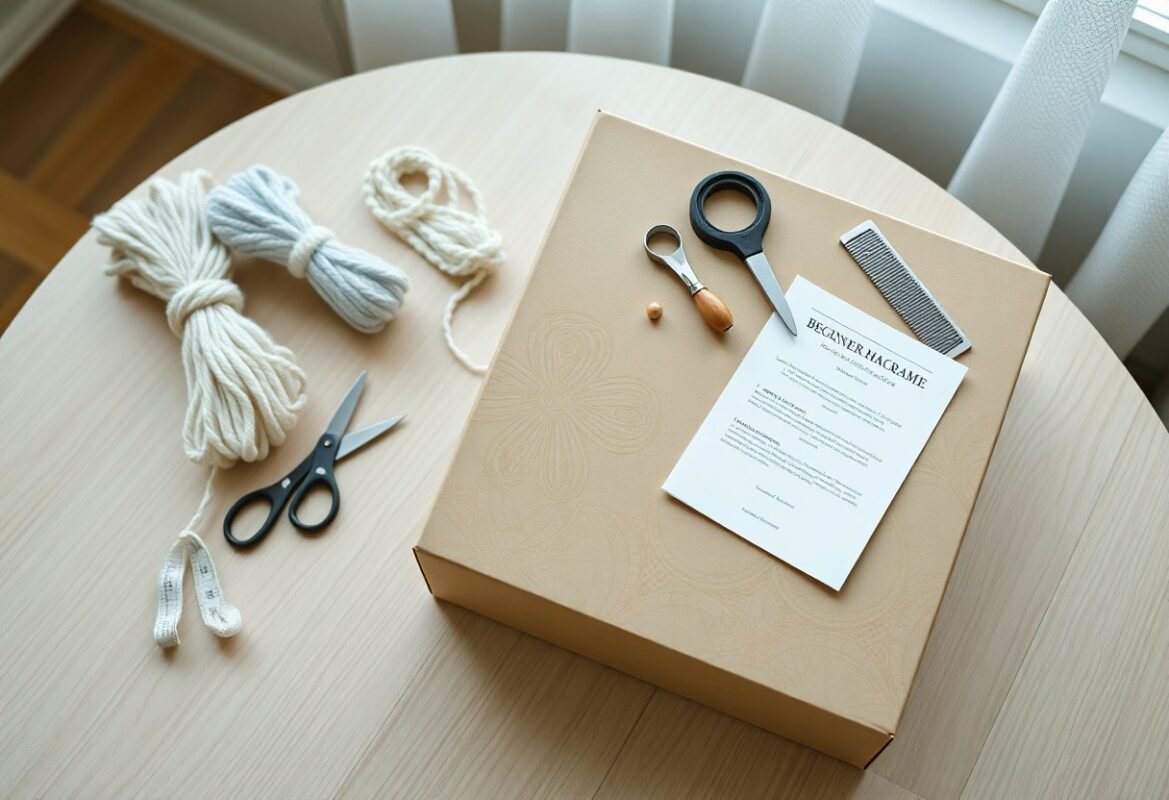
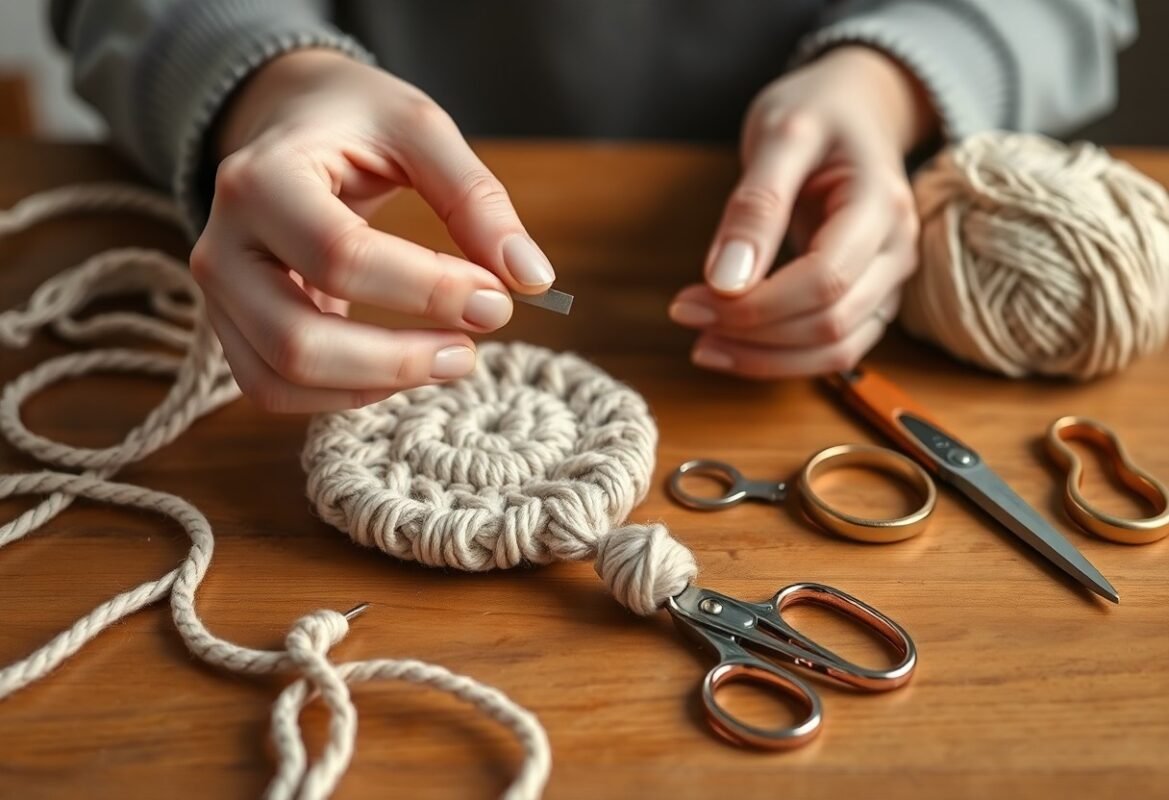
Materials Needed
Gather your supplies before starting. This saves time and keeps your work consistent.
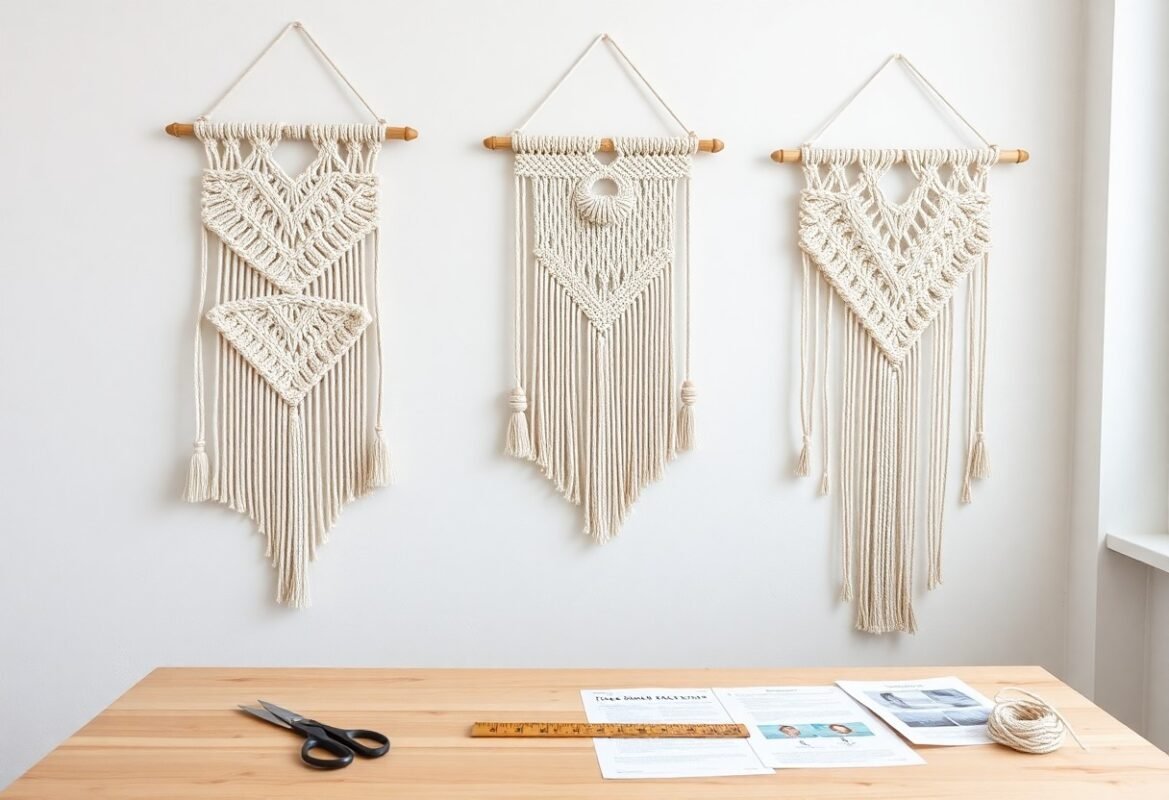
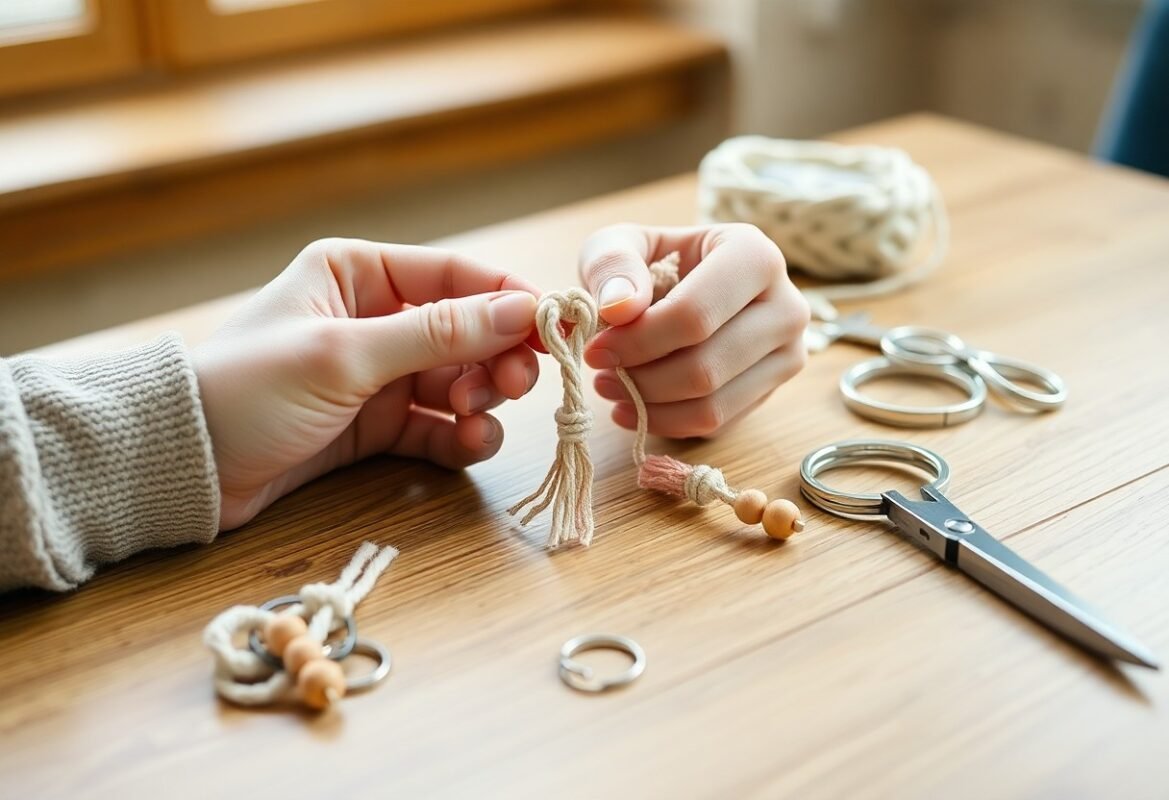
You will need a wooden dowel or natural branch between 30–60 cm long. Use 3–5 mm cotton cord for the body. Choose 2–3 mm cord for facial details. Jute cord (4–6 mm) adds contrast if you prefer a rustic style.
Other tools include sharp scissors, a measuring tape, masking tape, and a fine-toothed comb for fringe. A blunt crochet hook helps pull tight knots. Most owl designs need about 30–60 meters of cord, depending on size.
Essential Cord Types
For a balanced owl: use 3-4 mm twisted cotton for wings and body, 2-3 mm for eyes and beak detail, and 5-6 mm jute or chunky cotton to add contrast and weight; a 30-60 cm piece typically needs 30-60 m of cord in total, with finer cords conserved for accents and fringe.
| 3-4 mm Cotton (twisted) | Best for body and square knots; soft, holds texture well |
| 2-3 mm Cotton (braided) | Ideal for facial features and small macramé details |
| 5-6 mm Jute | Gives rustic look, good for contrast and heavier drape |
| 6-8 mm Chunky Cotton | Use sparingly for bold outlines or structural rows |
| Waxed Cord 1-2 mm | Excellent for secure binding and tiny decorative knots |
- Buy cords in 50-100 m cones to avoid color batch differences
- Pre-wash cotton to remove sizing; expect ~2-3% shrinkage
- Test knots on 30 cm scraps to see final thickness before cutting long lengths
Any leftover strands make great practice material or become tassels for smaller projects.
Recommended Tools
Good tools make a big difference in the final result.
Use fabric scissors for clean cuts. A metal ruler helps keep edges straight. Secure your work with pins, clips, or a clipboard. A steel comb works best for feathered fringe.
Keep fabric glue nearby for finishing ends. Working vertically on a hook or clamp helps maintain even tension. Dowels give clean lines, while branches create a more natural look.
Basic Macrame Techniques
This owl design uses a small set of knots. You will attach cords using lark’s head knots. The body is built with square knots. Wings and curves are shaped with double half-hitch lines.
Focus on even tension as you work. Pull knots firmly, but not too tight. Comb the fringe gently as you go. Use thicker cord for the body and thinner cord for details.
Knots to Know
You will use these knots throughout the project:
- Lark’s head for attaching cords
- Square knots for the body texture
- Half hitch knots for feather effects
- Double half hitch for wing curves
- Gathering knots to secure the top
Practice each knot on short cord pieces. This helps you control spacing and tension before starting the full owl.
Creating Patterns
Planning your pattern makes the process easier. Use repeating rows of square knots for rhythm. Add diagonal knot lines to suggest feathers. Keep spacing even for symmetry. Sketch a simple grid if needed. A basic pattern uses 14 cords. Start with centered knots and work outward. Test your design on a small sample before committing to full length.
Owl Design Concepts
You should balance scale, texture and knot variety to make an owl read clearly from a distance: typical wall hangings run 30-60 cm (12-24″) tall and 20-40 cm (8-16″) wide, with 3-6 mm cord for softness or crisp lines. Use symmetry for a classic look or offset elements for drama, pair square knots and double half hitch rows for layered feathers, and pick a dowel or branch 1.2-1.5× the owl’s shoulder width for proper proportion.
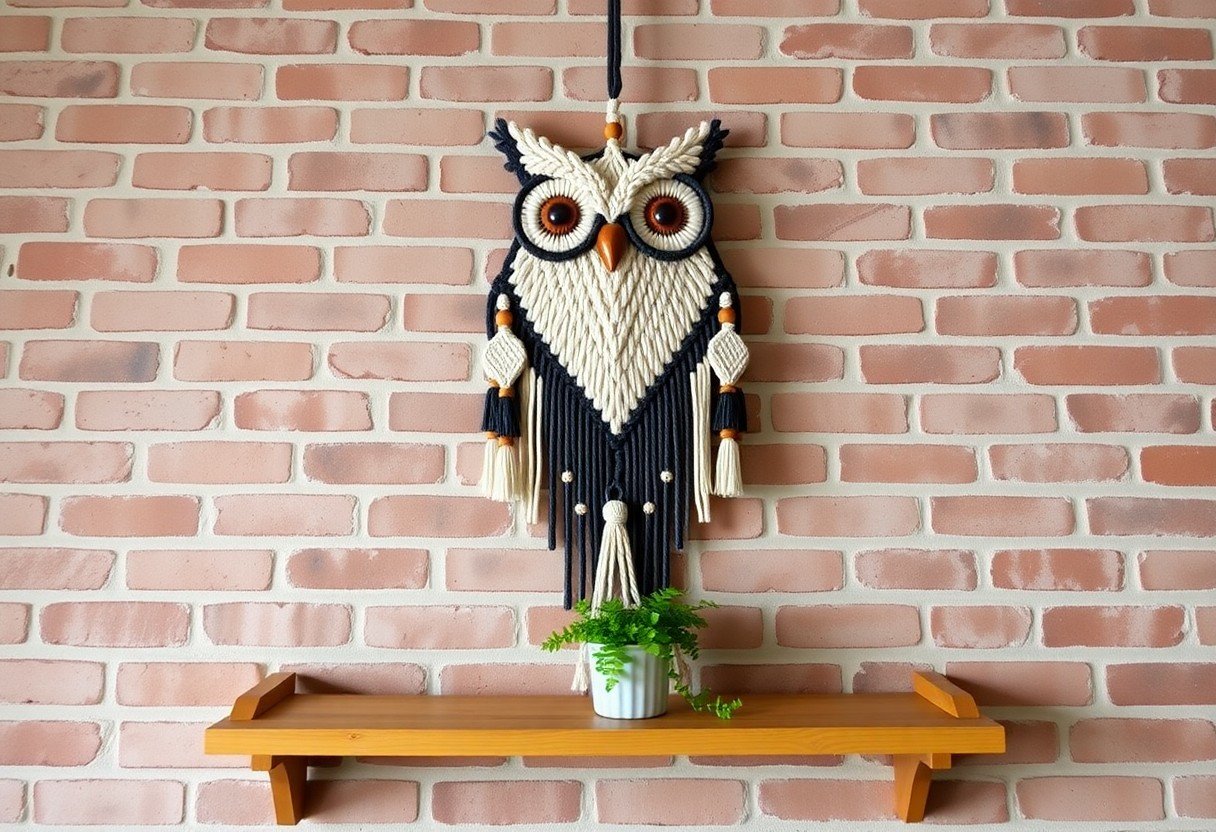
Traditional Owl Patterns
Traditional designs use round eyes and layered feathers. Wooden beads often form the eyes. Natural cotton or jute keeps the look earthy and soft. Most classic owls include five to seven feather rows. Symmetry is key in these designs.
Modern Interpretations
Modern owls use clean lines and simple colors. Some designs replace beads with metal rings. Others use negative space or asymmetry. Try braided cotton for sharp angles. Use ombre dye on the top rows. Offset the branch slightly for visual interest.
For practical techniques, try 4-6 mm braided cotton to preserve sharp angles when using diagonal clove hitch for slanted feathers and alternating square knots for the body texture. Experiment with ombre dye on 3-4 top feather rows, mount on reclaimed wood. Or a thin branch offset by 5-10 cm to create intentional asymmetry. And then test 25-30 mm brass rings as eye frames to achieve a contemporary focal point.
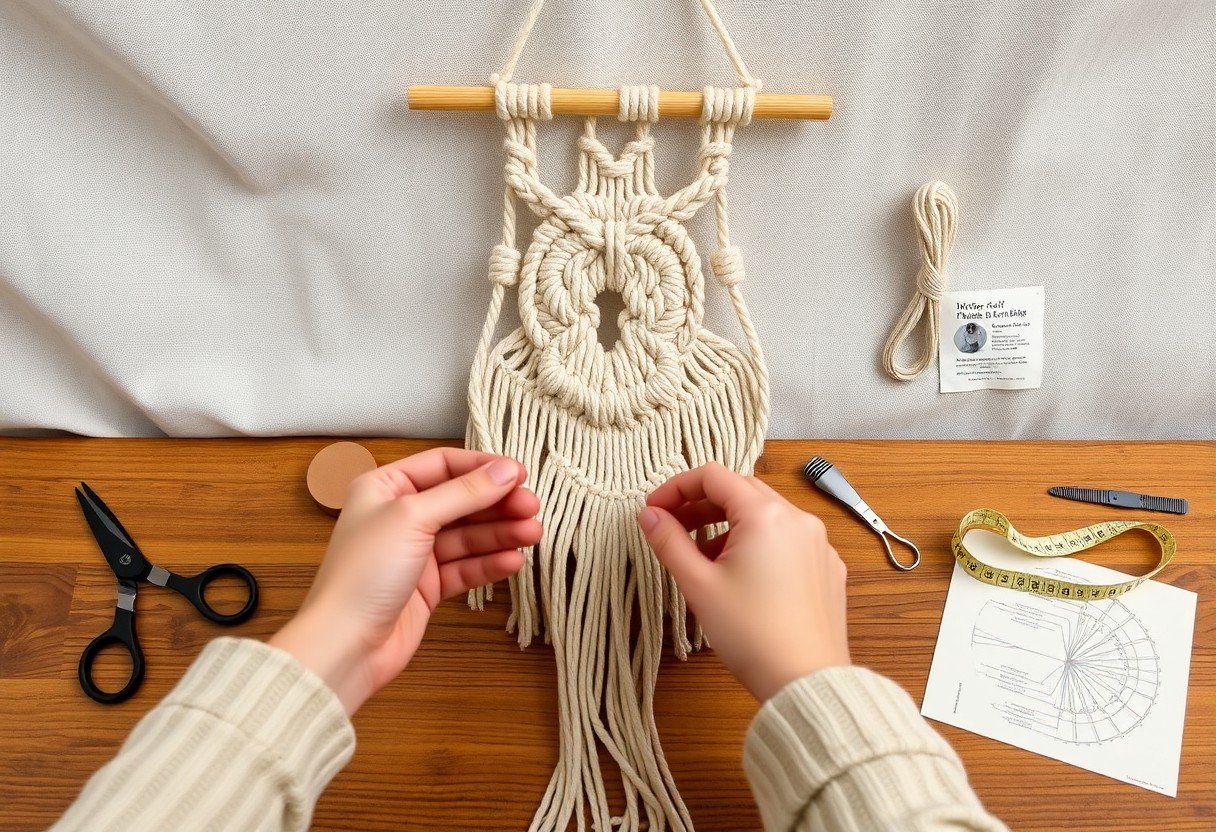
Step-by-Step Guide to Creating the Owl
Progress through the project in clear stages: prepare a 60×60 cm workspace, cut eight 4 m cords of 3-4 mm cotton, then follow the knot sequences and add features like beads and fringe; for a visual reference and inspiration see My macrame owl wall hanging !.
Quick breakdown
| Step | What you do (time / specifics) |
| Preparing | Set a 60×60 cm workstation, clamp a 30 cm dowel, lay out 8 cords (4 m each); ~15-20 min. |
| Knotting body | Attach with lark’s head, tie 12 square knots per row, build ~18-22 rows for a 40-50 cm body; ~2-3 hrs. |
| Adding details | Insert 8 mm beads for eyes, felt/bead beak, shape wings with diagonal clove hitches; ~1-2 hrs. |
| Finishing | Trim fringe to 6-8 cm, comb and block; hang and adjust spacing. |
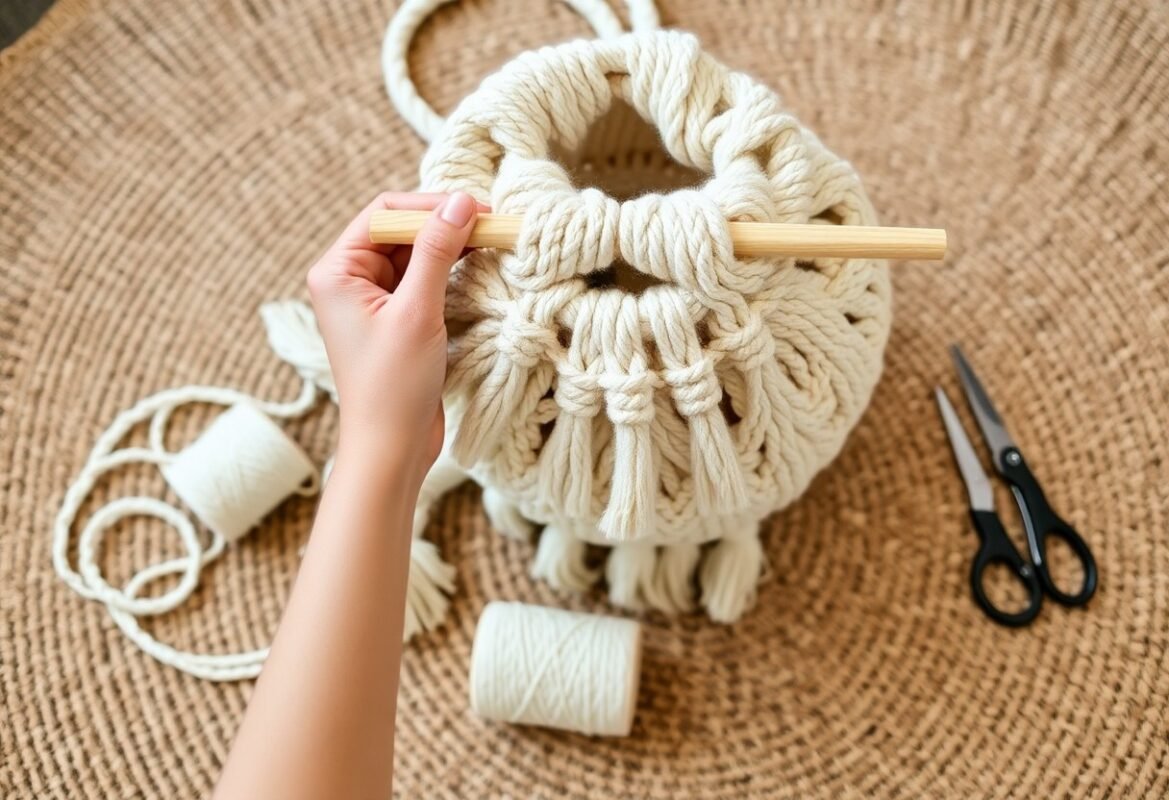
Preparing the Workspace
You should clear a 60×60 cm area with good daylight or a 5,000 K lamp, fix a 30 cm wooden dowel at chest height, place a measuring tape, scissors, needle, comb and masking tape nearby, and pre-cut eight cords at 4 m each (3-4 mm thickness) so you avoid interruptions during knotting.
Knotting the Body
Start by folding each cord in half and securing them to the dowel with lark’s head knots, then create alternating rows of square knots-aim for 12 knots per row and about 18-22 rows to form a 40-50 cm torso; keep tension even to maintain flat panels and consistent pattern width.
For more precision, number the cords 1-16 and work in modules of four (two pairs per square knot). If you want a tapered silhouette, decrease by one knot every 3-4 rows; conversely, add extra square-knot rows where you want more fullness. Use a removable marker or clips at 10 cm intervals to check progress, and test tension on a 10 cm sample before committing to the full body.
Adding Details
You can create eyes with 8 mm wooden beads threaded onto central cords and secure with half-hitches, cut a 2-3 cm felt triangle for the beak or use a small carved wood piece, and form wings using diagonal clove-hitch rows-aim for 6-8 cm fringe length around the base for balance.
When shaping wings, work each side symmetrically: count 10-12 clove-hitch knots per wing and mirror rows exactly to keep proportions. For textured feathers, add 2-3 rows of alternating half knots or incorporate 1-2 contrasting-color cords (e.g., natural + charcoal) to create visible stripes. Finish beads and felt with a dab of fabric glue to prevent slipping, then comb fringe and trim with a ruler for a straight, even edge.
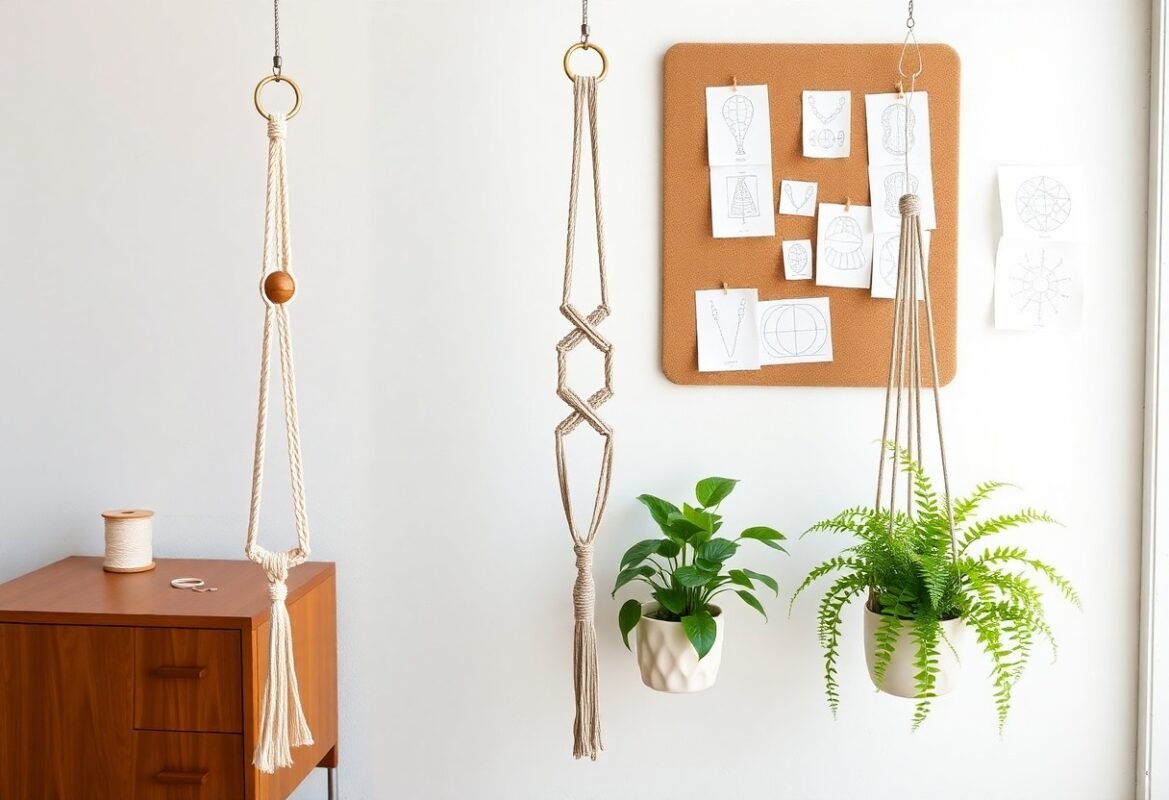
Customization Ideas
To make the owl uniquely yours, swap cord types (cotton for softness, jute for rustic texture), add wooden beads or brass rings to the eyes, or dye sections with fiber-reactive dyes for ombré effects. You can also follow a ready set for guidance-Macrame DIY Owl Hanging Kit with Step by Step Guide-then tweak cord thickness (3-4 mm vs 5-6 mm) and fringe length for a different silhouette.
Color Choices
Choose 2-3 tones to keep the owl readable from 30-60 cm: neutral base (cream, taupe) plus one accent (mustard, teal) for eyes or chest. You can test small 10×10 cm swatches before dyeing; jewel tones work well for modern interiors, while muted greens and browns suit rustic or boho styles. Contrast at the face increases visual clarity.
Size Variations
If you scale up, increase cord lengths by 1.5-2× and use a sturdier dowel: small owls (30 cm) need eight 4 m cords, medium (45 cm) use 6 m cords, large (60-90 cm) require 8-10 m. Adjust knot density-tighter knots give more detail on small pieces, wider spacing reads better on large walls.
For larger pieces plan for a thicker support (20-30 mm dowel) and heavier cord (5-6 mm) to avoid sagging; split sections into panels if your workspace is under 1.2 m. Also scale fringe proportionally-set fringe length to roughly 1.2× the owl body height for balanced movement and visual weight on walls above couches or beds.
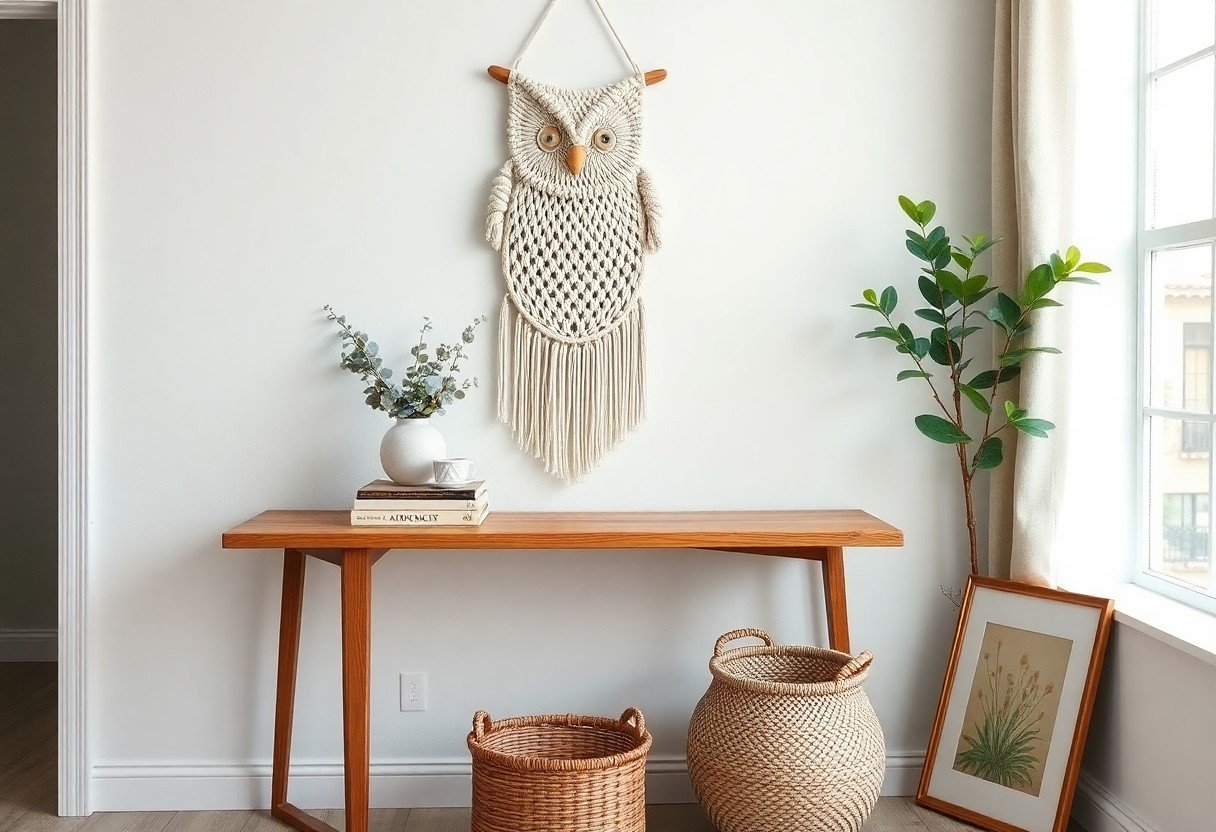
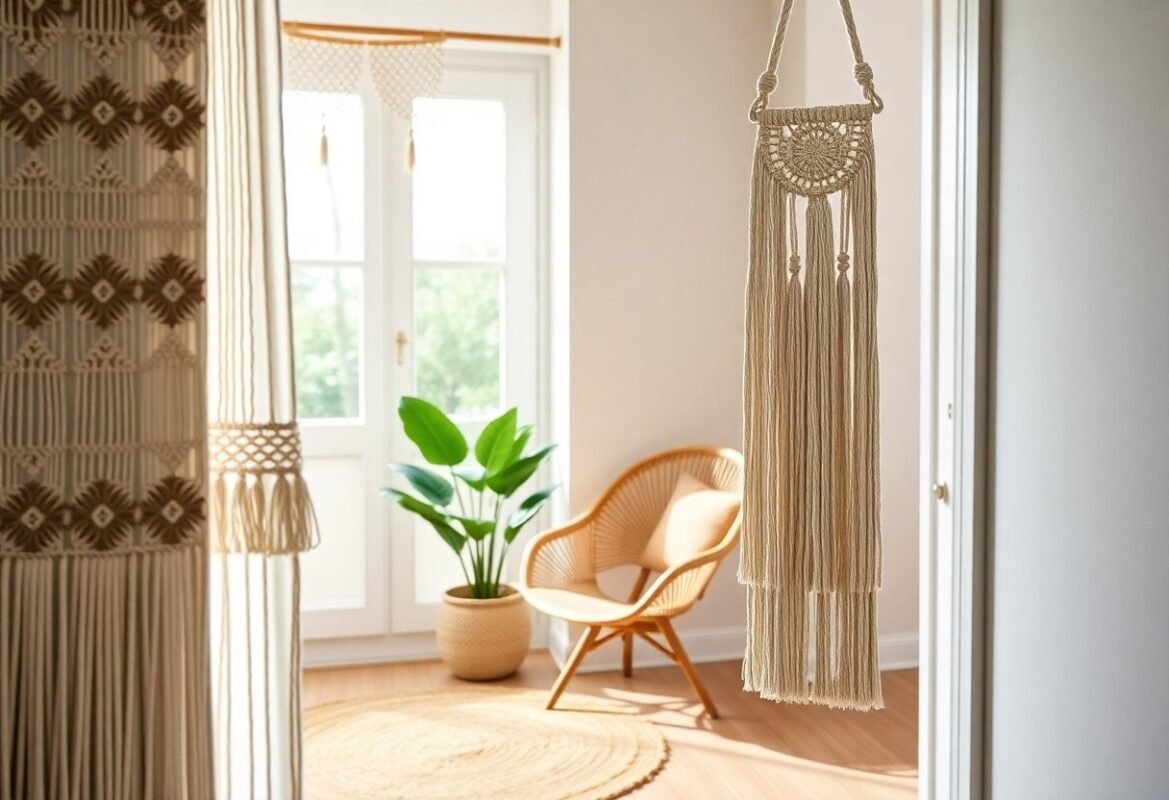
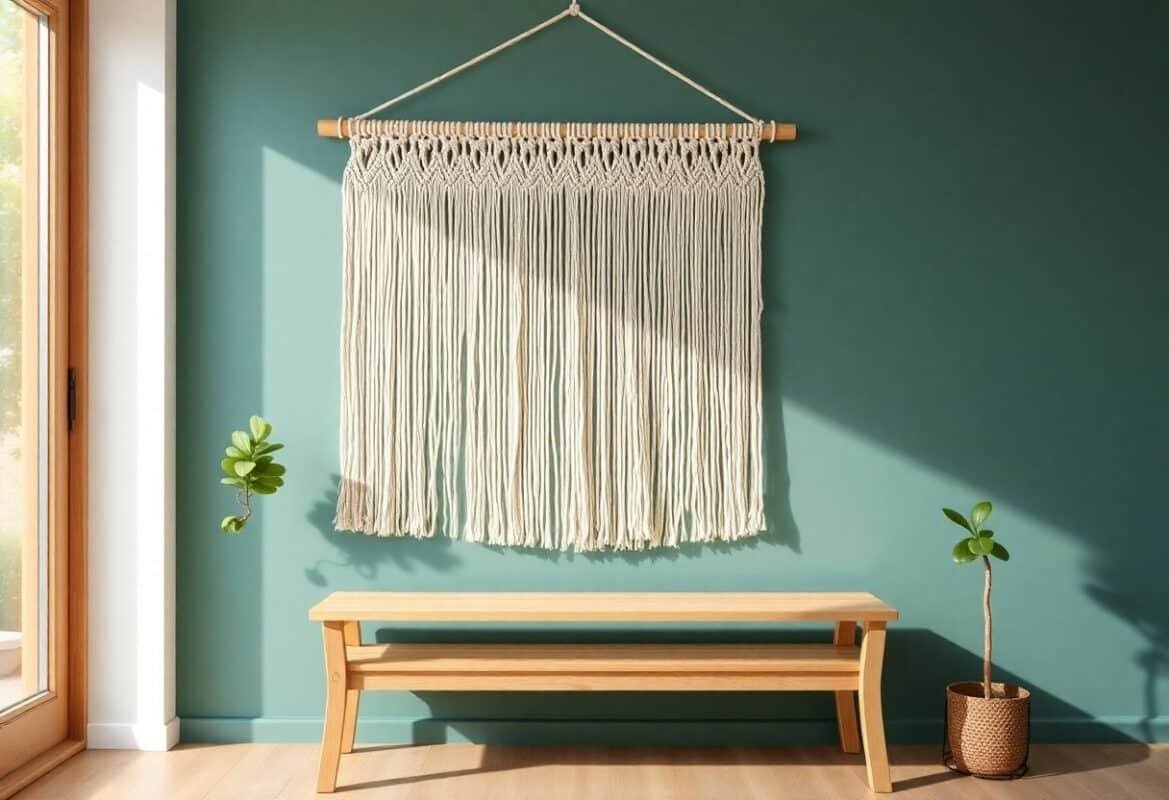
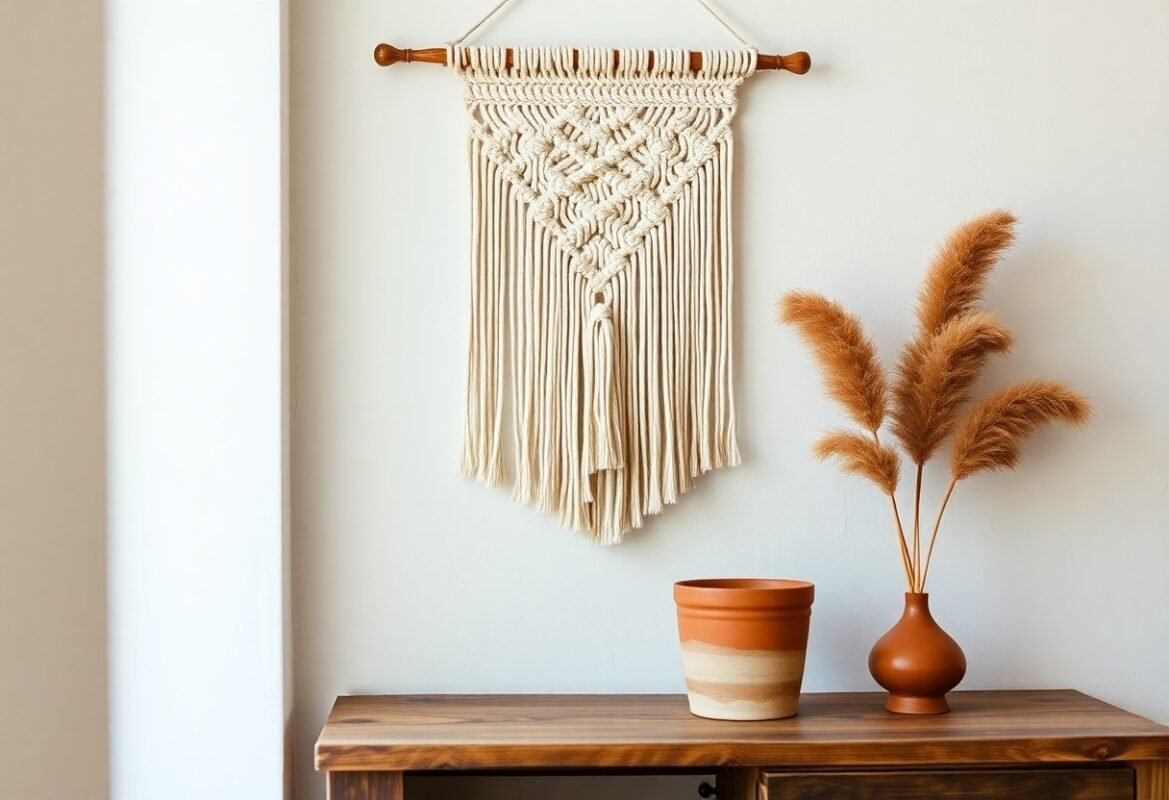
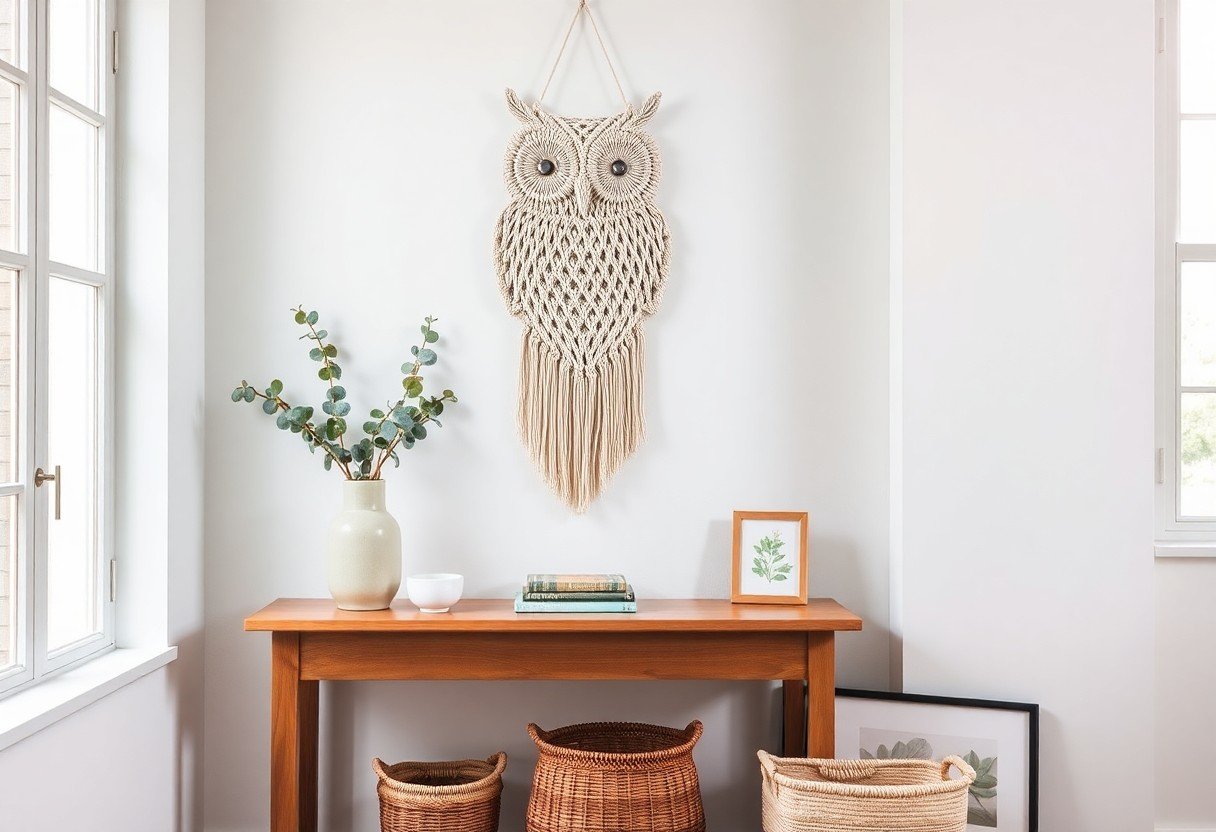
Tips for Displaying Your Owl
Place your owl where its texture can be seen-over a sofa, nursery wall, or entryway; allow a 1-1.2 m horizontal clear area for proper scale and consult galleries like 830 MACRAME OWLS ideas for layout inspiration. You should mount most pieces at eye level (150-160 cm from floor to top) or lower for cozy nooks. Perceiving how natural light, shadows and sightlines interact will guide final placement.
- Scale: leave 20-30 cm clearance above furniture to avoid crowding.
- Lighting: use soft, indirect light or a directional spotlight (3-5 W LED) for texture.
- Grouping: arrange in odd numbers (3 or 5) with 15-25 cm spacing for balance.
Hanging Techniques
Match anchors to your wall: toggle bolts for drywall rated to 10 kg, 5×50 mm wood screws into studs for heavier pieces, and masonry plugs for brick. Use two hanging points for widths over 40 cm, spaced about 30-50% of the piece width to prevent tilting; aim for top-of-piece height at 150-160 cm except when over sofas or beds, where 20-30 cm above the furniture works better.
Complementary Décor
Pair your owl with natural materials-wood frames, woven baskets, and potted plants-to reinforce texture; stick to a 2-3 color palette and mix matte and glossy finishes. You can use a 40×60 cm macramé owl as a focal point flanked by a 50-80 cm mirror or two smaller prints spaced 15-25 cm apart to create a cohesive vignette.
For style specifics, choose warm tones and layered textiles for boho rooms, or keep neutrals, pale woods and single-color macramé for Scandinavian looks; scale matters-ensure the combined display width is roughly 1.5-2 times the width of nearby furniture so your arrangement reads intentional and balanced.
To wrap up
Summing up, your macramé owl wall hanging project is an accessible way to add handmade charm and texture to any room; by following reliable knotting techniques, selecting appropriate cord and scale for your space, and experimenting with beads, fringe, or color you build skills and create distinctive pieces to display or gift. With practice you’ll perfect tension and symmetry to achieve polished results and confidently adapt patterns to suit changing décor.
FAQ
Q: What materials and tools do I need to make a macramé owl wall hanging?
A: Basic supplies include cotton macramé cord (3-6 mm common; thinner for fine detail, thicker for chunky texture), a wooden dowel or natural branch (length 12-36 in depending on size), sharp scissors, a tape measure, a comb or brush for fringe, and a small lighter or fray-preventing fabric glue for synthetic blends. Optional items: wooden or glass beads for eyes, a metal or wooden ring for eye frames, leather scraps for a beak, pins or clips for layout, and a ruler or marker to mark cord spacing.
Q: Which knots and techniques create the owl shape and facial features?
A: Core knots are Lark’s Head (to attach cords to the dowel), Square Knots (body texture), Spiral/Half Knot Twist (accent columns), and Double Half Hitch or Diagonal Clove Hitch (to form wing/feather shapes and angled lines). Create eyes by wrapping cords around a ring or forming tight square-knot circles, add beads or layered loops for pupils, and use gathering knots or wrapped cords for the top of the head. Trim and comb grouped cords into layered fringe to simulate feathers; layering shorter cords on top of longer ones builds dimension.
Q: How do I calculate cord lengths and scale the project for various wall sizes?
A: A common rule is to cut cords 4-6 times the intended finished length for simple patterns; for dense or highly knotted designs increase to 6-8 times. Example: for a 12″ finished hanging, start with 48-72″ cords for straightforward knots and 72-96″ for intricate work. Dowel length determines overall width-choose 12-18″ for small, 18-30″ medium, 30-36″+ for statement pieces. To scale up keep knot spacing proportional and add more cord pairs across the dowel to maintain density.
Q: What is the estimated time and what skill level is required to make an owl wall hanging?
A: Time varies: a simple beginner owl (basic face and fringe) can take 2-5 hours; an intermediate piece with layered wings and detailed eyes 6-12 hours; an advanced, densely knotted or large statement piece may take multiple days. Beginners should learn Lark’s Head, Square Knot and Double Half Hitch first; intermediate makers can add spiral knots, diagonal hitching and assembly of layered elements.
Q: How can I customize colors, textures, and embellishments for different styles?
A: Use natural cotton for a boho look, chunky wool or chunky cotton rope for rustic/cozy texture, and jute or hemp for earthy tones. Dye untreated cotton cord with fiber-reactive dyes or fabric dye for custom colorways; blend cord types and thicknesses in the same piece for contrast. Add wooden beads, metal rings, leather beaks, or small tassels for accents. For modern minimalism use monochrome cords and clean-cut fringe; for whimsical designs incorporate bright colors and patterned yarn.
Q: What are the best finishing and care practices to keep the wall hanging looking good?
A: Finish by trimming fringe to the desired shape and lightly combing for a soft feather effect. Secure loose ends with small knots or fabric glue if needed, and block the piece by pinning it to shape on a flat surface while slightly damp. For cleaning, spot-clean with a mild detergent; hand-wash gently in cool water if necessary and reshape while damp. Avoid prolonged direct sunlight to prevent fading and store flat or hung to keep the shape intact.
Q: What common problems occur and how do I troubleshoot them?
A: Uneven tension shows as lopsided patterns-undo affected knots and retie with consistent tension, using pins to hold placement while you work. Frayed cord ends can be sealed on synthetics with heat or fixed with a small dab of clear glue on natural fibers. Twisted cords can be separated by untwisting the section and smoothing before continuing. If the owl looks too sparse, add extra cord pairs and layer shorter fringe pieces; if too bulky, thin the cord or reduce knot density. For misplaced eyes or asymmetry, remove and re-tie the eye elements, using a temporary marker on the dowel for consistent spacing.