With a few feet of cord, basic knots, and a small pot, you can create a sturdy, stylish macrame plant hanger in about five minutes; this guide provides concise step-by-step instructions, recommended materials, and practical tips so you can confidently tailor size and style to your plant and space.
Key Takeaways:
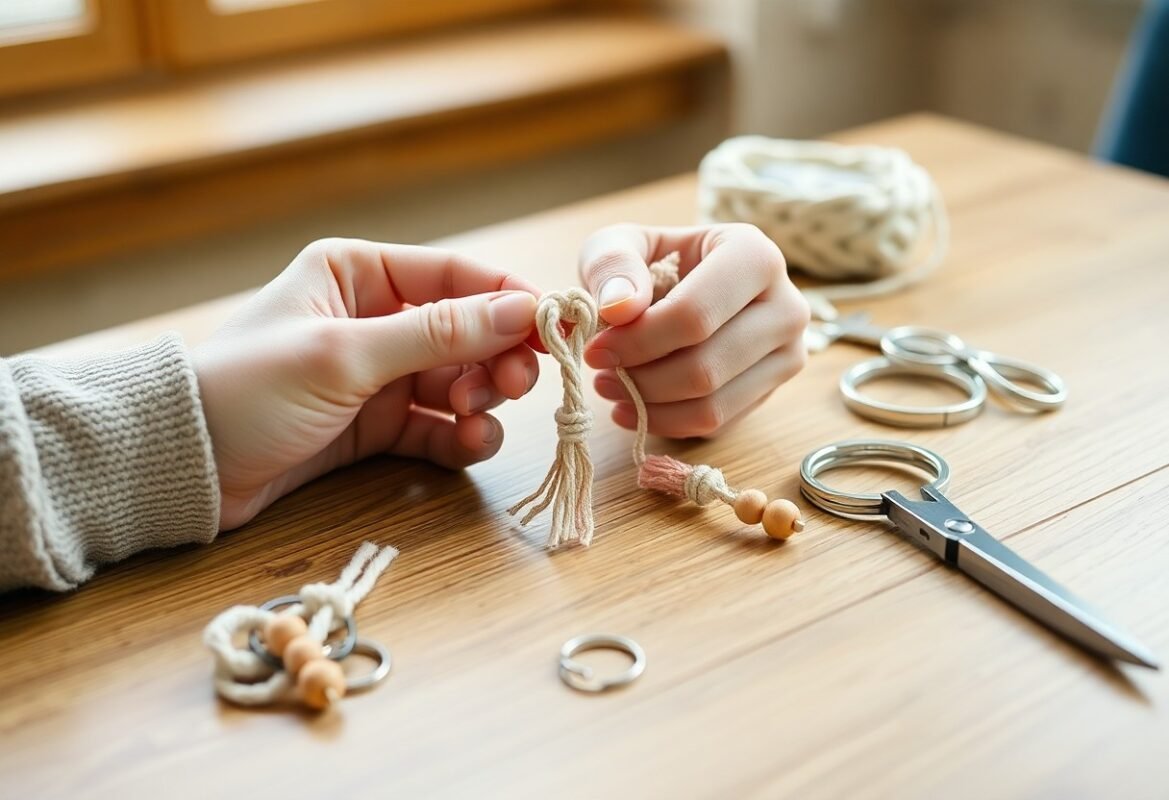
- Use simple supplies: cotton or jute cord, a metal or wooden ring (or dowel), scissors, and a pot-no special tools required.
- Fast and beginner-friendly: project takes about five minutes once cords are pre-cut; only basic knots needed (lark’s head, square knot, or half knot).
- Simple assembly: attach cords to ring, form knot patterns around the pot, then gather and tie a secure bottom knot to support the plant.
- Best for small to medium lightweight pots and trailing or small foliage plants; line the pot or use a saucer to protect the hanger from water.
- Easy to customize: change cord thickness, knot spacing, length, or add beads for a different look; always test the hanger’s support before leaving it suspended.
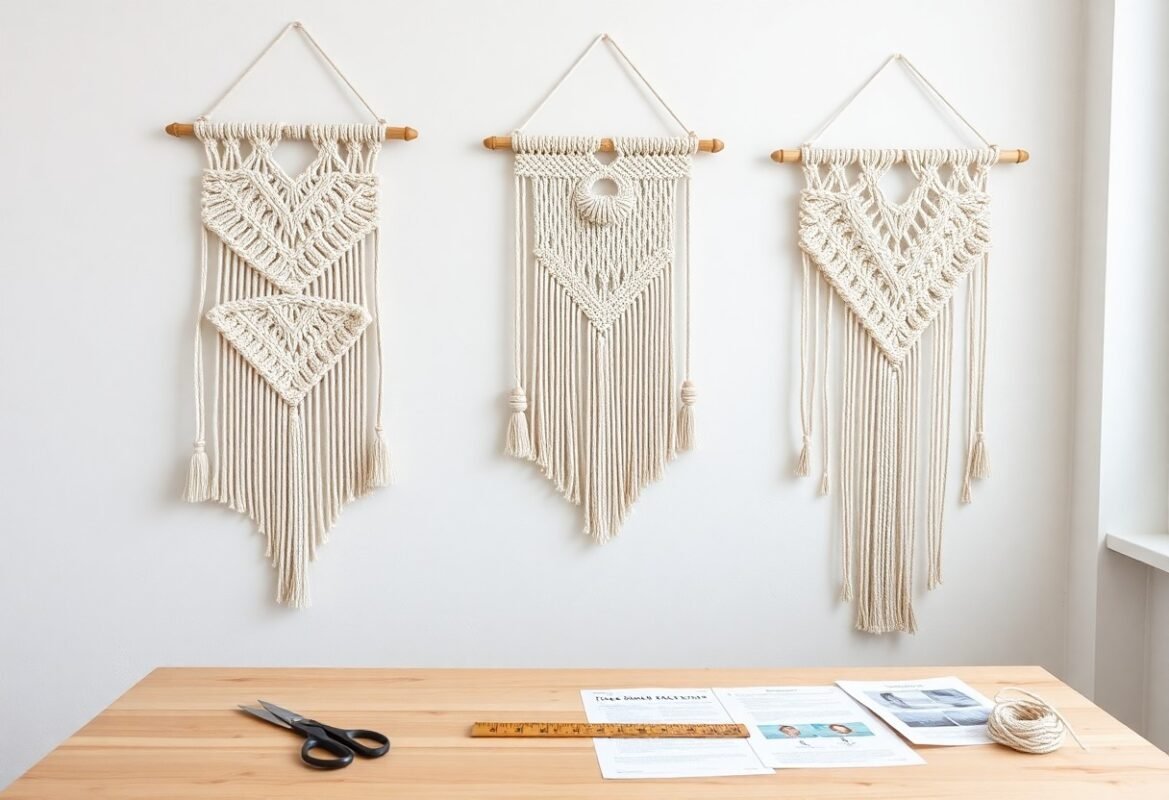
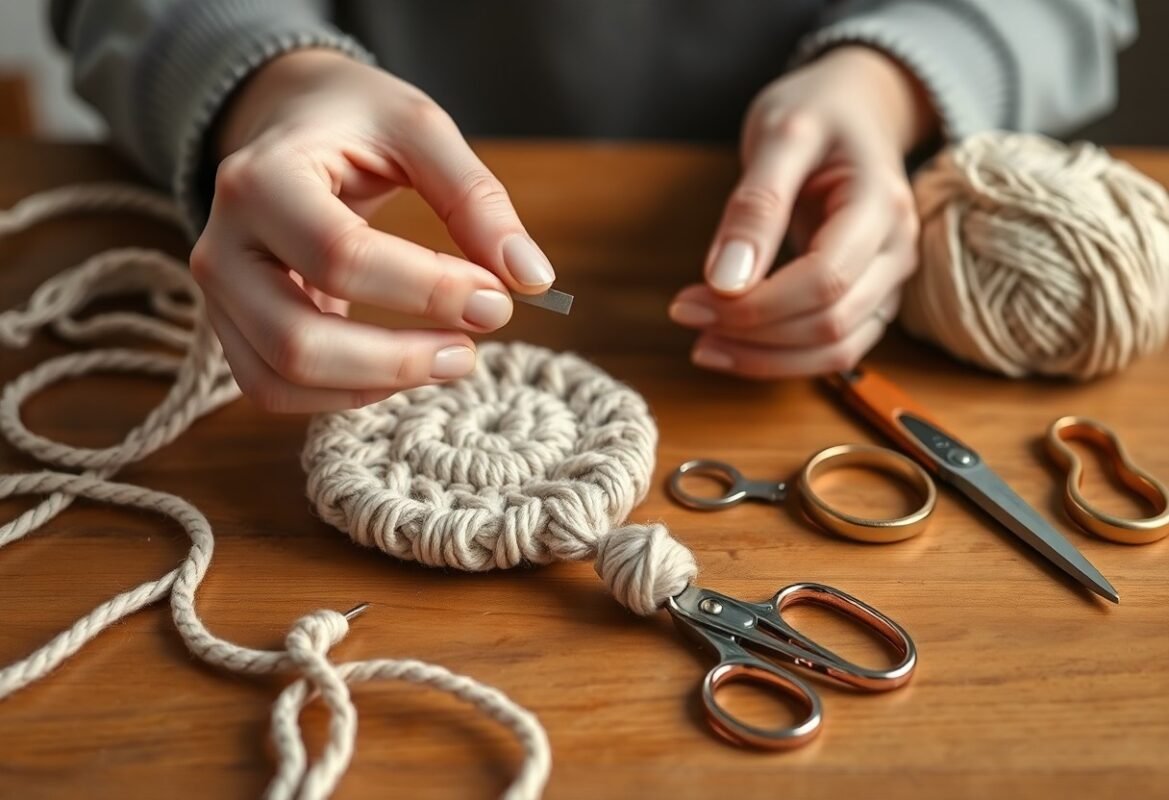
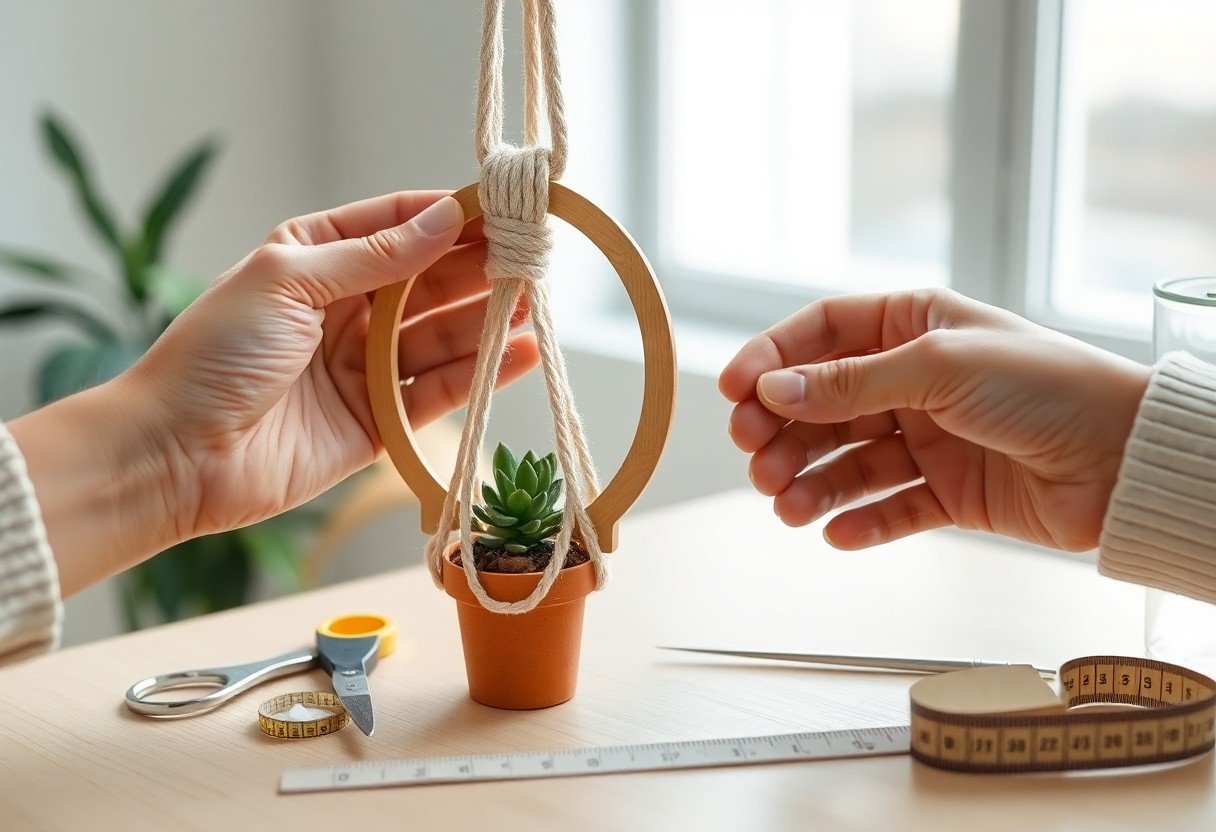
Materials Needed
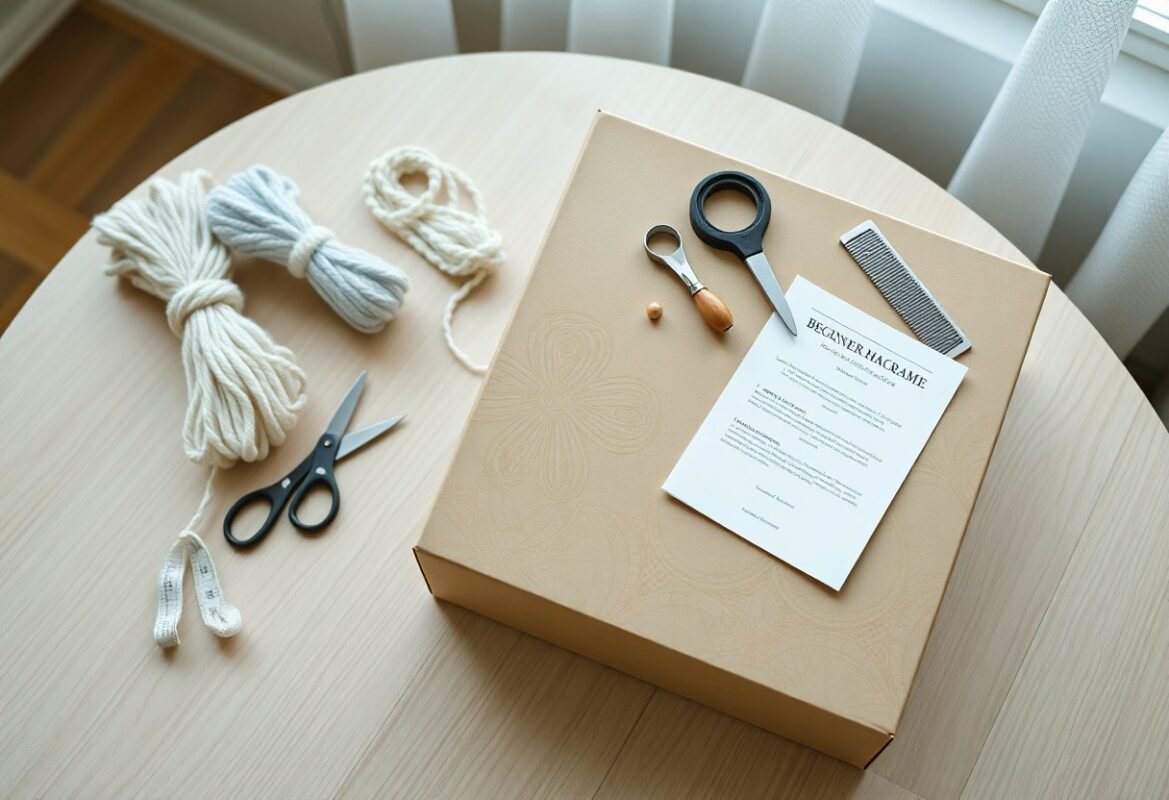
Gather basic, affordable gear: 3-5 mm cotton or jute cord (about 8-12 ft / 2.5-3.5 m per small hanger), a metal or wooden ring 2-3″ (5-8 cm) across or a 12″ (30 cm) dowel, sharp scissors, and a pot that fits 3-6″ (7.5-15 cm) diameter. You’ll also want a tape measure and a flat surface to work on; these let you cut accurate lengths and finish the hanger in under five minutes.
Essential Supplies
For a quick build, use three to four cords of 8-12 ft each (cotton holds knots best), a 2-3″ ring, and a pot 4″-6″ wide for balanced proportions. Include scissors, a measuring tape, and optional masking tape to keep cords tidy while knotting. If you choose synthetic cord, have a lighter handy to fuse ends; for natural fibers, a dab of fabric glue will secure frays.
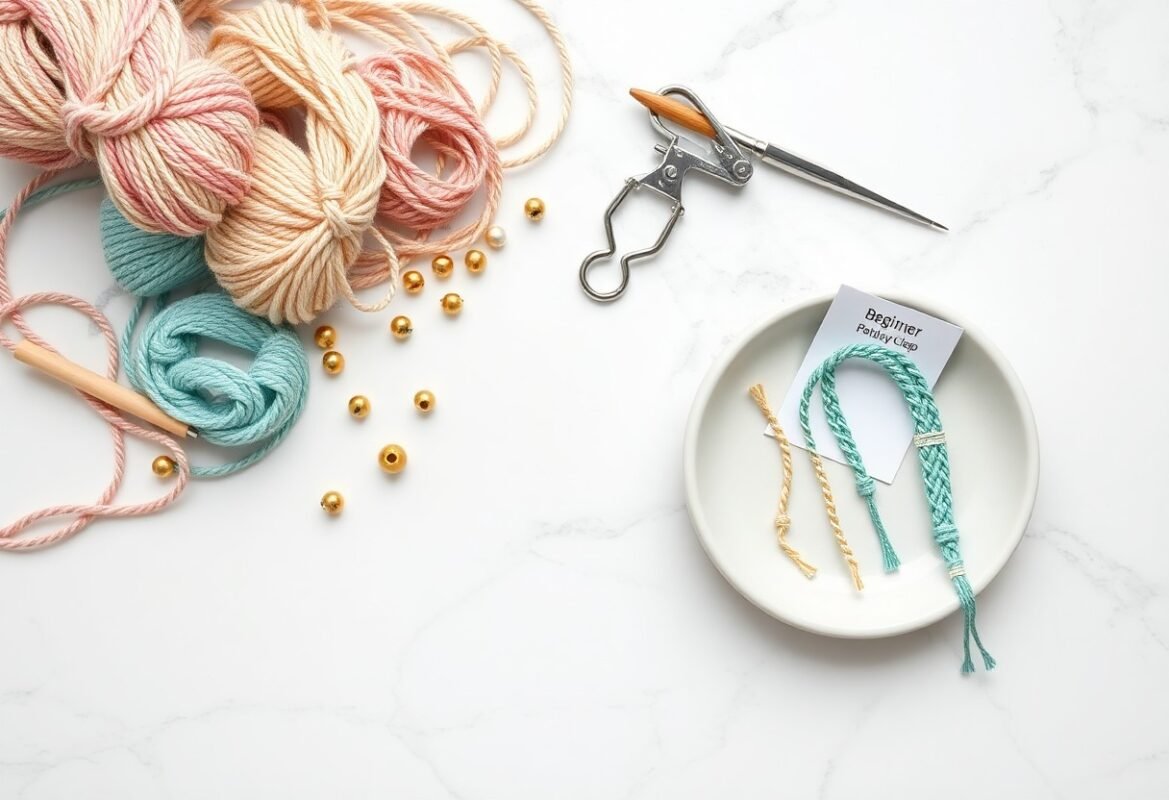
Optional Decorative Items
To personalize, pick wooden beads (8-12 mm), metal or glass beads, leather wraps, small tassels, dye for colored cord, or a painted dowel. Brass or copper rings add shine outdoors, while natural wood beads keep a boho look. Pre-thread larger beads before knotting and mix sizes for visual interest.
Bead placement and quantity matter: plan 6-10 small beads spaced every 1-2″ along a 12″ hanger or use three larger focal beads at the center knots. Use drill-hole sizes that match cord thickness (3-5 mm holes for 8-12 mm beads). Secure slippery beads with a tiny drop of clear glue and comb fringe for a finished, salon-style look.
Step-by-Step Instructions
Proceed through the concise table below to build your hanger fast, then check the full guide at 5 Minute Macrame Plant Hanger DIY Tutorial for photos and timing tips-most small hangers take 5-10 minutes once you practice. Use 8-12 ft (2.5-3.5 m) of 3-5 mm cord per hanger and four working strands for a compact pot.
| Quick Steps | |
| Step 1 | Measure and cut four cords, 8-12 ft each; fold in half to make 8 strands. |
| Step 2 | Attach cords to ring using lark’s head knots; space evenly around ring. |
| Step 3 | Tie 2-3 rows of square knots, spacing 1-1.5″ (2.5-4 cm) for support. |
| Step 4 | Bring groups together below pot level and finish with a gathering knot 2-3″ below the last row. |
| Step 5 | Trim ends to desired length (2-6″) and lightly comb or tuck fibers for a neat finish. |
Preparing the Cord
You’ll cut four 8-12 ft (2.5-3.5 m) lengths for a small hanger, then fold each in half so you have eight working strands; secure ends with a bit of tape if the cord frays. Lay the folded cords side by side, align the loops for lark’s head attachment, and weigh the ring plus a small pot (about 1-2 lb / 0.5-1 kg) to test balance before knotting.
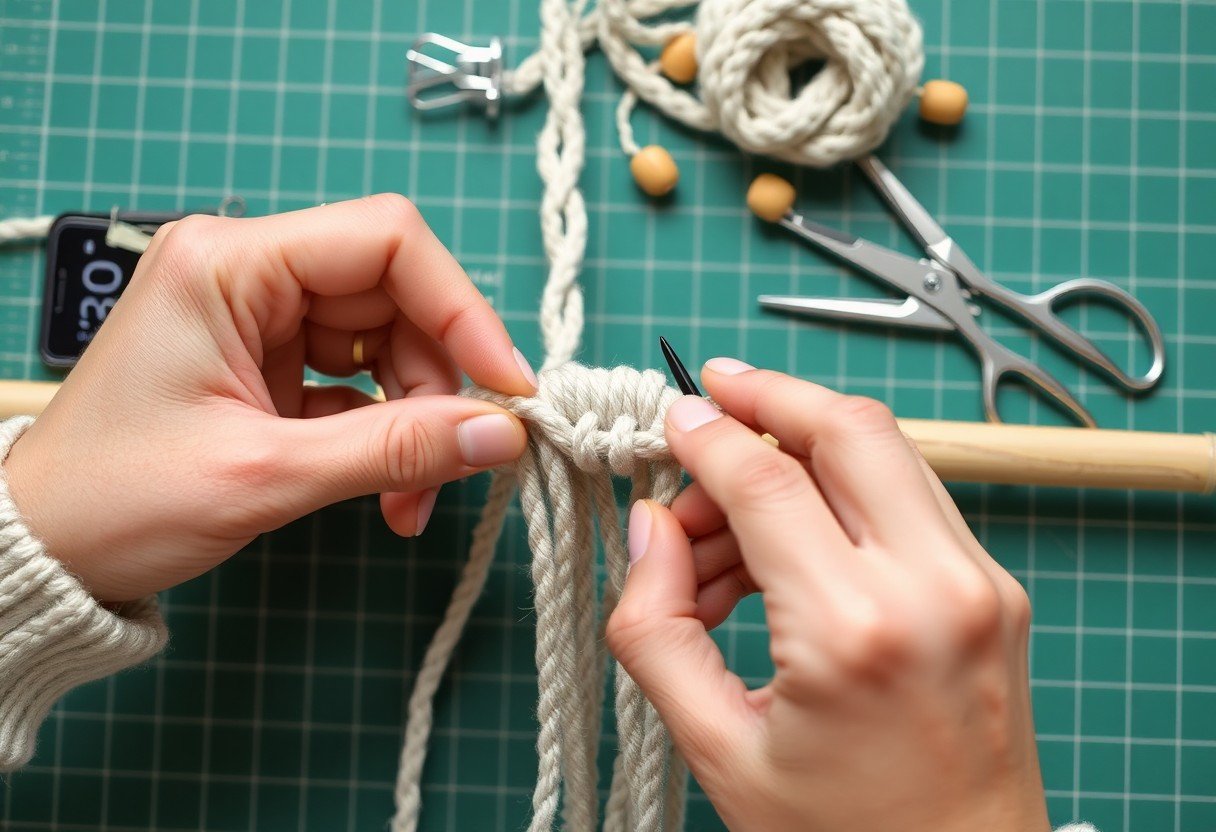
Basic Knots and Techniques
You should master the lark’s head, square knot, and gathering knot-these three form the backbone of most quick hangers. Practice one set of 4 square knots per group, spacing them 1-1.5″ apart; use half-hitches to tidy edges. With 8 strands you’ll create stable cages that support small pots up to ~6″ diameter.
For more depth: the square knot uses four strands (two working, two filler), and you’ll repeat it in rows of 2-4 knots per quadrant-this gives even load distribution. The gathering knot is a 20-30 wrap technique around all cords secured with a row of tight half-hitches; it concentrates load at the base and keeps your plant level. Practice on scrap cord to hit consistent tension: aim for about 1/4″ knot compression on cotton cord for crisp spacing.
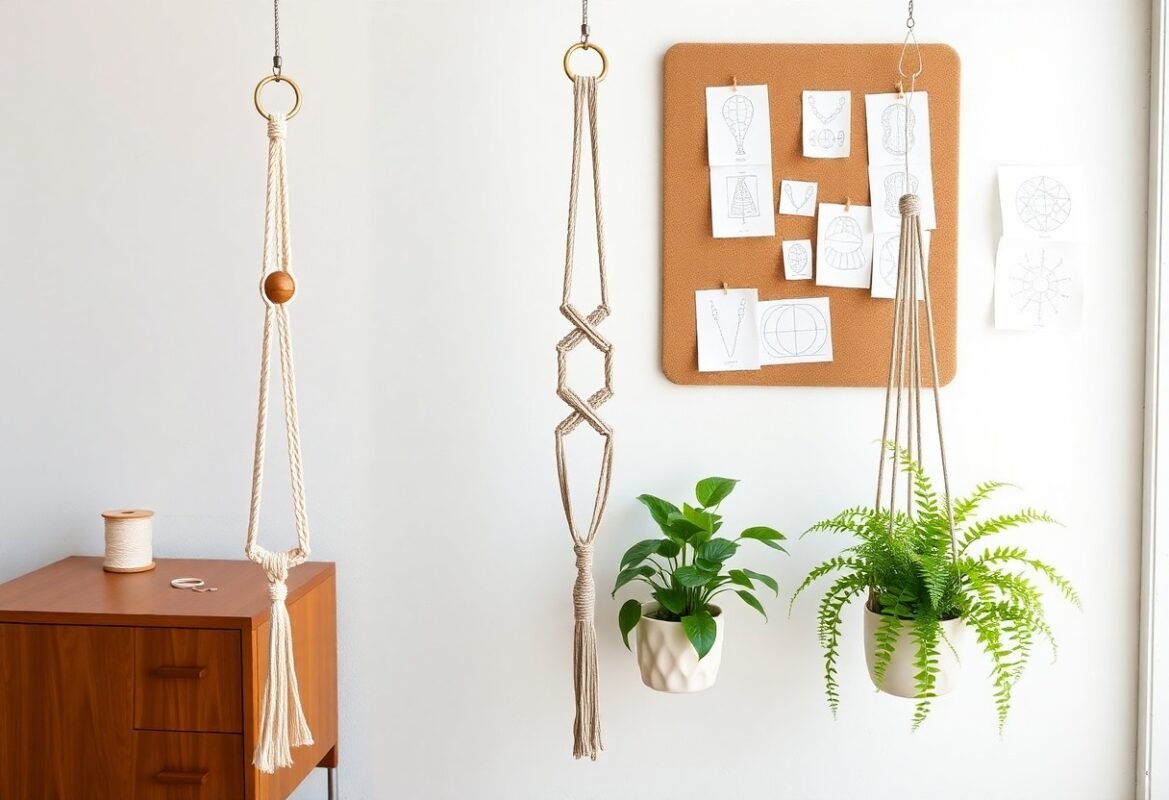
Assembly of the Hanger
Start assembling by cutting four 2.5 m cords (or eight for a thicker hanger) and attaching them to your ring or dowel using the method shown in the Five Minute DIY Macrame Plant Hanger guide; this timed example helps you match cord length to pot size and set knot spacing as you work.
Creating the Loop
Fold your four cords in half over the ring to make eight working strands, then form Lark’s head knots so the loop measures about 10-15 cm from the ring; this drop determines overall height, so choose 20-25 cm if you want a lower-hanging look or keep it shorter for small pots.
Forming the Hanger Structure
Group the eight strands into four pairs and tie three square knots in each pair, spacing knots 3-4 cm apart; for a 12 cm pot repeat the knot sequence twice, while 15-20 cm pots typically need three repeats to create a snug, supportive cage.
For added strength, finish with an overhand knot beneath the final row and a gathering knot 5 cm above the pot rim; alternating left- and right-facing square knots improves load distribution, and you should test the finished hanger with the planted pot to tighten any slack knots until the plant sits centered.
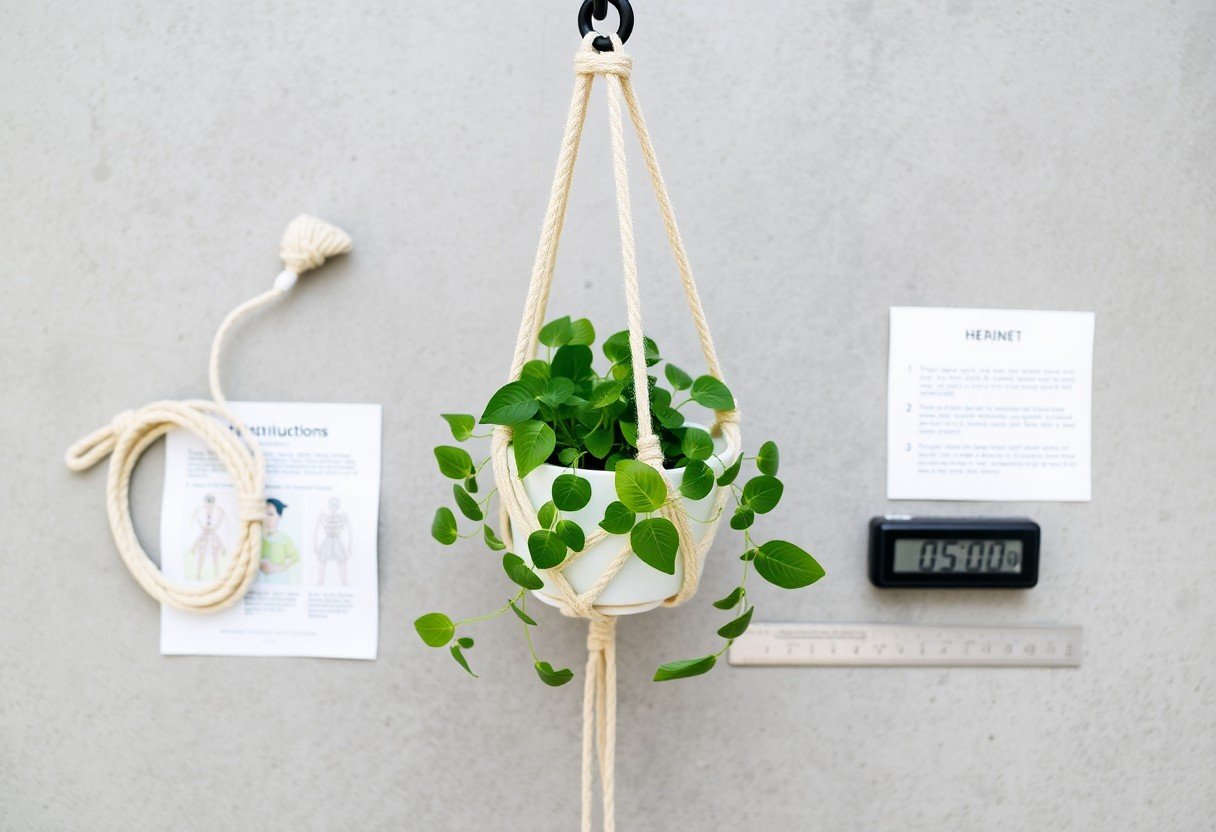
Adding the Plant
When the knots are secure, slide your pot into the cradle and test the balance by lifting the ring; use a saucer or liner under pots with drainage to protect surfaces. Small hangers suit 3-6 in (7-15 cm) pots-ideal for pothos, spider plants, and succulents-so adjust knot spacing to center the pot and trim excess cord. For step-by-step visuals consult 5 Minute Macrame Plant Hanger DIY Tutorial | Feeling Nifty.
Choosing the Right Pot
Pick a pot that balances weight and shape for your hanger: 3-6 in (7-15 cm) diameter works best, terracotta breathes but adds weight, plastic is light for higher ceilings, and glazed ceramic can be top-heavy. You should avoid tall, narrow planters that tilt; instead choose a wider base or add a liner for stability. If using a heavy pot, double the knot groups or use thicker cord.
Placement Tips
Place your hanger where the plant gets suitable light-east-facing windows give bright, indirect sun while south exposure may need 30-60 cm of distance to avoid leaf scorch; keep hangers 60-90 cm from busy walkways to prevent bumps. Use ceiling hooks or wall anchors rated for at least 10 lb (4.5 kg) and always test the load before leaving the plant unattended.
- Use a screw-in ceiling hook into a joist for maximum security.
- Match light needs to species: succulents need 4-6 hours of sun, pothos tolerates low to medium light.
- Thou should secure the ring with a carabiner or extra knot after you test the hanger’s weight.
For trailing varieties hang your planter 45-60 cm above furniture so vines can cascade without obstruction; move your hanger 15-30 cm closer to light in winter to compensate for reduced daylight. Keep hangers away from direct HVAC drafts and rotate the pot every 2-4 weeks to promote even growth and prevent leaning toward the light source.
- Rotate the plant every 2-4 weeks to encourage balanced growth and fuller trailing.
- Place a drip tray or waterproof liner if hanging over upholstery or wood floors to protect surfaces.
- Thou must check knots monthly for wear and re-tie if your cords begin to fray.
Styling Your Plant Hanger
Scale matters: you should choose pots 3-6″ wide for small hangers and 6-8″ for thicker cords, and balance proportions by allowing 10-20 cm between knots for airy patterns. Mix textures by pairing your cotton cord with a terracotta or glazed ceramic pot, and pick trailing plants like pothos or string of pearls for movement while compact succulents suit lower-light bathrooms. Coordinate with room colors-neutral cords for bold pots, dyed cord for subtle accents.
Decorating Ideas
Add wooden beads (4-10 beads, 0.5-1″ diameter) into your strands or finish with a tassel below the pot for boho flair; metallic rings or painted sections bring modern contrast. You can change cord color every 20-30 cm for stripes, or wrap a single strand with macramé ribbon to create a polished band. Try a 2-3 cm leather loop at the top for rustic reinforcement that doubles as a hanger.
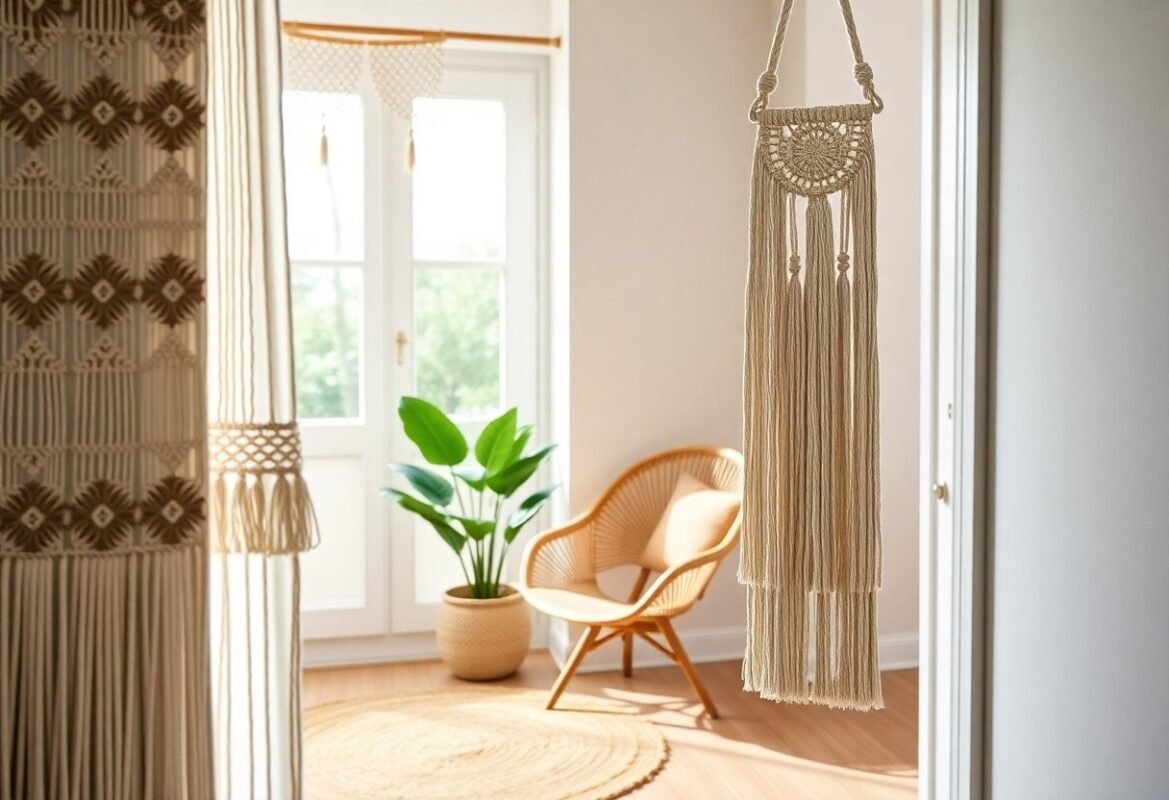
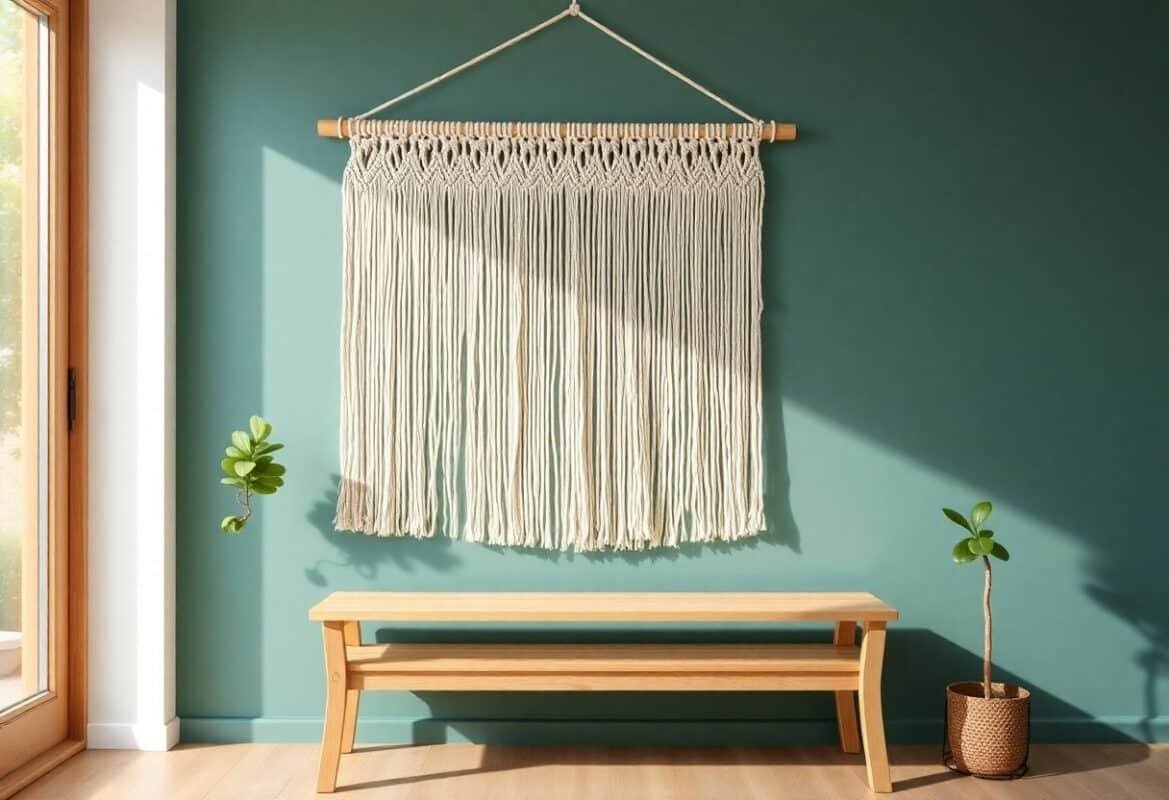
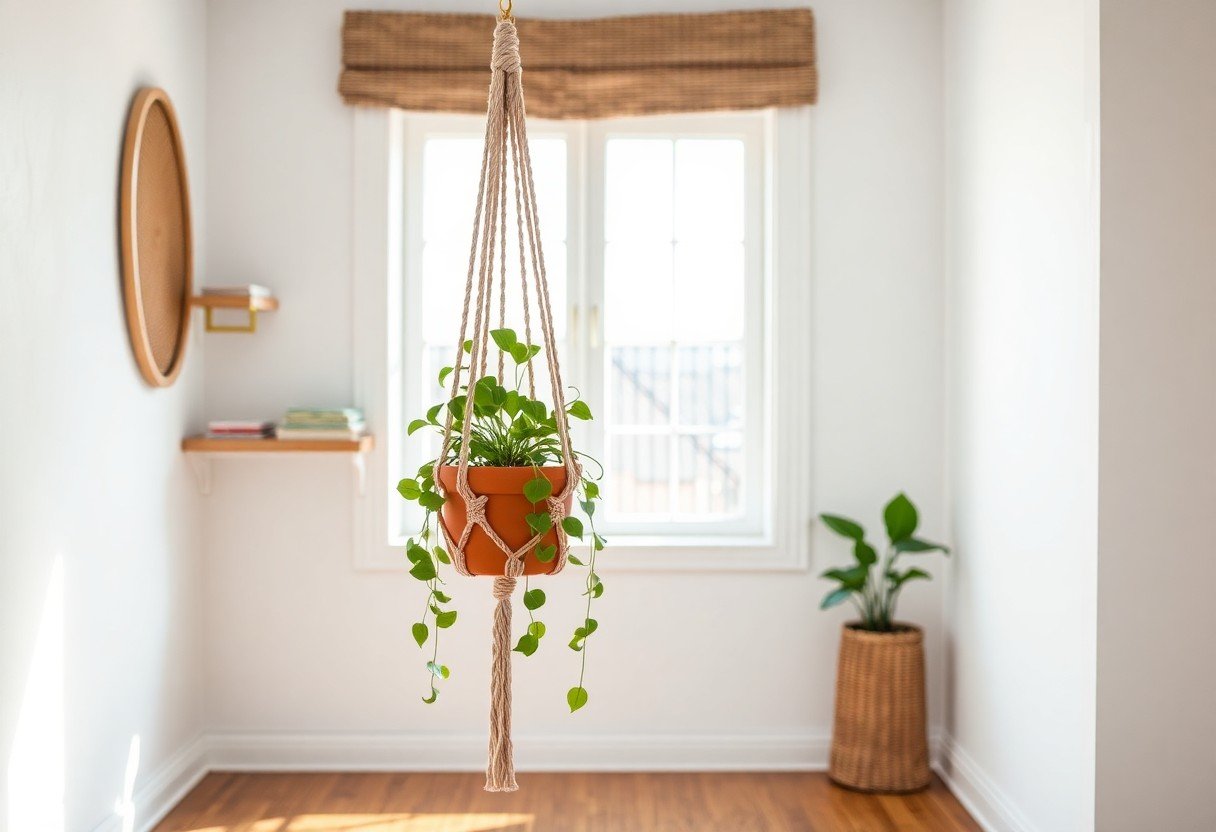
Displaying Your Hanger
Hang at eye level or above-aim for 150-180 cm from the floor to the pot rim-so your plants read as part of the room. Place your hanger near an east- or west-facing window for bright indirect light; in bathrooms or kitchens keep pots away from direct steam. When grouping, stagger 20-30 cm vertically and mix three sizes for visual interest; use ceiling hooks rated for at least 20 kg (44 lb) for safety with larger pots.
For drywall, fit toggle or molly anchors and choose 6-8 mm screws; into joists use a 5-6 mm eye bolt. If you mount outdoors, pick stainless-steel hardware and UV-resistant cord. Rotate your pot 90° every 1-2 weeks to even light exposure and inspect knots monthly-replace cord showing more than 10% fray. A swivel hook reduces tangling if you want the plant to turn freely.
Troubleshooting Common Issues
You’ll notice most problems quickly: slipping knots, uneven cords, or a hanger that tilts under load. Verify knot type-square knots hold better than single half-hitches-and retighten each pass. Check that four 2.5 m cords are matched before securing to avoid imbalance, and test with a 2-3 kg weight. If the pot wobbles, re-center the bundle or move to a slightly larger pot (8-12 cm diameter) before final hanging.
Common Mistakes
You commonly overestimate cord strength and pick slick synthetics; cotton or jute at 3-5 mm reliably holds about 5-7 kg. Another frequent error is tying knots too close to the ring-leave 5-8 cm of tail for adjustments. Mismatched cord lengths create tilt; align and clamp cords on a flat surface to prevent that.
- Measure and cut cords precisely-use a tape measure and mark at 2.5 m before cutting.
- Tie a test knot and hang a 2-3 kg weight to verify strength and balance before adding the plant.
- The most common failure is overload; keep plants under 7 kg and inspect knots monthly.
Tips for Best Results
You’ll get neater, stronger hangers by pre-stretching new cotton 5-10% and using a clipboard or clamp to hold cords while knotting. Space square knots every 8-10 cm for medium pots, and use eight cords for heavier loads. Finish with a reef knot and trim ends to about 2-3 cm for a tidy look.
If you plan heavier pots (3-5 kg), double up cords-use eight 2.5 m lengths-and place knots every 6-8 cm to spread load. When hanging near bright windows, choose UV-resistant jute or indoor-rated cotton; in humid spots pick natural fibers to reduce mold risk. Always load-test with a container matching the plant’s weight before final placement.
- Use square knots for the main structure and half-hitches for decorative wraps to combine strength and style.
- Pre-stretch and lightly dampen cotton to minimize future sag after installation.
- The ideal knot spacing is 6-10 cm based on pot width-decrease spacing for heavier pots.
Summing up
Presently you can make a stylish 5-minute macrame plant hanger using a few cords and basic knots; this quick DIY lets you elevate your decor, secure small pots safely, and build confidence as you repeat the pattern. Adjust cord thickness, beads, and length to customize the final look while keeping tension even for a tidy, reliable finish.
FAQ
Q: How can I make a 5-minute macrame plant hanger?
A: Gather your pre-cut cords and a metal or wooden ring, fold the cords in half and attach them to the ring with lark’s head knots, divide the cords into four equal groups, tie a single row of square knots or simple overhand knots about 6-8 inches (15-20 cm) below the ring, tie a second row of knots spaced 1-2 inches (2.5-5 cm) below the first to form a cradle, place the pot in the cradle, and finish with a tight gathering knot below the pot; with practice the sequence takes about five minutes.
Q: What materials and quantities do I need for a fast hanger?
A: Use cotton, polyester, or jute cord (3-5 mm thickness) and a 1-2 inch (2.5-5 cm) ring or wooden bead for the top; cut four cords each about 3 times the desired finished hanger length (example: for a 30″ / 76 cm finished hanger, cut cords about 90″ / 230 cm), or cut three cords for a simpler three-strand design; optional: scissors, tape, lighter (for synthetic cord ends), and a drop cloth.
Q: Which knots are best for a quick, sturdy hanger?
A: Lark’s head knots attach cords to the ring quickly; alternating square knots create a supportive cradle with minimal steps; a simple gathering knot (wrap-and-tuck) below the pot secures everything; for the fastest build, use straight overhand knots in place of decorative square knots-they’re quicker and still secure for light to medium pots.
Q: How do I size the hanger for different pot diameters and heights?
A: Decide the finished hanging length first, then cut cords about 3x that length; place the first row of knots roughly 1.5-2 times down from the ring relative to the pot height so the knots sit around the pot’s midpoint; for wider pots increase spacing between grouped cords and use more knots or additional cords per group; test-fit the pot before making the final gathering knot and adjust knot positions if the cradle sits too high or low.
Q: Which plants and pots work best for a 5-minute macrame hanger?
A: Lightweight to medium-weight pots and plants are ideal: trailing plants (pothos, string of hearts, philodendron), small to medium succulents in shallow pots, and small ferns; use plastic or light ceramic pots rather than heavy stone or large terracotta; if using a heavier pot, add more cords or switch to thicker cord and ensure the ceiling or wall anchor is rated for the combined weight.
Q: How do I safely hang the finished plant hanger indoors?
A: Use a hook rated for the expected load and install it into a ceiling joist or use a toggle/anchor for drywall to match the weight; estimate pot + soil + water weight (a 6″ pot with wet soil can weigh 8-12 lbs / 3.5-5.5 kg), test the mount gently before leaving it unattended, and avoid hanging over furniture or beds where a fall could cause injury or damage.
Q: How can I customize or troubleshoot common problems quickly?
A: To change style: swap cord color, add beads on the top loop, vary knot spacing, or use a different number of cords; for fraying ends use a drop of fabric glue or a heat-seal on synthetic cord; if the cradle sits unevenly, loosen the row closest to the ring, adjust cord lengths, and retie; for water drainage issues place a saucer in the cradle or line the pot with a small plastic liner to protect cord fibers from frequent moisture.