It’s time to elevate your crafting with practical DIY macrame bag ideas and patterns that suit every skill level. You’ll learn knot techniques, material choices, and step-by-step layouts to create durable, stylish bags for daily use or gifts. With clear guidance, you can customize sizes, straps, and embellishments to match your style.
Key Takeaways:
- Choose the right cord – cotton, jute, or recycled fibers; cord thickness shapes texture and structure.
- Master basic knots like lark’s head, square knot, and half hitch to build versatile patterns.
- Plan shape and size with templates or rounds; add a fabric lining for strength and longevity.
- Mix patterns – fringe, diamond, netted, and spiral – to vary aesthetics and stretch.
- Finish with handles, closures, beads, dye, or hardware to personalize and reinforce the bag.
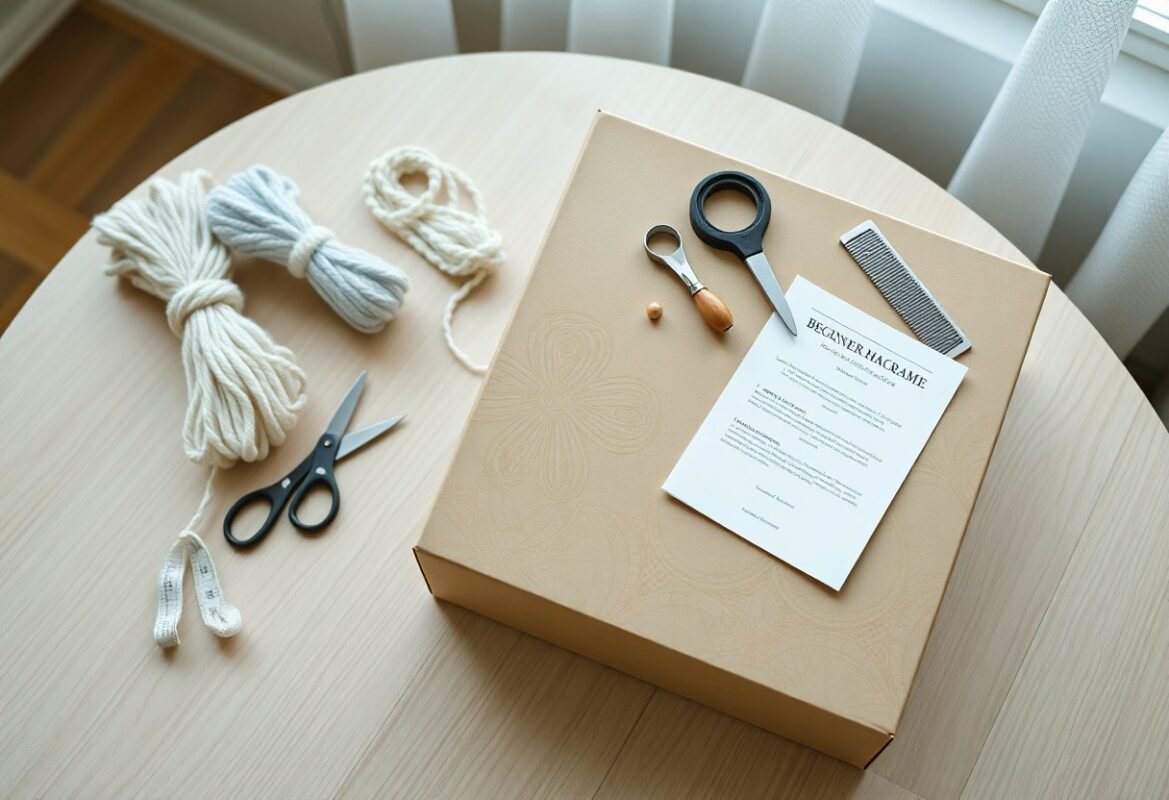
Essential Materials for Macrame Bags
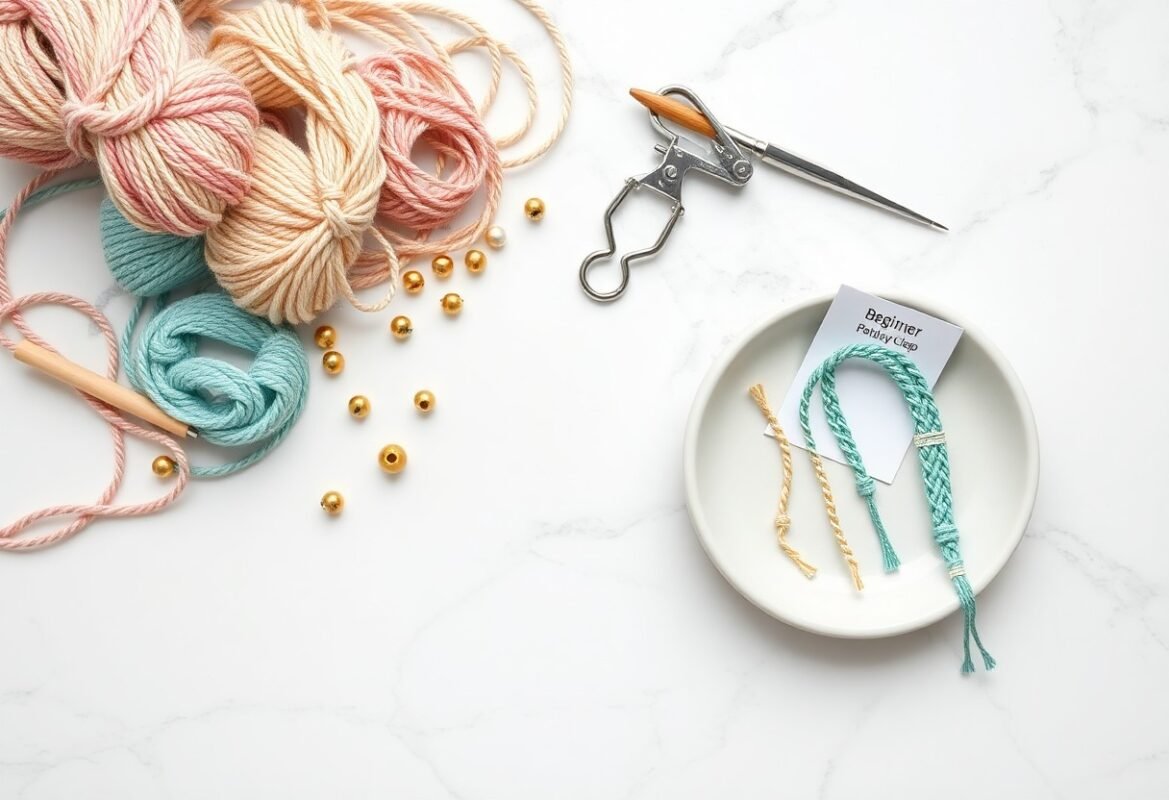
Types of Cord
You’ll choose cord by weight, texture, and finish: 3-4mm cotton for delicate clutches, 4-6mm cotton for everyday crossbodies, 6-8mm cord for market totes, and 8-12mm braided rope for sturdy straps and handles; nylon and polyester add water resistance, while jute and hemp give a rustic look. Assume that 4mm cotton is the most versatile starting point for many patterns and scales well between decorative knots and structural strength.
- Cotton macramé cord – soft, easy to knot, low sheen
- Nylon/polyester – weatherproof, smooth, holds color
- Jute/hemp – textured, strong, natural look
- T-shirt yarn (recycled) – chunky, eco-friendly, budget-friendly
- Leather/suede – premium straps and accents, durable
| Cotton (3-6mm) | Best for clutch to medium bags; soft drape and easy finishing |
| Nylon/Polyester (4-12mm) | Weather-resistant, ideal for outdoor or washable bags |
| Jute/Hemp (6-12mm) | Textured boho look; strong but may shed and stiffen over time |
| T-shirt Yarn (10-40mm) | Great for chunky market totes and quick projects; stretchy |
| Leather/Suede Strips | Use for handles, trim, and luxe detailing; high durability |
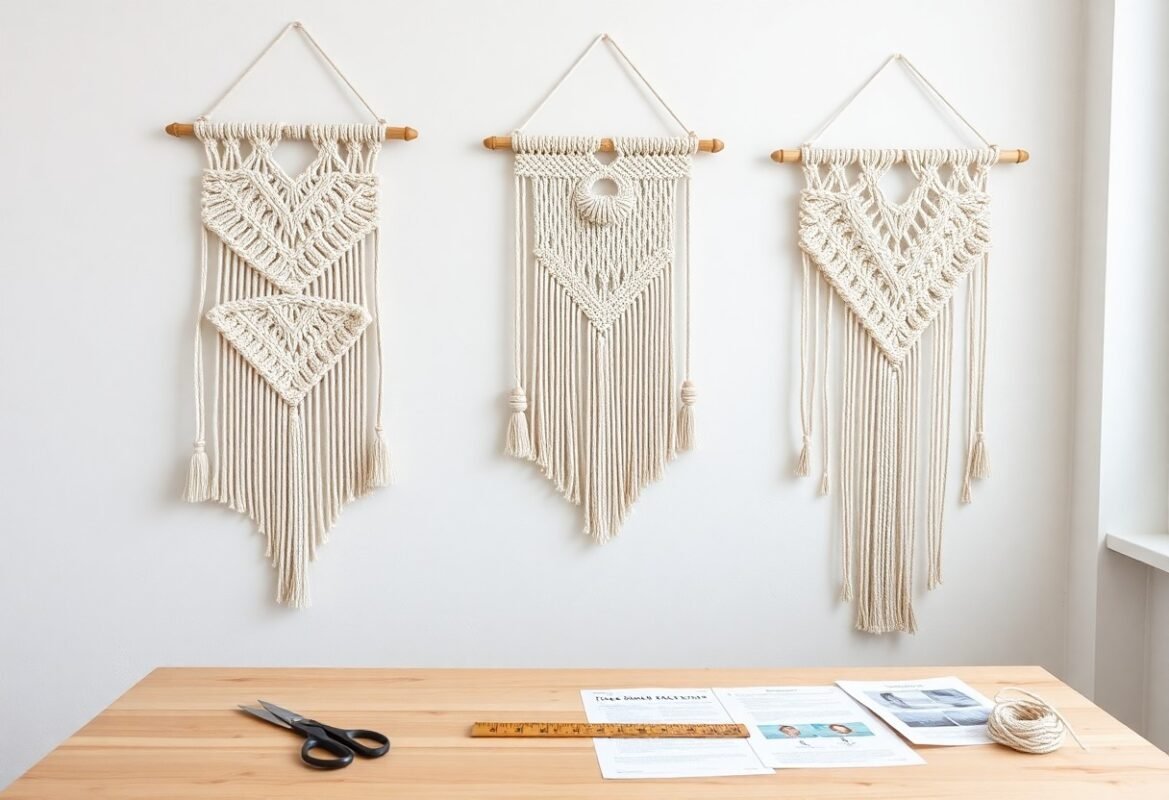
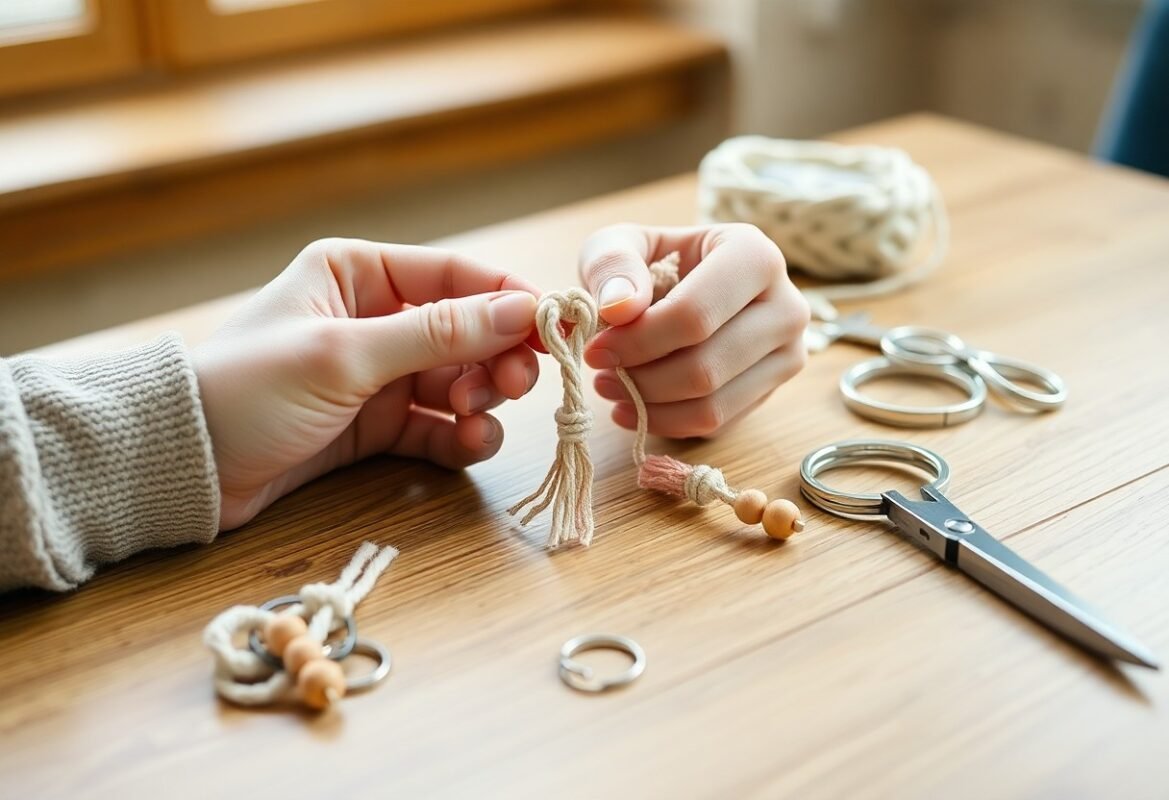
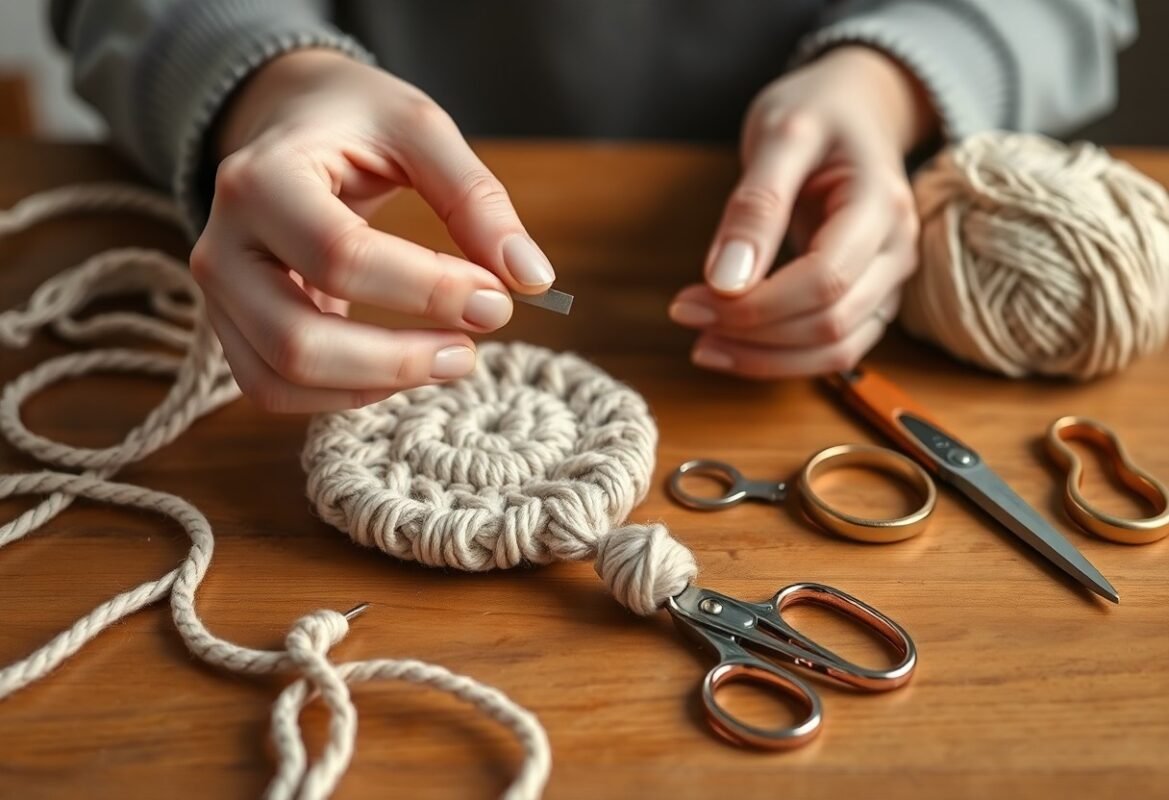
Tools You’ll Need
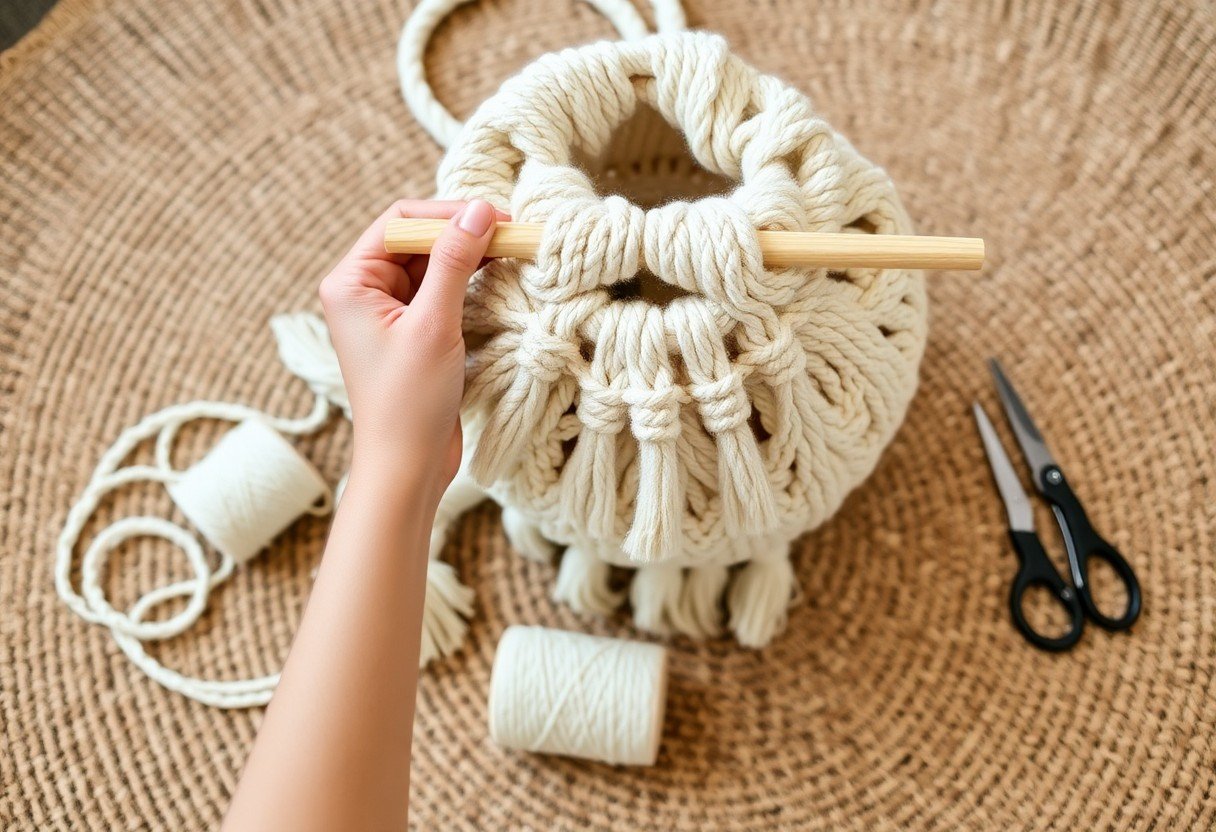
You’ll gather a measuring tape, sharp scissors (8-10″ blades), a sturdy comb or brush for finishing fringe, wooden dowels or metal rings for anchors, clips or binder clips to secure work, a blunt tapestry needle for threading, and a lighter or fabric glue for synthetic cord ends.
You should work with a 60-150 cm measuring tape depending on pattern, choose serrated scissors (Fiskars-style) for clean cuts, and use a 10-20 mm dowel or 40-60 mm ring as your mounting point; a metal comb or pet slicker opens fibers neatly, tapestry needles in sizes 18-22 handle macramé finishes, and a small butane lighter or clear fabric glue secures nylon ends without fraying.
Basic Macrame Knots
You’ll rely on a handful of knots for nearly every bag-square, lark’s head, half hitch and double half hitch-and practicing them until your tension is consistent pays off. Three to five knot types make up most designs, and using a vetted Macrame Bag Pattern can speed learning. For example, 4mm cotton cord with 10-12 square-knot repeats yields about a 10 cm flat panel.
Square Knot
The square knot uses four cords-two fillers and two working-tied in a left/right sequence to form a flat, reversible panel. You can build straps or bag bodies by repeating 10-20 square knots; with 3-4mm cord expect roughly 12 repeats per 10 cm. It handles load well, so use it for main panels, decorative rows, or secure pocket edges.
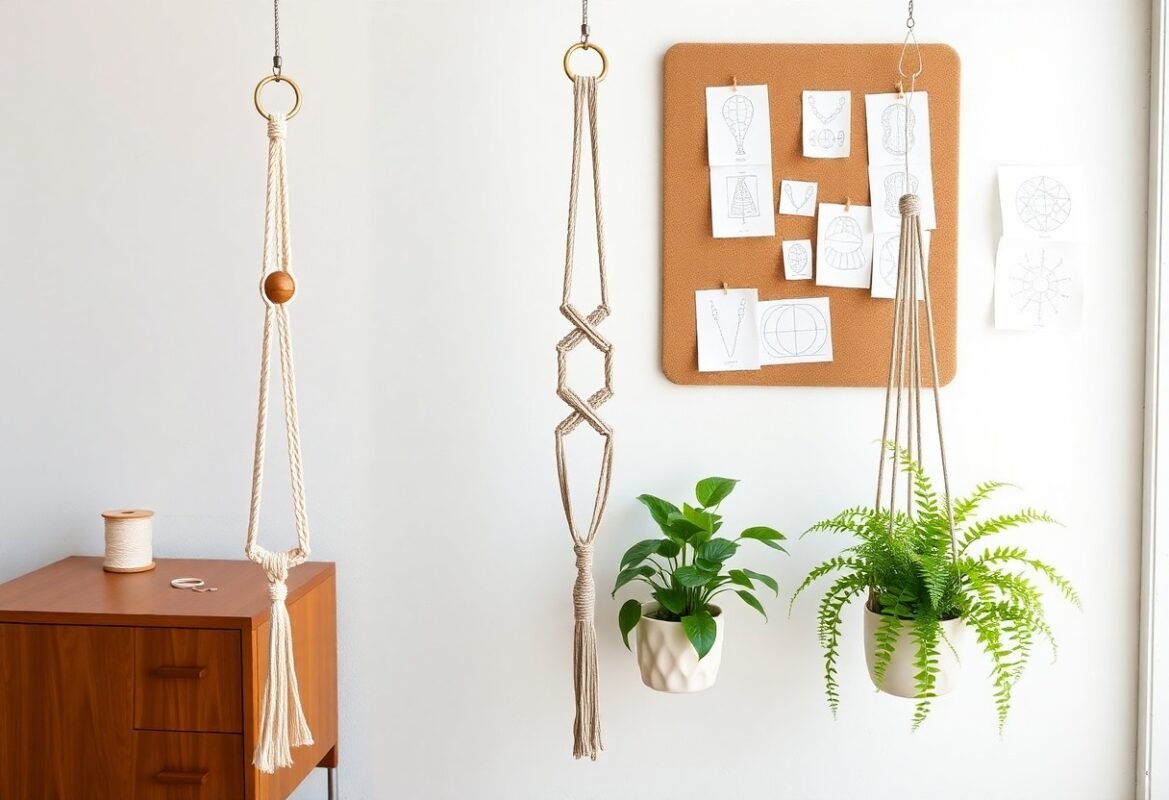
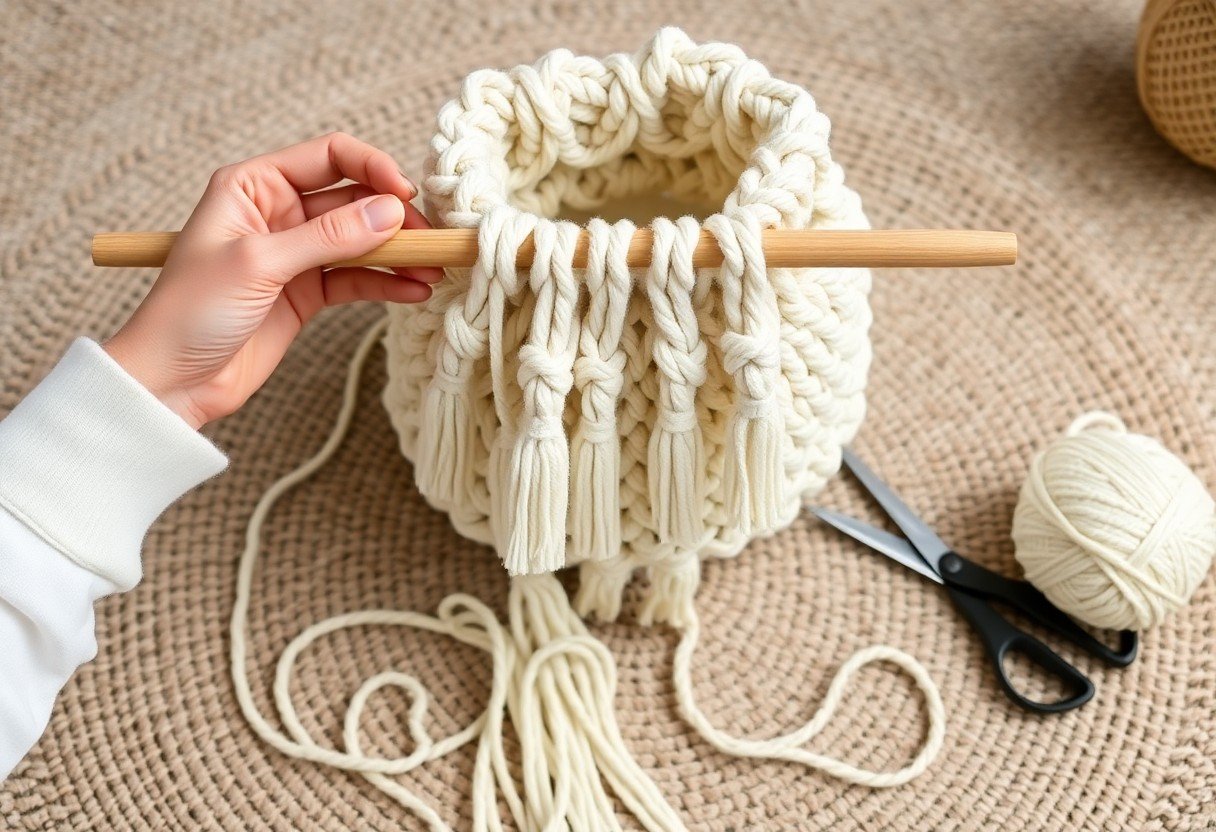
Lark’s Head Knot
You use the lark’s head to attach cords to a ring, dowel, or handle: fold the cord in half, loop the fold over the anchor, then pull the tails through the loop. In many projects you’ll begin with 8-24 lark’s head attachments; for a small bucket bag, try 12 evenly spaced cords on a 6 cm ring to distribute weight evenly.
You can vary the lark’s head by using a reverse or doubled version to create a thicker anchor or offset spacing for texture. When calculating cord length, allow 2-3 times the finished drop plus extra for knots and fringe; test one attachment to confirm spacing and tension before attaching all cords.
Beginner-Friendly Macrame Bag Patterns
You can build confidence quickly with patterns that use square knots, half-hitch rows, and simple netting; start with 3-5 mm cotton cord, cut 8-12 cords about 2.5-4 m each, and expect a small project to take 2-4 hours. Practical examples include an open-market tote, a lined crossbody, and a beaded clutch-each teaches a different knot sequence while keeping stitch counts and materials minimal for faster progress.
Simple Tote Bag
Use 3-4 mm cotton cord and cut 10-14 cords at roughly 4 m each to make a 30-35 cm wide tote; form the body with alternating square knots in 15-25 rows, create a roomy base with a few diagonal clove hitch decreases, and finish handles using spiral half-hitch for 40-60 cm straps so you can carry it over shoulder or by hand.
Crossbody Bag
Choose 4 mm cord and prepare 10-12 cords around 3 m long plus one continuous 120-140 cm strap; construct the panel with 20-30 rows of alternating square knots to achieve a 20-24 cm tall body, then bind the top edge and attach the strap to sturdy loops or D-rings so you get hands-free wear and consistent weight distribution.
For more durability, line the pocket with cotton fabric cut slightly smaller than the finished bag (about 22×18 cm for a medium crossbody), sew in a zipper or slip pocket, and secure the lining to the macrame with topstitching or concealed tack stitches; hardware like 2 small D-rings plus a lobster clasp makes the strap removable and lets you swap lengths between 110-130 cm for different outfits.
Intermediate Macrame Bag Ideas
Move into intermediate patterns by combining square knots, spiral half hitches and alternating mesh to add structure and decorative panels; you can work with 3-6mm cord, 12-20 working strands, and expect a medium project to take 4-8 hours. Try adding wooden rings, leather handles, or a sewn cotton lining for durability, and scale patterns to 25-35 cm widths so your finished bags stay both stylish and functional.
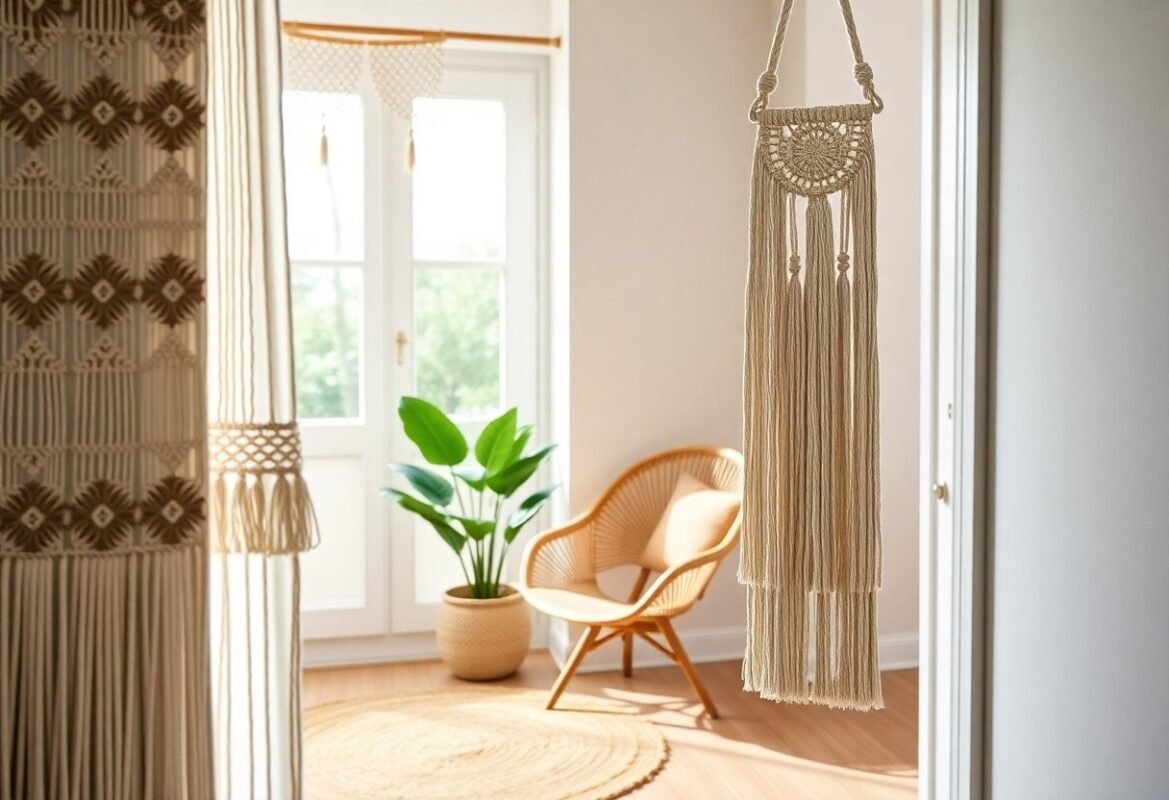
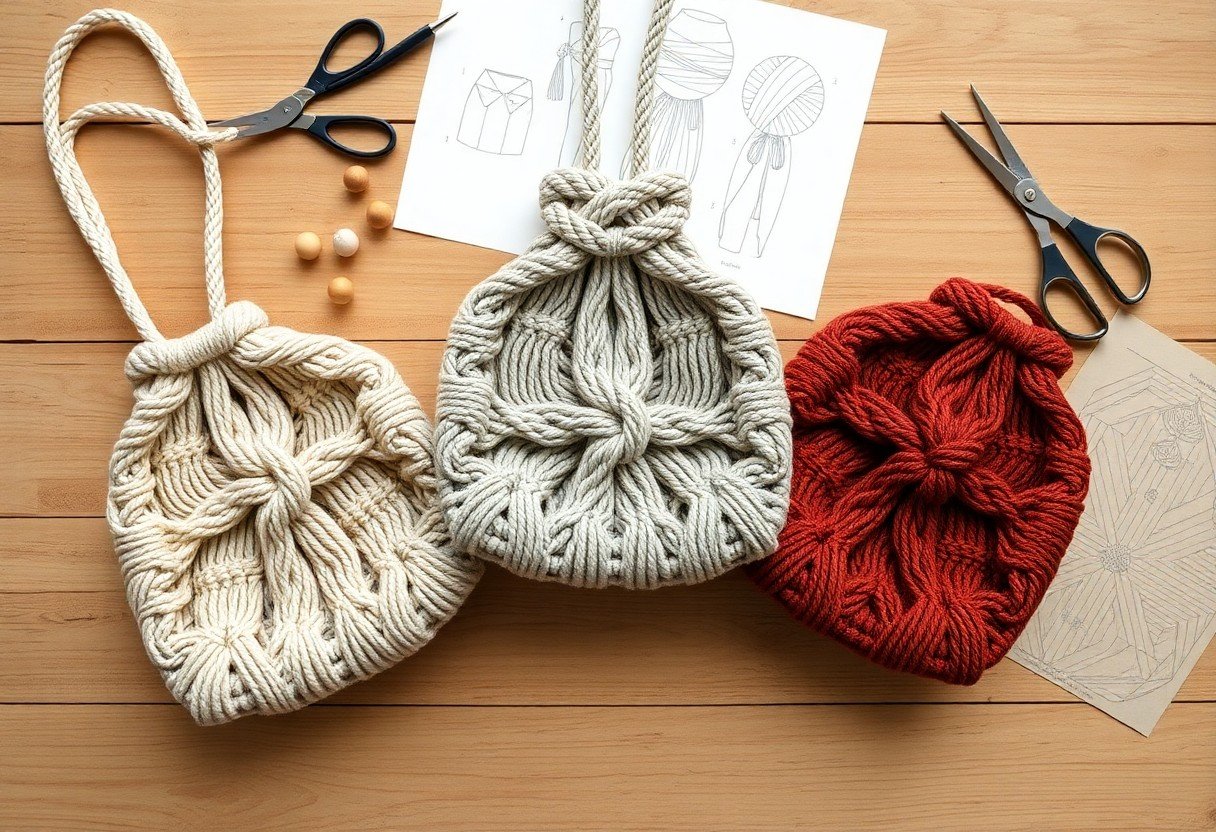
Boho Chiffon Bag
Pair fine 2-3mm cotton cord with chiffon ribbon threaded through open macrame grids to create a soft, bohemian silhouette; you’ll use alternating half hitch rows and light fringe, plus 3-4 wooden beads for accents. The resulting bag usually measures 20-25 cm across and is ideal for lightweight items-phone, wallet, sunglasses-while a stitched fabric lining prevents chiffon from snagging and adds subtle stability.
Market Bag
Use 4-6mm cord and an alternating square-knot mesh to build a durable market bag with a 30-35 cm base and 25-40 cm drop; start with 12-16 cords of 8-10 m each for a medium tote. Reinforce the mouth with a braided band or leather strap, and you’ll be able to fit a baguette, a 1.5 L bottle and several produce items comfortably.
Start the market bag with a circular or rectangular base-either a gathered-ring method or a woven flat base of 8-12 rows-and transition into a mesh body using alternating square knots at 2-3 cm spacing for stretch control; for handles, braid three cords into 30-40 cm straps then attach with secure lark’s head and extra half-hitches, and consider adding a canvas bottom patch to prevent sagging under heavier loads.
Advanced Macrame Bag Designs
Push your skills by combining diagonal clove hitch panels with dense macramé fringe and metal-ring closures; you can scale patterns by ±20% to fit different bodies. For a step‑by‑step reference that shows construction sequencing and measurements, consult How To Make A Macrame Bag – Ganxxet, then adapt cord thickness (3-6 mm) to adjust drape and strength.
- Combine square knots and diagonal clove hitch for structured panels.
- Use 5-8 mm cotton cord for bags intended to carry 2-4 kg.
- Incorporate metal or wooden rings (30-50 mm) for durable strap anchors.
- Add linings and interfacing when you want crisp shapes and pocket support.
Design Breakdown
| Technique | Application |
|---|---|
| Alternating square knot mesh | Lightweight shopper, ventilated panels, uses 3-4 mm cord |
| Diagonal clove hitch | Structured body, geometric chevrons, ideal with 4-6 mm cord |
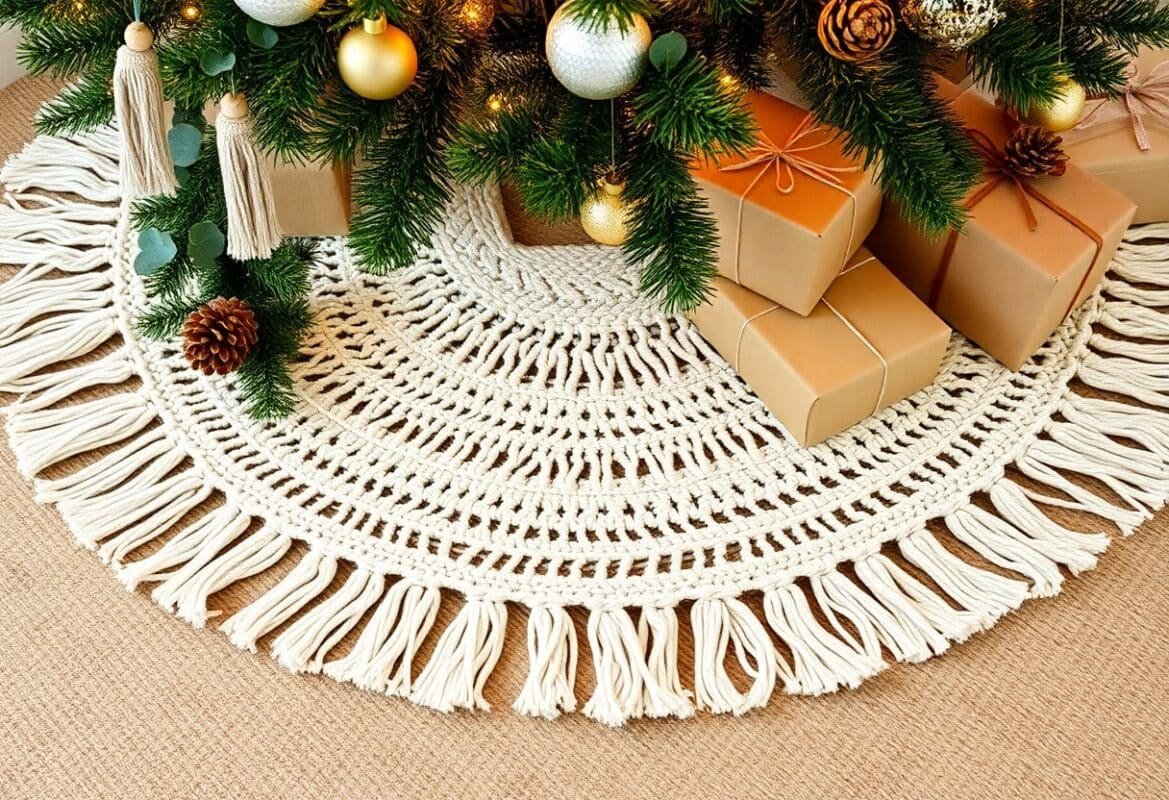
| Layered fringe & tufting | Textured surfaces, decorative trim, combine with lining for durability |
Textured Bag
You can build texture by alternating half-hitch rows with popcorn or spiral knots, creating raised panels that catch light; try 4 mm cord and repeat 12-16 knot sequences per panel for consistent depth, then back with a 100% cotton lining to protect the raised areas and keep shape under 1.5-2 kg of daily contents.
Multi-Pocket Bag
Design pockets by allocating 30-40% of the front panel to three staggered compartments; use tighter 4-5 mm square-knot grids for pocket walls and reinforce seams with whip stitches or a thin fabric backing so each pocket safely holds phones or wallets up to 10×15 cm.
For more on construction, plan pocket dimensions before knotting: typical pockets measure 12×14 cm (small), 16×20 cm (medium), and 20×24 cm (large). You should add a 1-2 cm seam allowance when attaching fabric liners, sew liners to the macramé at top edges, and test load with 2 kg to verify strap and pocket integrity.
Tips for Customizing Your Macrame Bags
Tweak scale, strap length, and pocket placement to fit everyday use-scale down to a 20 cm base for compact crossbody bags or up to 40 cm for market totes. You can add a leather base, metal rings, or a zipper insert; see project variations at Macrame Bag | DIY for visual ideas. Any small adjustment, like swapping square knots for spiral knots, changes durability and style.
- Right tension: keep even-test on a 30 cm swatch before starting the full piece
- Hardware: choose brass for longevity, stainless steel for coastal use
- Lining: add an 8 oz cotton canvas for 3-5× more structure and fewer stretch issues
Adding Personal Touches
You can personalize with beads, leather tags, or embroidered patches; a simple embroidered monogram often takes 1-2 hours using backstitch. Try 3-5 wooden beads spaced evenly along the strap for balanced weight, or add a detachable tassel with a lobster clasp for seasonal swaps. You can also incorporate found objects like vintage buttons as unique focal points to give each bag a signature look.
Color and Material Choices
Select cord thickness between 3-6 mm-3 mm for delicate clutches, 6 mm for sturdy market bags. Natural cotton shows brighter dye but can shrink about 2-4% on the first wash; polyester or poly-cotton blends resist moisture and abrasion better. Pick colorfast dyes or pre-washed skeins to avoid bleeding, and match lining weight (e.g., 8 oz canvas) to maintain structure.
For a day-to-day tote you might choose 6 mm braided cotton with a 40 cm base-similar constructions commonly carry roughly 8-12 kg; switch to 6 mm nylon for coastal use where salt and moisture are concerns. If you want a lightweight evening pouch, 3-4 mm mercerized cotton keeps knots crisp and the finished weight typically stays under 150 g. Match hardware to use case (brass for longevity, stainless for salt resistance) and pre-wash materials to stabilize fit and color.
Conclusion
Conclusively, you can elevate your crafting by applying varied knots, sustainable materials, and clear patterns to build functional, stylish macrame bags; your skill grows with practice and focused projects, so choose designs matching your experience, refine tension and finishing techniques, and experiment confidently to produce durable, market-ready pieces.
FAQ
Q: What basic materials and tools do I need to start a DIY macrame bag project?
A: Core materials include macrame cord (cotton, hemp, or recycled cotton; thickness 3-6 mm depending on desired look), a wooden or metal dowel or ring for handles or closure, scissors, a measuring tape, and a comb for fringe. Optional tools: a macrame board or clipboard to secure work, stitch markers or binder clips, fabric for lining, a sewing needle and thread, and fabric glue. Choose cord with a tight twist for defined knots or looser cord for softer drape.
Q: Which knots are important for making macrame bags and how are they used?
A: Essential knots are the square knot (for flat panels and straps), the half knot spiral (for decorative spirals and straps), the lark’s head knot (to attach cords to a ring or dowel), the double half hitch (for horizontal or diagonal lines and shaping), and the gathering knot (for finishing openings and handles). Combine these: use lark’s head to start, square knots for the main body, half knot spirals for straps or texture, double half hitches for shaping edges or pockets, and a gathering knot to close the top or secure a tassel.
Q: What are simple beginner-friendly macrame bag patterns to try first?
A: Start with a small market tote: use lark’s head to attach cords to a dowel, work alternating square knots for a grid body, finish with a gathering knot and add a braided strap. Try a pouch bag: create a rectangular panel of square knots, fold and whip stitch or line the edges, and add a drawstring using half hitches. A round net bag uses evenly spaced cords and alternating square knots to form a mesh-great for groceries. Each pattern uses few knot types and is easy to scale up or down.
Q: How do I determine the cord length and number of cords needed for a bag pattern?
A: Calculate cord length by multiplying the finished bag height plus extra for knots and fringe (typically 3-4 times the finished height for square knots, 4-6 times for complex knots or straps). For a grid of square knots, plan cords in multiples of four: e.g., 24 cords gives six square-knot columns. For net or mesh bags, space cords evenly and allow 4-5 times finished height for mesh expansion. Always add extra length for straps or finishing and test with a small sample to refine measurements.
Q: Should I line a macrame bag, and how do I add a lining neatly?
A: Lining adds structure, protects small items, and prevents snagging. Choose a lightweight cotton or canvas. Cut a lining pattern slightly smaller than the finished bag to account for cord thickness. Sew seams before inserting, then slip the lining inside and hand-sew or machine-stitch it to the top edge or to a few discreet points along the inside to keep it from shifting. For pouches, attach the lining to the back of panels before joining edges for cleaner seams.
Q: How can I reinforce handles and stress points so the bag holds weight without stretching or breaking?
A: Use thicker cord or double up cords at the handle area, add a fabric or leather strip inside the handle for reinforcement, and secure transitions between body and strap with extra wrapping using a strong cord or a hidden metal ring. For the base, add a removable wooden or leather insert or sew a reinforced fabric base into the lining. Tight, consistent knots and finishing with strong glue or whipping at knot ends prevent slippage and fraying.
Q: What are common problems when making macrame bags and how can I fix them?
A: Uneven tension causes misshapen panels-unravel and re-tie with even pulls or practice on a small swatch. Fraying ends-melt synthetic cord ends carefully or apply clear fabric glue to natural fibers. Gaps in mesh-adjust cord spacing and knot tension, or add extra rows. Straps that stretch-use thicker cord, add a lining or reinforcement, or shorten strap length. If a pattern looks too bulky, switch to thinner cord or fewer knot repeats to achieve the desired drape.