Bracelet projects using basic square, half-hitch, and Lark’s head knots teach you technique fast while letting you customize color, texture, and closure styles; this guide shows step-by-step patterns, material choices, and troubleshooting tips so you can start confidently, finish polished pieces, and scale complexity as your skills grow.
Key Takeaways:
- Choose the right cord, beads, and tools for comfort and durability-cotton, nylon, and waxed cords are beginner-friendly.
- Master basic knots-lark’s head, square knot, half knot, and half hitch-to create most starter patterns.
- Measure the wrist accurately and add 1-2 cm for movement; allow extra cord length for knotting and mistakes.
- Keep tension and spacing consistent to maintain an even pattern; practice on scrap cord before working on the final piece.
- Secure finishes with sliding knots, crimps, or clasps and trim ends neatly; add beads or charms for a personalized touch.
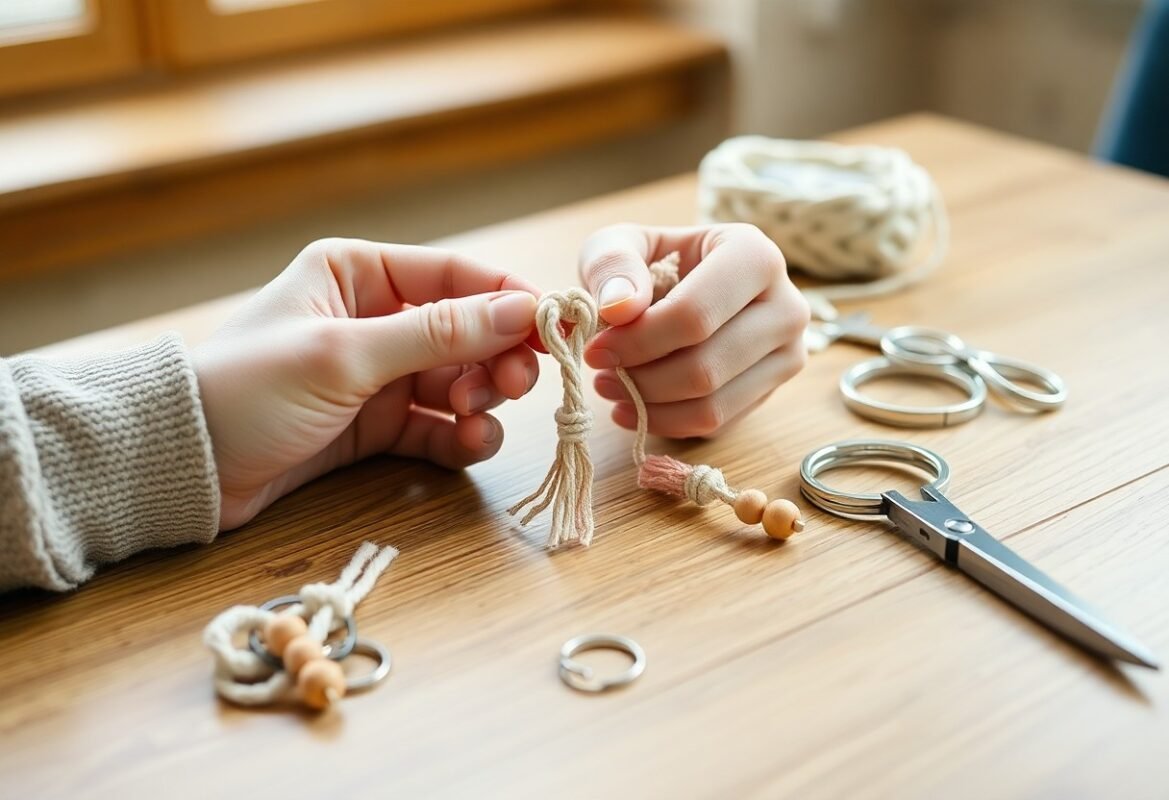
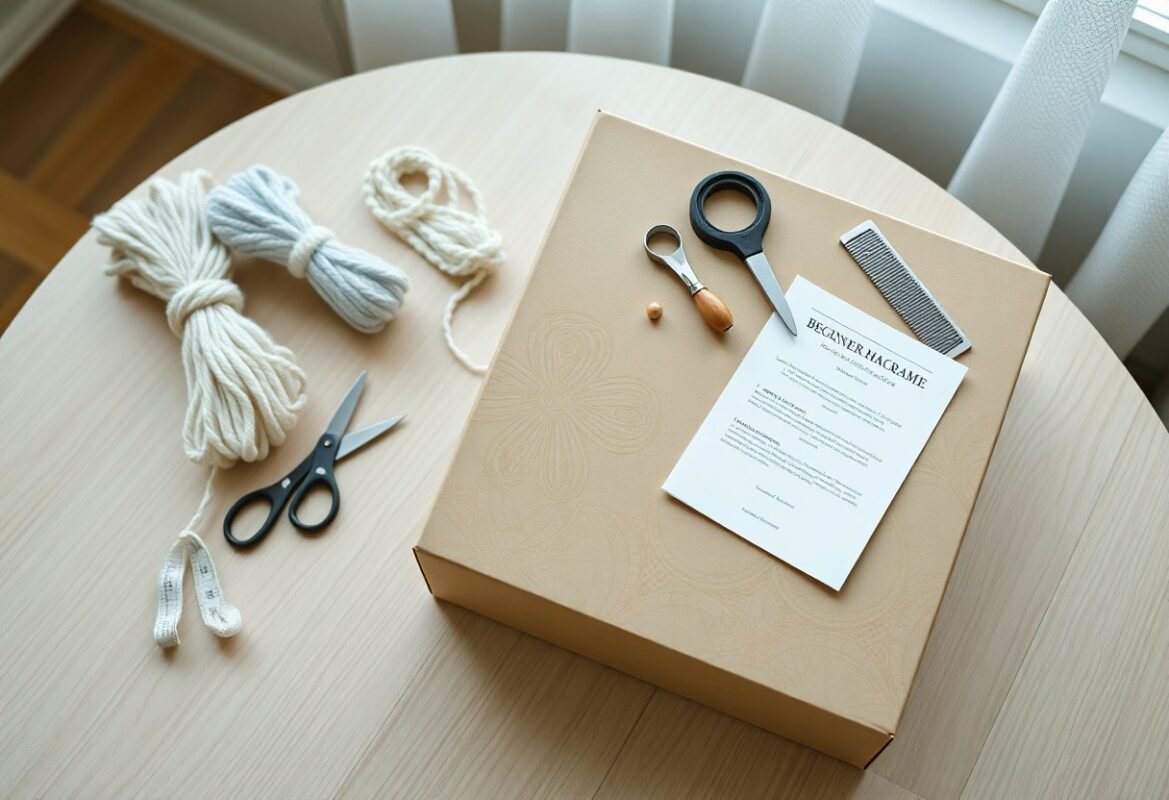
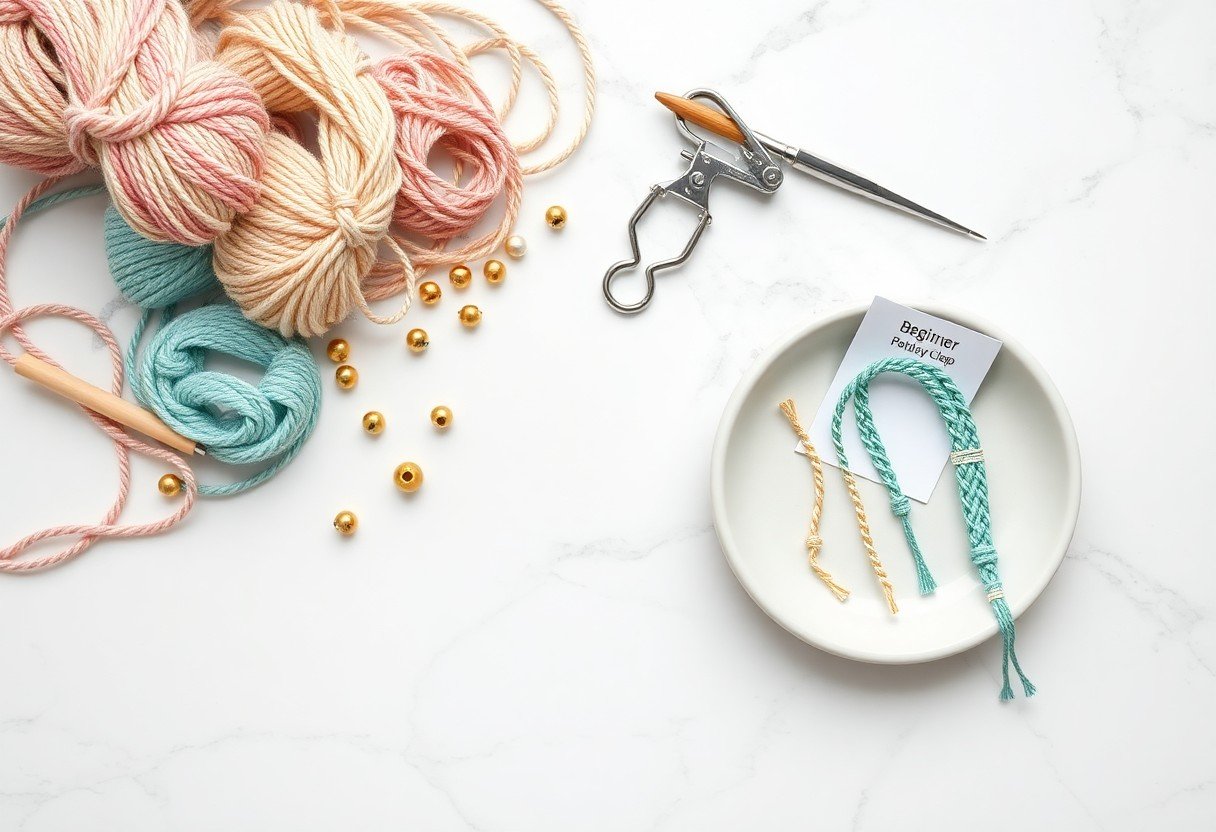
Tools and Materials Needed
To build neat bracelets you’ll gather a few basic tools and a selection of cords: expect to buy 1-3 mm cords in several colors, a pair of sharp scissors, a measuring tape, and an anchor like a clipboard or safety pin; typical starter kits run $10-30. You’ll want beads (2-6 mm holes) and a lighter or fabric glue for synthetic ends to finish pieces cleanly and securely.
Essential Tools for Macrame
You’ll rely on a sharp pair of scissors, a 30 cm ruler or tape measure, a clipboard or macrame board to hold work at wrist height, and sewing needles or beading awls for threading small holes; include a lighter or clear-drying glue for synthetic cord ends. A small comb helps tidy fringe, and a clip or tape keeps cords organized during multi-strand patterns.
Types of Cord and Their Uses
Cotton, nylon/polyester, hemp, waxed cord, and elastic each behave differently: use 1-2 mm nylon for sliding closures, 2-4 mm cotton for classic square-knot bracelets, 2-3 mm hemp for rustic texture, 0.8-1 mm waxed cord for beadwork, and 0.6-1 mm elastic for stretch bracelets; choose by finish, strength, and bead compatibility.
| Cotton (2-4 mm) | Soft, matte finish; excellent for square and half-hitch knots; pre-wash for softness and shrinkage control. |
| Nylon/Polyester (1-2 mm) | Smooth, colorfast, low-stretch; ideal for sliding closures and detailed micro-macrame; singe ends to seal. |
| Hemp/Jute (2-3 mm) | Coarse, natural look with high friction; best for boho styles and larger knots; may stiffen over time. |
| Waxed Cord (0.8-1 mm) | Holds knots tightly, threads beads easily; great for beaded bracelets and jewelry that needs structure. |
| Elastic/Stretch (0.6-1 mm) | Allows slip-on wear without closures; pair with crimp ends or strong knots and avoid heavy beads that reduce stretch. |
When choosing cord you should measure finished bracelet length and multiply by 4-6 to determine working cord length; for a 18 cm (7 in) wrist cut 70-90 cm (28-35 in) per working strand, and add 20-30 cm if you’ll add beads or complex knots. You can test knot tightness on scraps and wash cotton slightly to soften; synthetic cords often need their ends singed or glued for a tidy finish.
- Select cord diameter to match bead hole size-1 mm cords fit most 2-3 mm bead holes.
- Test colorfastness on a scrap before combining light cords with dark beads or threads.
- Use a clipboard or tape to hold your work at a comfortable angle for consistent tension.
- Choose waxed cord for designs requiring rigid, bead-friendly thread.
- Thou test a 5 cm sample knot and slide it on your wrist to confirm comfort and knot behavior before cutting full-length cords.
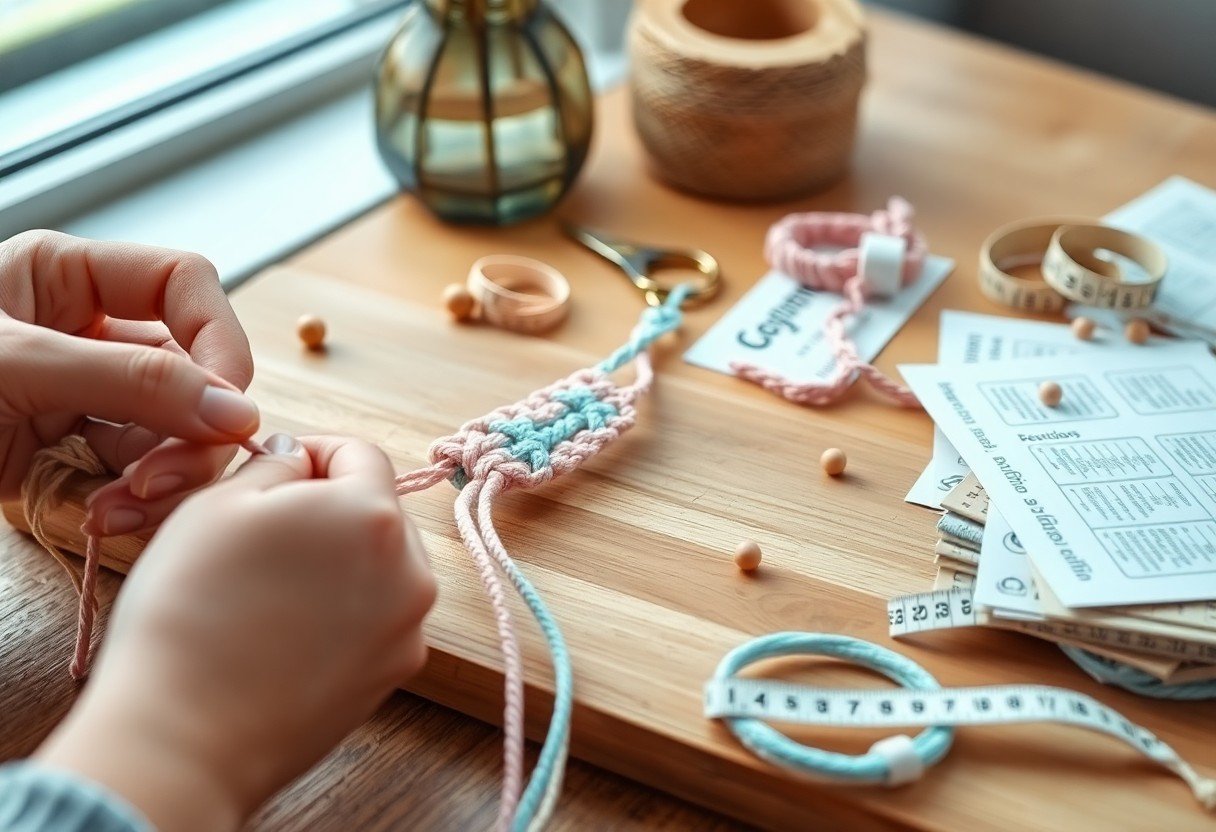
Basic Macrame Knots
You’ll build most bracelet patterns from three knots: the square knot, Lark’s Head, and double half hitch. Together they cover mounting, bodywork, and decorative lines, and roughly 80% of beginner designs use one or more of them. Spend 15-30 minutes practicing each knot on a 10 cm sample strip so your tension, spacing (aim for 2-3 mm between rows), and bead placement stay consistent when you start an actual bracelet.
Square Knot
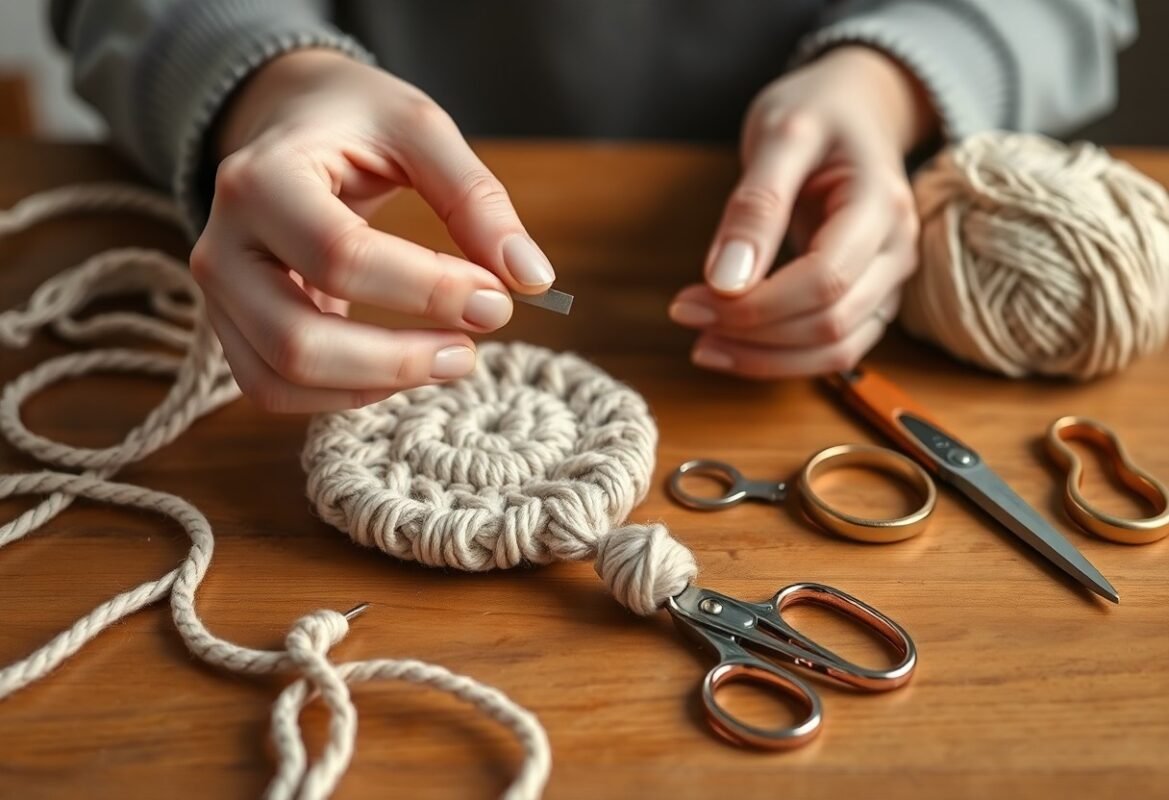
Use the square knot as your main body stitch: take two outer working cords and two center filler cords, pass the left working cord over the two centers and under the right working cord, then mirror with the right cord to complete one full square knot. If you repeat 10-20 knots you’ll create a 2-3 cm textured panel; add beads between every 4th knot for a patterned bracelet.
Lark’s Head Knot
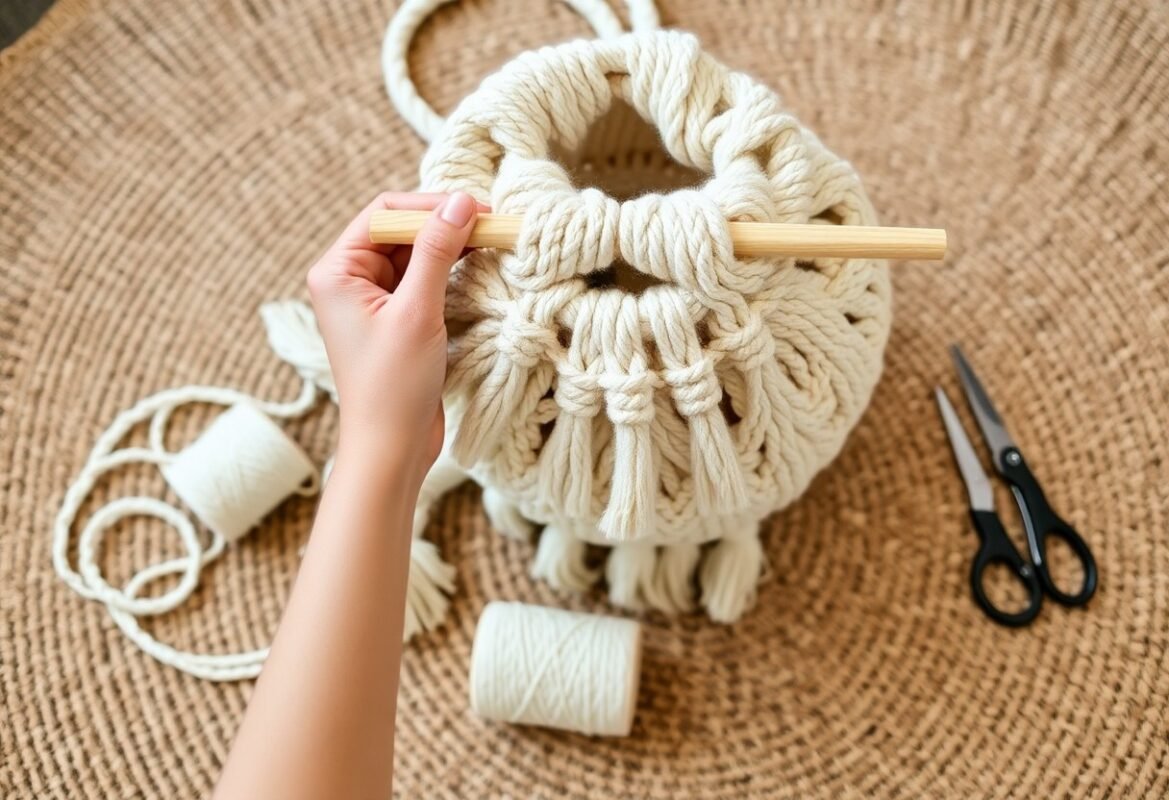
Lark’s Head is the simplest mounting knot for attaching cords to a ring, clasp, or base cord: fold a cord in half, place the loop over the anchor, then pull the tails through the loop and tighten. It’s ideal for starting 4-12 cord bracelets and for adding even fringe sections quickly without bulky joins.
As a variation, you can use a double Lark’s Head (wrap the loop twice before pulling tails through) for extra grip on slippery nylon cord. In practice you’ll often attach 6-12 folded cords to a split ring when making a cuff; spacing them 3-5 mm apart keeps beads and patterning consistent. Use contrasting colors for a neat, visible starting row.
Double Half Hitch
Double half hitch forms tidy diagonal or horizontal lines: hold an anchor cord, wrap a working cord over it to make one half hitch, then repeat the same pass to complete a double half hitch. Use it to draw chevrons or outlines-group 8-12 hitches per row for a 1-2 cm wide band-and keep each hitch’s tension even to avoid slanting the pattern.
For more control, assign one working cord as the “travelling” cord and move it across 3-5 anchor cords to create diagonal ribs; with a 1.5 mm cord you’ll get fine detail, while 3 mm yields bold stripes. Practice a 20-row sample to set your tension and test how often to insert beads or switch colors for geometric effects.
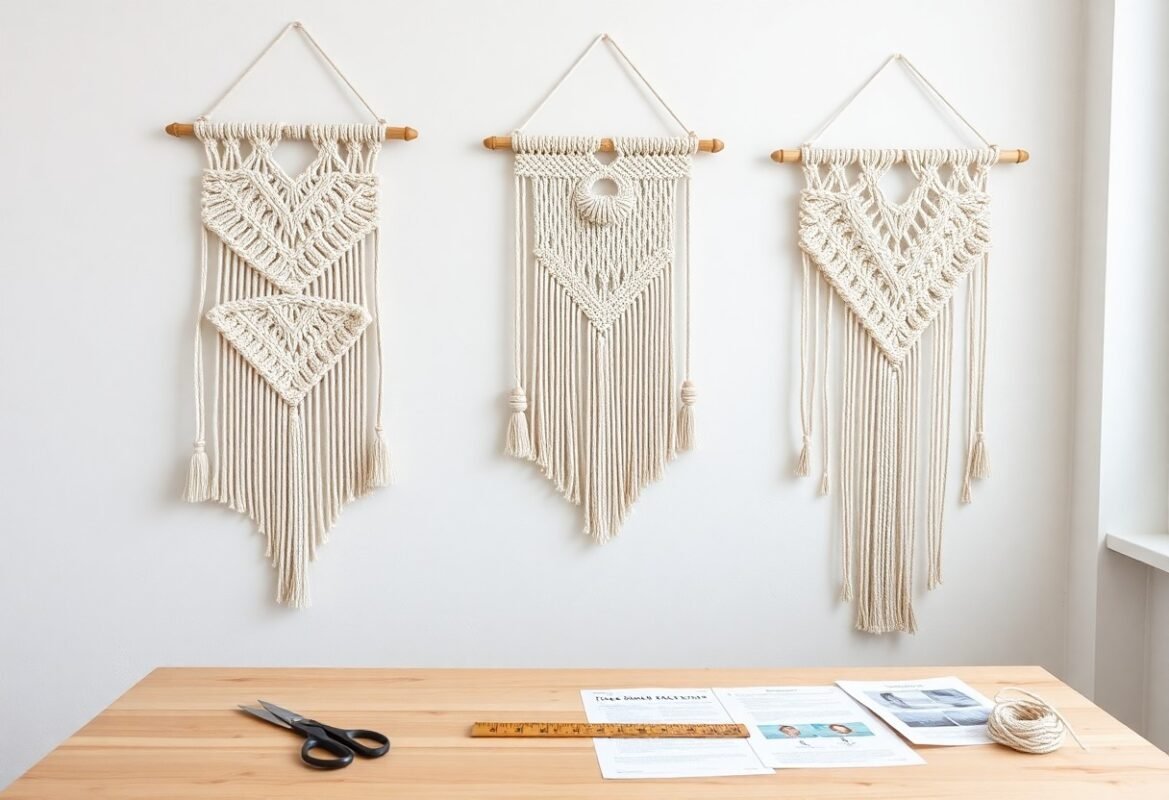
Simple Macrame Bracelet Designs
Simple patterns like square-knot bands, spiral half-knot cords, and sliding-knot closures let you finish a bracelet in 20-40 minutes; you can mix two or three colors for contrast and use 1-2 mm cord widths with 16-19 cm finished lengths for most wrists. Try alternating knot sequences for texture and save reference patterns from 140 DIY Macrame Bracelet ideas to save today.
Classic Knotted Bracelet
You start with a base cord and two working cords (1-1.5 m each) and tie alternating square knots; about 20-30 repeats yields an 18 cm band. Use waxed polyester for durability, flat tape for bold width, and finish with a sliding-knot closure so you can adjust sizing; most beginners complete one in 15-30 minutes.
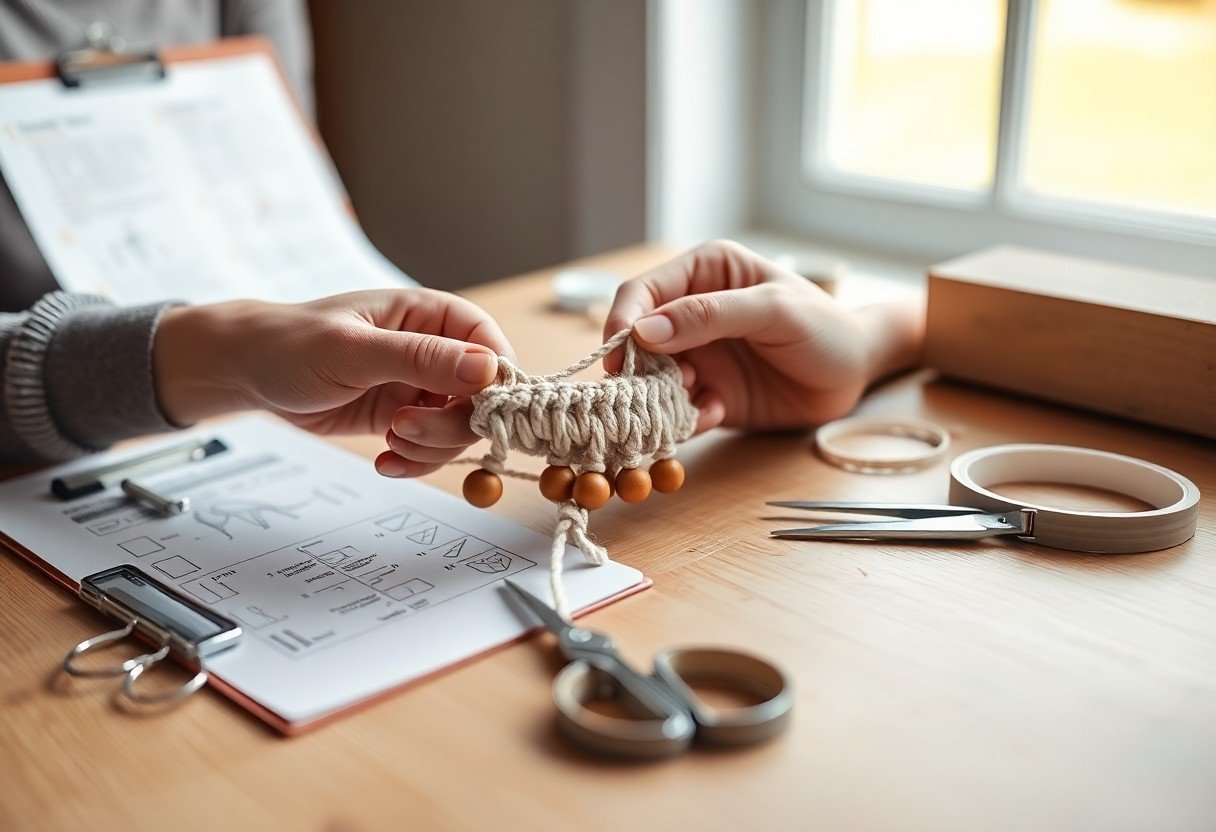
Beaded Macrame Bracelet
You can add 4-8 mm glass or gemstone beads threaded onto the central cord, placing a bead every third square knot for even spacing; ensure bead holes are at least 0.8-1 mm larger than your cord and use a beading needle for tight holes. Expect a beaded piece to take 30-45 minutes depending on bead count.
For heavier beads (6-8 mm jasper or metal), double the center cord and step up to 0.9-1.2 mm waxed cord to prevent sagging; alternate a 6 mm bead with two square knots for a balanced rhythm. You can secure ends with a magnetic clasp or adjustable sliding knot and add a tiny drop of clear jewelry cement to terminal knots for extra longevity.
Tips for Beginners
Start by focusing on repeating one knot pattern for short sessions, practice with 10-15 minute drills, and follow step-by-step videos like Macrame Bracelets Tutorials to copy hand positions and rhythm; use a clipboard or clamp to stabilize your work. Keep a simple kit with 2-3 cord thicknesses to test designs. Assume that
- Use medium-weight cord (1.5-2 mm) for learning balance and visibility.
- Label cords and tails after cutting to avoid swapping strands mid-project.
- Practice one closure type (sliding knot) until you can tie it blindfolded.
- Make quick prototypes to dial in lengths and tension before finalizing.
Measuring Cord Length
Estimate cord by multiplying the finished bracelet length by 4-8 depending on knot density: use 4-5× for simple square-knot bands and 6-8× when adding beads or dense patterns. For a 17.5 cm (7″) bracelet, cut roughly 120-200 cm (47-79″) per working cord and leave a 30-50 cm tail for closures; cut one prototype first to refine the multiplier for your specific cord thickness.
Achieving Tension and Consistency
Anchor your work to a clipboard or macramé board, adopt a consistent hand position, and pull each knot with the same force-try a counting routine (two firm pulls per half-hitch) to standardize rhythm. Check the band width every 5-10 knots and adjust immediately if variance exceeds about 1-2 mm; practice on scrap cord to build reliable muscle memory.
If uneven rows persist, mark a guide point every 3-4 cm on your base cord to align rows and slightly loosen tension (≈10%) when stringing beads so they sit flat; when you count pulls and measure frequently, classroom tests show width variance can drop from ~6 mm to under 2 mm within an hour of focused practice.
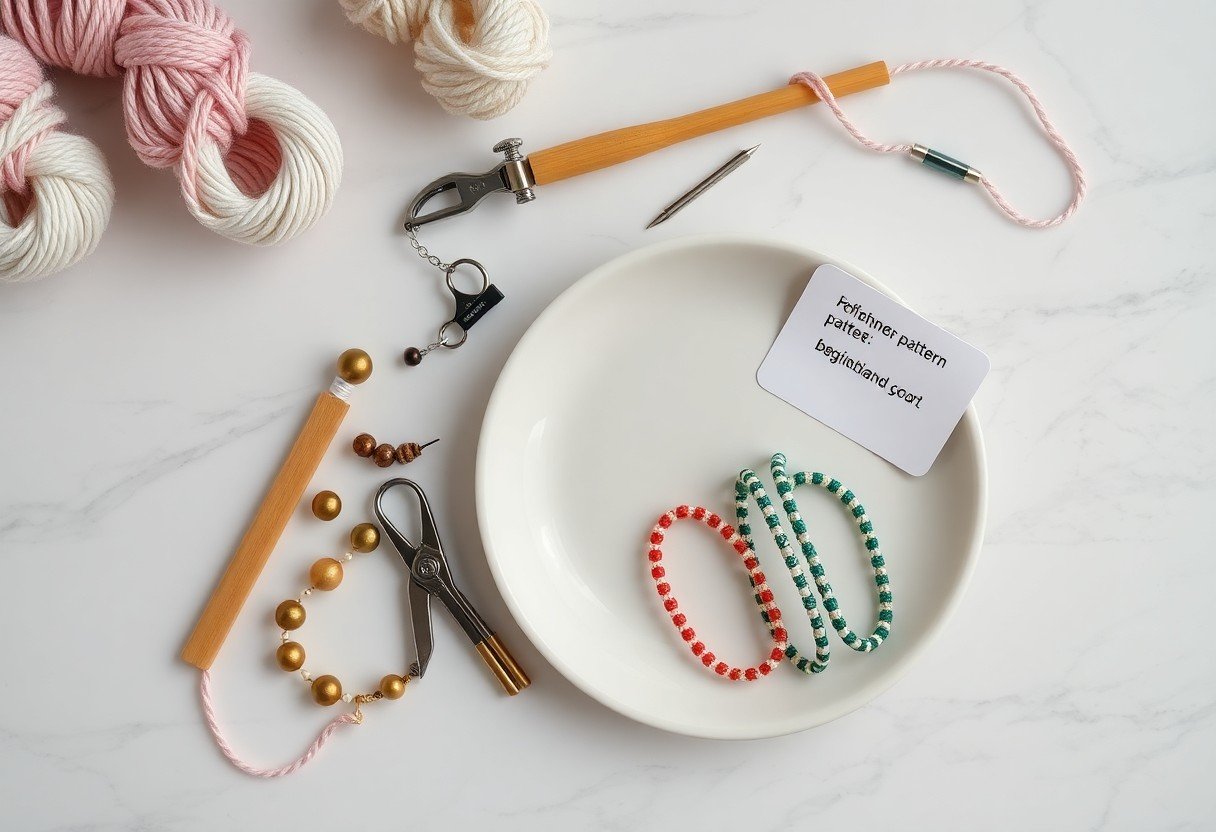
Customization and Personalization Ideas
You can personalize bracelets by swapping cord types, bead sizes and clasp styles-try 1-3mm waxed polyester for durability, 2-4mm gemstone beads for weight, or a magnetic clasp for easy wear. Use initials or birthstone beads for gifts, adjust length in 0.5 cm increments for fit, and consult step-by-step videos like Macrame Bracelets to adapt knots and closures.
Adding Charms and Pendants
You can attach 3-6mm jump rings to integrate charms, threading them onto the center before finishing a square knot section so they sit flat. Choose lightweight pendants under ~10 g for thin cord, or reinforce with a doubled cord for heavier pieces. Try plated brass for affordability or sterling for longevity; test split-ring closures on sample knots to ensure movement without fraying.
Exploring Different Colors and Textures
You’ll see big style differences when combining cord types: 0.8-1.5mm cotton gives soft matte looks, 2-3mm waxed polyester provides sheen and structure, and hemp adds rustic texture. Use color theory-pair complementary colors (blue/orange) for contrast or triadic schemes (red/yellow/blue) for boldness. Alternate two colors every 4-6 knots for stripes, and test small samples to confirm dye transfer and tactile feel.
You should pick UV-resistant waxed cords for outdoor wear and avoid bright dyes prone to fading; for everyday pieces choose cotton or polyester blends that withstand hand washing. Try pairing coral + navy for summer or olive + mustard for autumn, and test colorfastness by rubbing a damp white cloth across a 2-inch sample to spot bleeding. Combine smooth metallic chain with 1-2mm cord for contrast without bulk.
Advanced Techniques for Beginners
Push your skills by experimenting with knot combos, strand counts, and bead placement; for example, use 1.5-2 mm cord, cut each working strand to about 60-80 cm, and test patterns with 6-12 cords to see how width and density change. Try a 4-row repeat (2 square knots + 2 half-hitches) to get a textured band, and note tension differences when adding 4-6 mm beads every 10-12 knots.
- Practice 4-row repeats to build rhythm and consistency.
- Mix knot types (square, half hitch, lark’s head) in a 12-cord layout.
- Use color-blocking with 3-4 strands per color for visual depth.
- Test bead sizes 3-6 mm to maintain flexibility without bulk.
Quick Reference
| Technique | Example / Tip |
|---|---|
| Square + Half Hitch | Repeat 2 square knots then 4 half hitches; use 1.5 mm cord for neat edges. |
| Spiral Knotting | Use 3 strands twisted; 10-12 cm of practice produces a 5 mm wide spiral. |
| Bead Integration | Add 4 mm beads every 8 knots; pre-stretch cords to avoid slack. |
| Multi-Strand Bundling | Group 2-3 cords per bundle to simulate thicker cord without bulking closures. |
Combining Knots for Unique Patterns
You can create signature patterns by alternating knot families: pair 2 square knots with a row of alternating half hitches every 4-6 cm to form chevrons, or insert a row of reverse half knots to make diagonal ribs; working with 10-12 cords produces noticeable pattern repeats, and changing one cord color every third repeat yields a striking ladder effect.
Using Multiple Strands
Start by grouping 3-4 strands per bundle so you get thickness without heavy closures; cutting each strand to twice the wrist circumference plus 30-50 cm gives enough length for knotting and trimming, and using mixed 1.2 mm and 2 mm cords creates contrast in tension and drape.
For more control, split 8-12 strands into 2-4 bundles and practice tension on a jig or clipboard; when you alternate bundle positions every 6-8 knots you’ll produce chevrons or braided textures, and keeping beads threaded on core strands prevents slipping while you knot-try a prototype of 20-25 cm before committing to final materials.
Final Words
The best way to master macramé bracelets is to practice core knots and experiment with cord types so you develop your own style; focus on square, spiral, and lark’s head knots, use quality cord and fittings, test sizes as you go, and gradually add beads or adjustable closures to expand what you make and sell.
FAQ
Q: What basic materials and tools do I need to start making macrame bracelets?
A: Basic starter kit: 1) Cord – 2-3 mm cotton cord or 1-2 mm nylon/cordonette for delicate styles; 2) Scissors and a small ruler or tape measure; 3) Clipboard, macrame board or binder clip to hold your work; 4) A few beads with holes large enough for your cord; 5) Optional findings – jump rings, lobster clasps, end caps or buttons; 6) A needle or toothpick for tucking ends, and a lighter or fabric glue for finishing synthetic cord ends. Choose smooth, flexible cord for easier knotting.
Q: Which knots should beginners learn first and why?
A: Start with: 1) Lark’s head – to attach cords; 2) Square knot – versatile for flat patterns and beading; 3) Half knot (creates a spiral) – for textured bracelets; 4) Double half hitch – for tidy diagonal/chevron lines; 5) Overhand knot and sliding knot – for simple finishes and adjustable closures. These cover most beginner patterns and build skills for more complex designs.
Q: What are three simple bracelet designs beginners can try right away?
A: Easy starter projects: 1) Square-knot band – use four cords, tie repeated square knots for a classic look; 2) Spiral/half-knot bracelet – use two working cords around center cords to create a twisted rope; 3) Beaded square-knot bracelet – incorporate beads between square-knot repeats. Each uses basic tools and teaches tension control and spacing.
Q: How do I choose cord type, color, and thickness for a project?
A: Choose by look and function: cotton is soft and matte, great for casual bracelets; nylon/polyester is shiny and durable for outdoor wear; hemp gives a rustic look. Thickness: 1-2 mm for delicate, 2-3 mm for everyday bracelets, 3-5 mm for chunky styles. Match cord diameter to bead hole size and desired texture; pick 1-3 coordinated colors or a single statement color for beginners.
Q: How much cord should I cut for a bracelet to avoid running out mid-project?
A: Use multipliers based on pattern complexity: simple braids or square-knot bands – 3-4× finished length per working cord; half-knot/spirals – 5-6×; intricate patterns – 7-10×. Example: for a 7″ finished bracelet using a square-knot pattern with four working cords, cut each working cord about 21-28″ (3-4×7″). Add a few extra inches for tying closures.
Q: What are beginner-friendly closure options and how do I make them?
A: Sliding knot – overlap bracelet ends, wrap a short cord tightly around both ends 6-8 times, thread the wrap’s tail through its loop and pull to secure, allowing adjustment. Button loop – create a small loop at one end with a few knots and sew or knot a button on the other end to fasten. Clasp with end caps – insert cord ends into end caps, crimp or glue, then attach a jump ring and clasp for a polished finish.
Q: What common problems will I face and how can I fix them?
A: Uneven tension – practice consistent pulling; use a clipboard or tape to hold cords steady. Fraying ends – trim and seal synthetic cords with a lighter or use fabric glue for natural fibers. Running out of cord – cut longer next time using the multipliers above; salvage short projects by adding an accent bead or extension chain. Beads slipping – use smaller-hole spacer beads or secure with a few half-hitches around the bead. If knots look messy, undo a few rows and re-tension slowly.