With simple cords, a few basic knots, and minimal tools you can create trendy macrame earrings that reflect your aesthetic and craftsmanship; this guide shows step-by-step techniques, material choices, and finishing tips so your designs last and look professional. You’ll learn pattern variations, scale adjustments, and how to combine beads and hardware for polished results.
Key Takeaways:
- Beginner-friendly: learn a few basic knots (square knot, half hitch) to create most earring designs.
- Materials matter: choose lightweight cords, waxed thread, small beads, and quality earring findings for comfort and durability.
- Trendy styles: boho fringe, geometric patterns, hoop-wrapped designs, tassels, and beaded accents are popular and customizable.
- Simple tools and finishing: scissors, pliers, tape or clipboard, and a dab of glue to secure knots produce professional results.
- Care and selling tips: photograph well for online shops, avoid soaking, store flat or hung, and spot-clean gently.
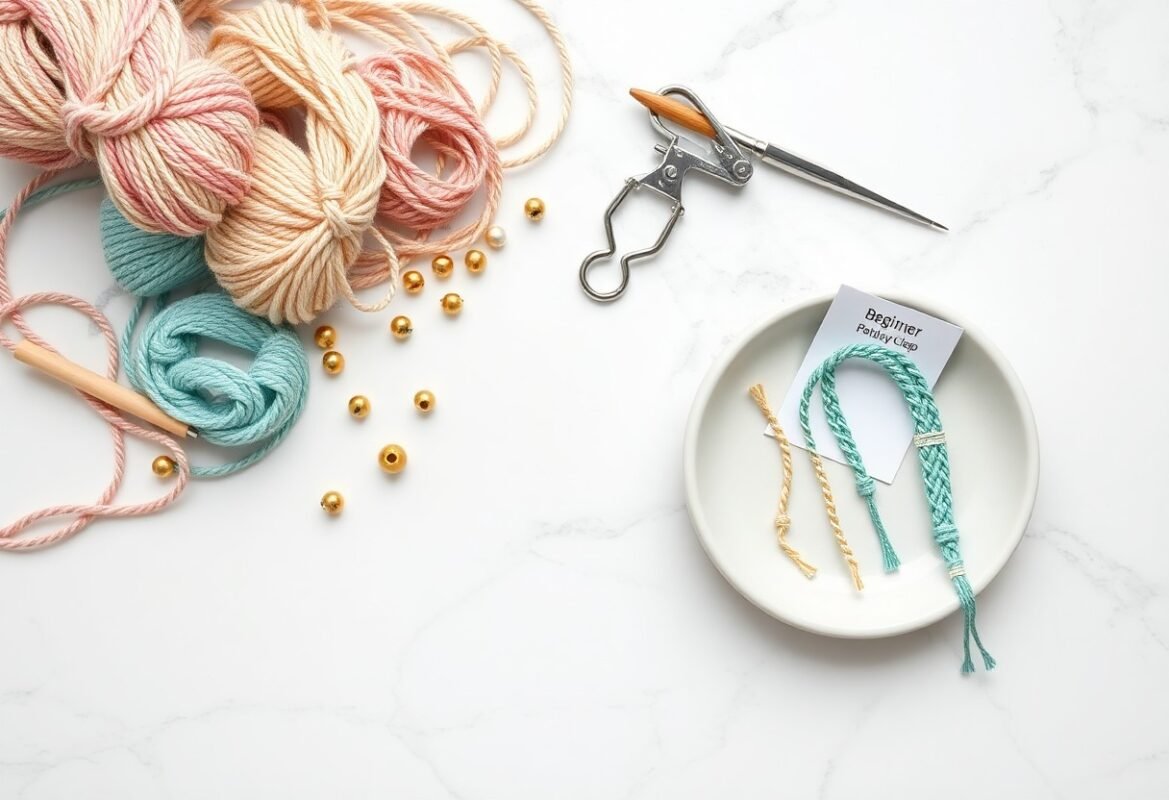
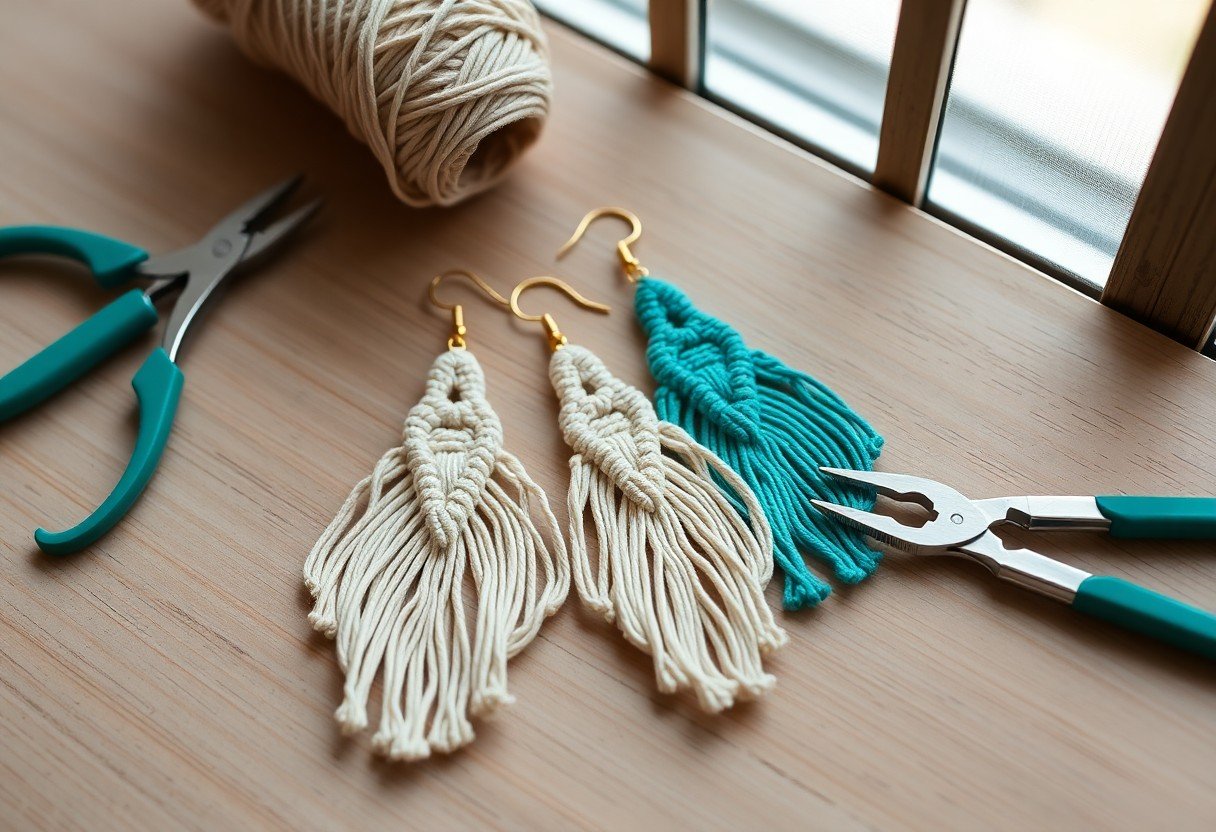
Materials Needed
Types of Cord
You should choose cord by fiber and diameter: 0.5-1.5 mm nylon or polyester works for delicate, micro macramé, while 2-3 mm cotton and hemp create bold, statement earrings; waxed cord (0.8-1.2 mm) gives extra grip for intricate knots. You’ll also consider colorfastness and stretch-synthetic cords resist moisture, natural fibers soften with wear, and thickness changes knot definition and earring weight.
| Nylon 0.5-1 mm | Best for micro macramé, smooth finish, low stretch |
| Cotton 2-3 mm | Creates textured, lightweight statement pieces |
| Waxed polyester 0.8-1.2 mm | Holds tight knots, great for delicate detail |
| Hemp 1.5-3 mm | Natural look, slightly coarse, durable |
| Elastic/silk cord 0.5-1 mm | For wrapped details or drapey accents |
- Match diameter to earring size: 0.5-1 mm for dangly, 2-3 mm for bold hoops.
- Test one-meter samples for knot tightness and colorfastness before committing.
- Use waxed cord when you need structure in tiny, repeating knots.
This helps you quickly pair cord properties to the design you’re planning.
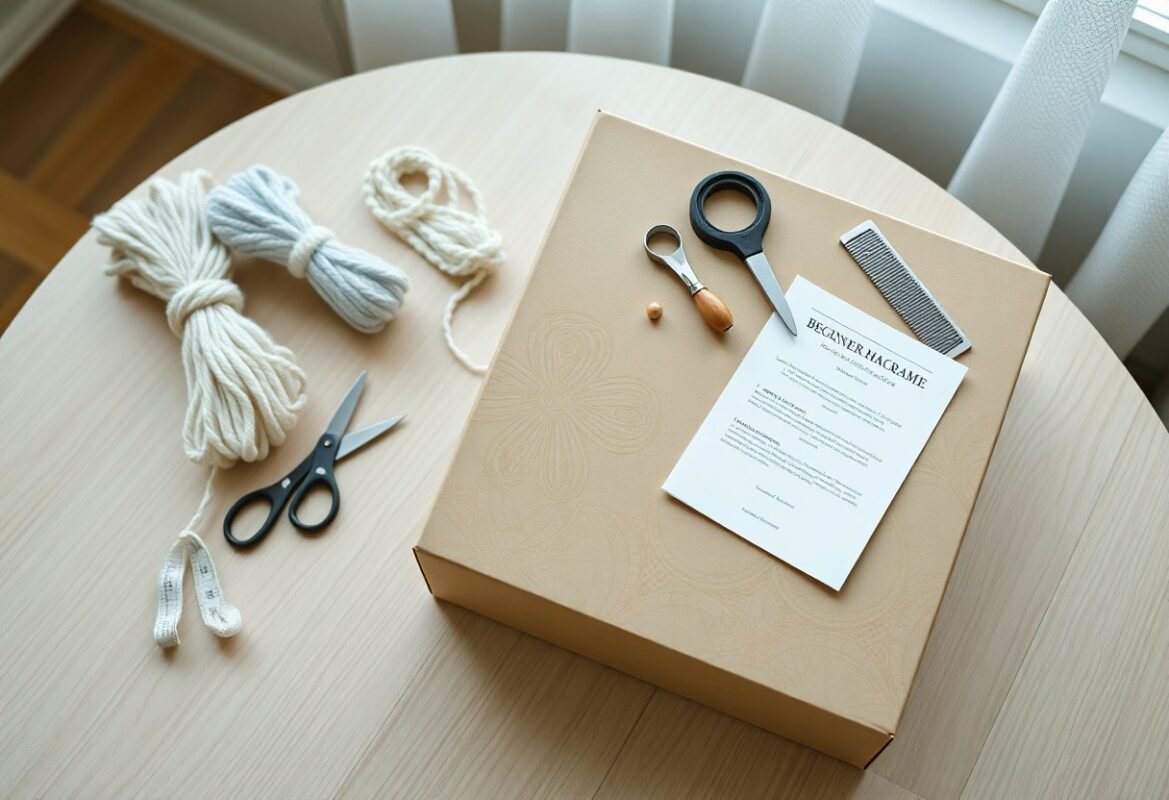
Tools and Accessories
You’ll need flush cutters, needle-nose pliers, round-nose pliers, a fine ruler (mm/in), a lighter for synthetic ends, and a reliable adhesive like E6000; expect to spend $20-$35 on a basic tool kit that covers these necessarys. Earring findings-hooks, studs, jump rings-are typically 6-12 mm; choose stainless or gold-filled for skin-safe results.
Additionally, include a small work board with pins or a clipboard to hold patterns, a pack of 2-4 mm glass or seed beads for accents, and a set of 0.5-2 mm eye needles for threading. You’ll find that better cutters and pliers (comfort grips, hardened steel) save time and produce cleaner finishes on metal findings and trimmed cord ends.
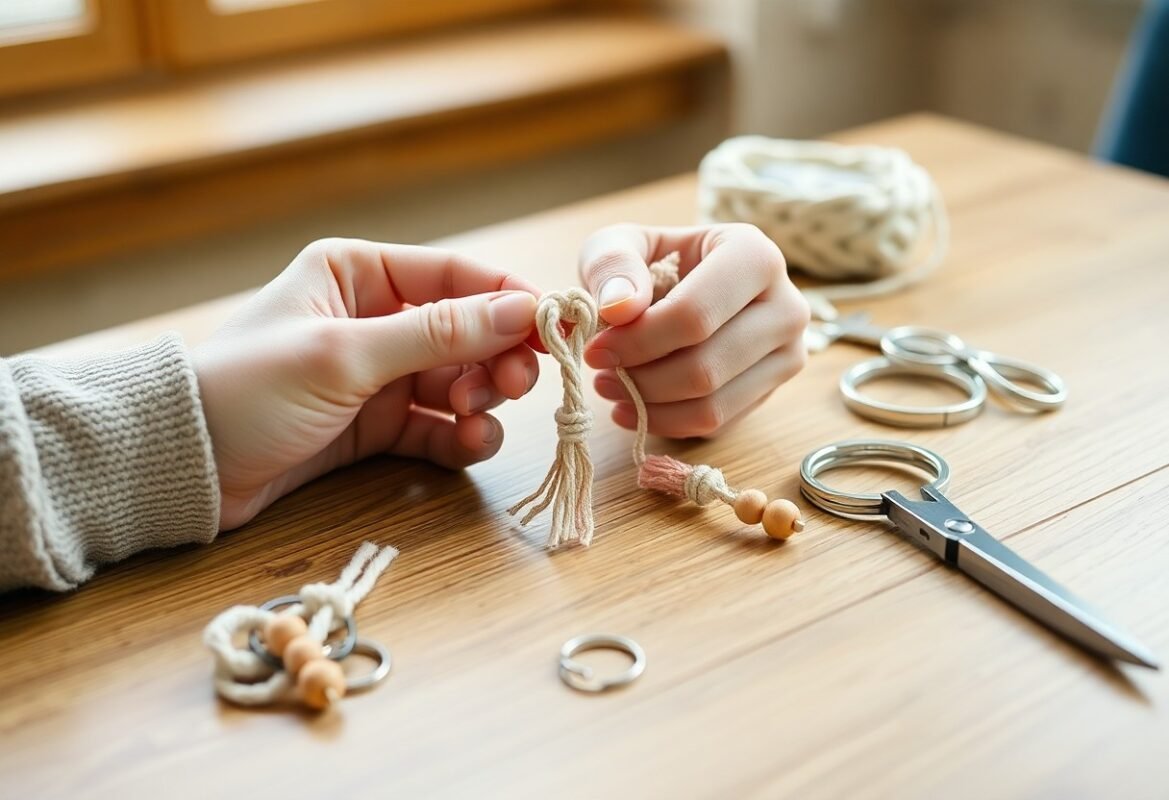
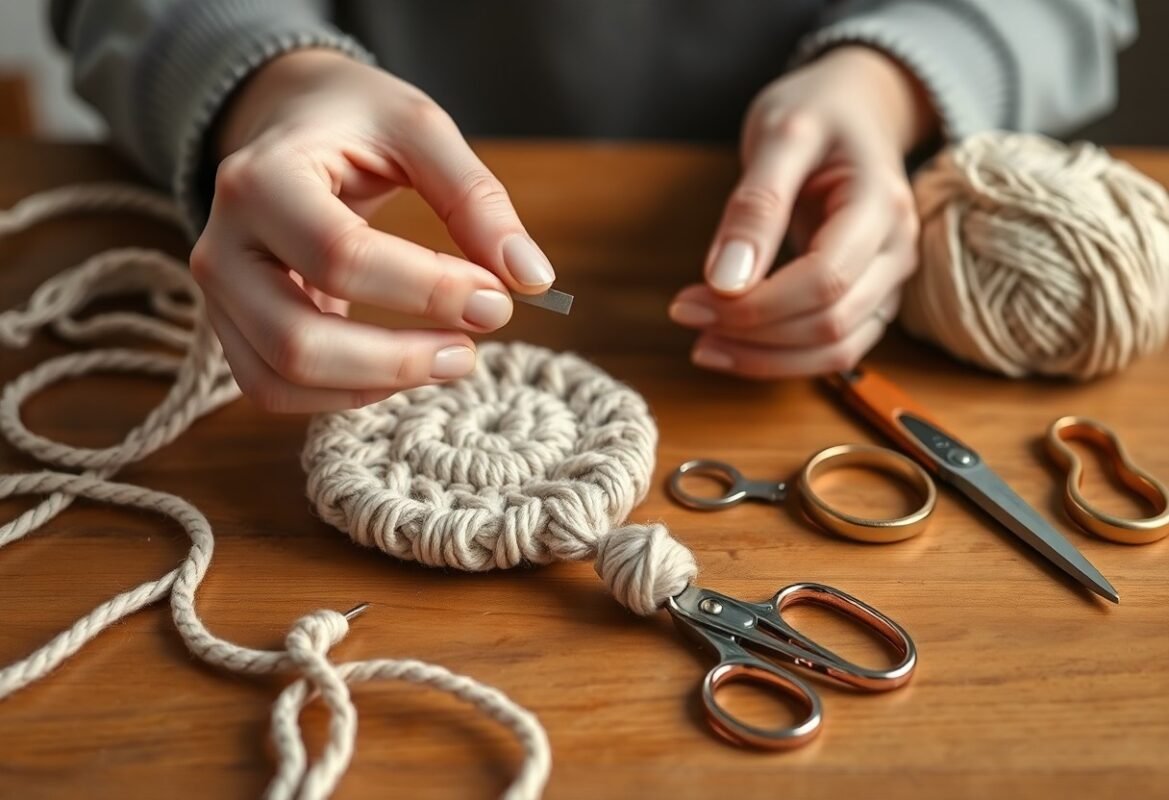
Basic Macrame Techniques
Start by preparing your workspace: a clipboard or ring clamp, beads, earring hooks, and cord. You’ll get best results with 0.5-1 mm cotton or waxed cord; cut cords roughly 3-4 times the desired finished length (for a 4 cm dangle use 30-40 cm). Practice setups with 4-12 working cords-earrings commonly use 4-8 cords for delicate silhouettes-and keep symmetry in mind as you anchor cords with lark’s heads.
Knots Overview
Master four core knots: lark’s head to anchor, square knot for flat panels, half hitch/double half hitch for lines and curves, and the half knot to create spirals. Use a square-knot sequence of four cords repeated 6-12 rows to produce a 2-3 cm panel, while repeating 12-20 half knots yields a consistent spiral twist. You’ll mix these knots to control texture, density, and weight in each earring.
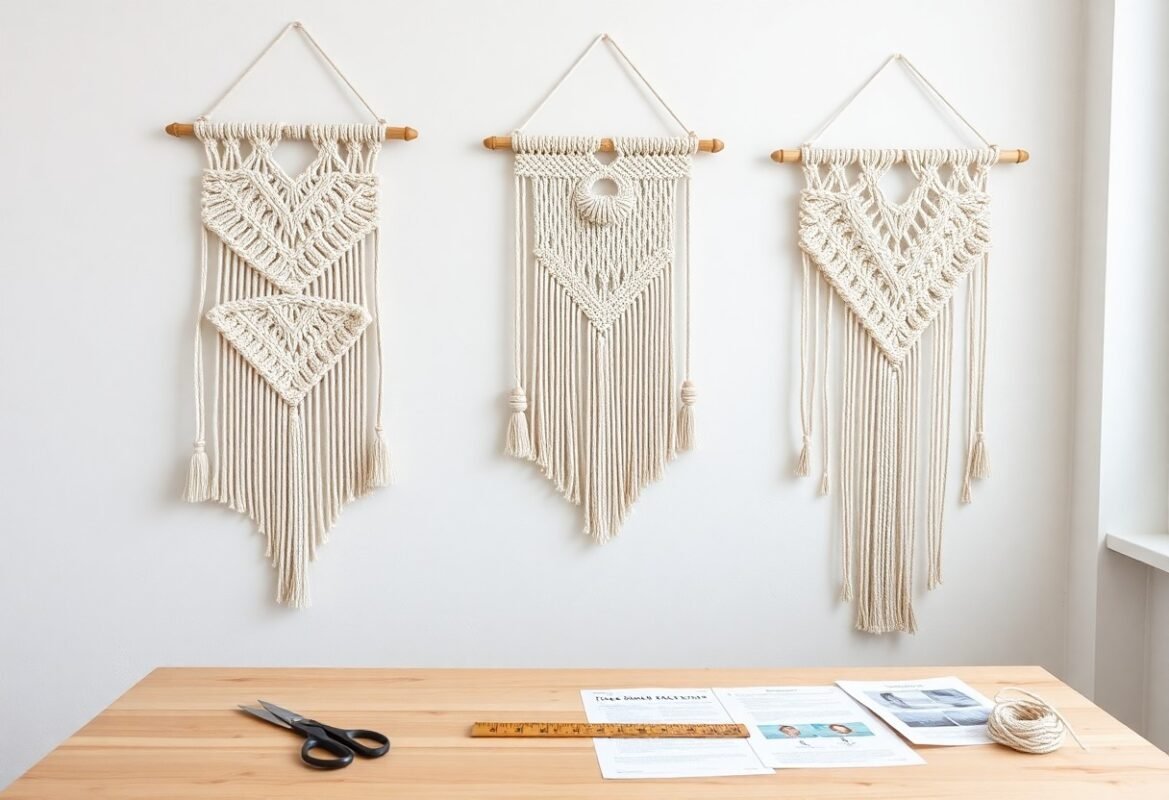
Patterns and Designs
Chevron, diamond, spiral, and fringe are staple earring patterns. Achieve a chevron by alternating mirrored square-knot groups around a center filler cord; diamonds appear when alternating rows of square knots with spaced half-hitches, typically 6-8 rows per motif. Add small beads between knots (2-5 mm) for accents, and vary cord thickness to scale the pattern from dainty (3 cm) to statement (5+ cm) drops.
For more precision, try this sequence: attach eight 40 cm cords with lark’s heads, work three rows of square knots (each row using the four central cords) to form a 3 cm diamond, then define edges with five double half-hitches and finish with a 4 mm bead before adding a 12 mm French hook. This yields a balanced 3-4 cm finished drop you can replicate or scale by adjusting cord length and knot counts.
Step-by-Step Guide to Making Macrame Earrings
| Overview | You’ll begin by measuring and cutting cords, choosing hardware, and planning a knot sequence; for many designs use 1 mm cord and 4 strands of 50-100 cm each, attach them to a 12-20 mm hoop, then work square and half-hitch knots in 6-12-knot rows to build shape-expect 10-40 minutes per earring depending on complexity. |
Simple Style Tutorial
| Simple Style | You can make a classic pair using four 45-60 cm cords, a 12 mm hoop, and basic square knots; set up by folding cords over the hoop, tie 6-8 square knots in a row, trim ends to a 1-2 cm fringe, and attach ear hooks-most beginners finish one earring in 8-15 minutes. |
| Simple Steps |
|
Advanced Style Tutorial
| Advanced Style | You’ll combine square knots, alternating half-hitches, and bead integration using 1-1.5 m cords and 2-4 mm glass or metal beads; plan for 30-60 minutes per earring, string beads onto working cords before knotting, and vary knot counts (e.g., 12 knots then a bead) to create layered textures and tapered silhouettes. |
| Advanced Details | You should map your pattern on paper: use sets of 4 working cords with 12-knot rows, place a bead after every 4 knots for rhythm, and anchor with a tight finishing knot plus a drop of clear glue; professionals often use a beading needle and clamp to keep tension consistent when adding 2-3 mm spacer beads. |
| Advanced Steps |
|
Tips for Customization
Mix cord widths-0.5mm for delicate hoops and 1.5-2mm for bold statement pieces-and adjust knot density (6-10 half-hitches per inch gives a tight braid). Swap metals and findings to switch vibes: brass ages, stainless resists tarnish. Test color combos on a 10 cm scrap before committing. Thou can follow How to make DIY macrame earrings (a step-by-step tutorial) for a full walkthrough.
- Scale length by 5-10 mm increments to suit face shape.
- Use contrasting cord colors every 3-4 knots for stripe effects.
- Add backing discs or leather for structure on heavy designs.
- Swap earring hooks to leverbacks for security or studs for minimal looks.
Adding Beads and Charms
Thread seed beads (2-4 mm) into square knots for subtle shimmer and reserve 8-12 mm focal beads on drops to anchor weight; use headpins and rolled loops for metal beads and 4-6 mm jump rings to attach charms without bulk. If you work with wooden beads, seal them with matte varnish to prevent dye bleed. Plan spacing every 3-5 knots and test bead-hole size against your cord before final assembly.
Dyeing Techniques
If you dye cotton cord, use fiber-reactive (Procion) dyes for the most colorfast results while acid dyes suit silk or nylon. Immersion dyeing yields even color, dip-dye creates ombré transitions, and tie-dye gives bold patterns; try 2% dye weight for medium saturation or 0.5-1% for pastels. Rinse until water runs clear and air-dry flat to avoid kinks.
For a small batch, weigh 100 g cotton cord, dissolve 2 g Procion dye in 200 ml warm water, add 1 tbsp soda ash to the bath, then submerge cords for 30-45 minutes, agitating every 5-10 minutes; rinse until clear and wash in cool water with mild detergent. Fix dye per product instructions (often heat-set at 60-80°C for 20-30 minutes), always test a 10 cm sample first, and use gloves and good ventilation.
Caring for Your Macrame Earrings
You’ll extend the life of cotton and nylon macramé by treating fibers and findings differently: natural cotton can shrink ~2-5% with hot water, while nylon and waxed polyester tolerate gentle washing. Spot-test first; re-tighten sliding knots and replace oxidized hooks. For inspiration and real-world wear examples, see Some of my latest micro-macrame earrings that I made to learn how makers address durability.
Cleaning and Maintenance
You should spot-clean with a soft toothbrush and a solution of 1 teaspoon mild soap per cup warm water, working gently on knots; rinse and lay flat to air-dry 12-24 hours. For metal findings use a jewelry polishing cloth and avoid soaking pieces with glued elements. Inspect knots every 3-6 months and, if needed, secure loosened ends with a tiny dab of clear fabric glue or fray-check.
Storage Solutions
Store earrings flat or hanging to prevent tangles: use earring cards, foam inserts, or a hanging organizer. Place 2-3 silica gel packets in a 1‑quart storage box to control humidity and protect metal components. Keep pairs in individual pouches or compartments so cords don’t rub and colors remain vibrant longer.
When you travel, pack earrings between layers of tissue paper or in a pill organizer to avoid crushing; separate zip-top bags reduce abrasion. For long-term storage, choose acid-free envelopes and a rigid box to preserve shape; include a small humidity indicator card if you archive more than 50 pairs so you can monitor moisture over time.
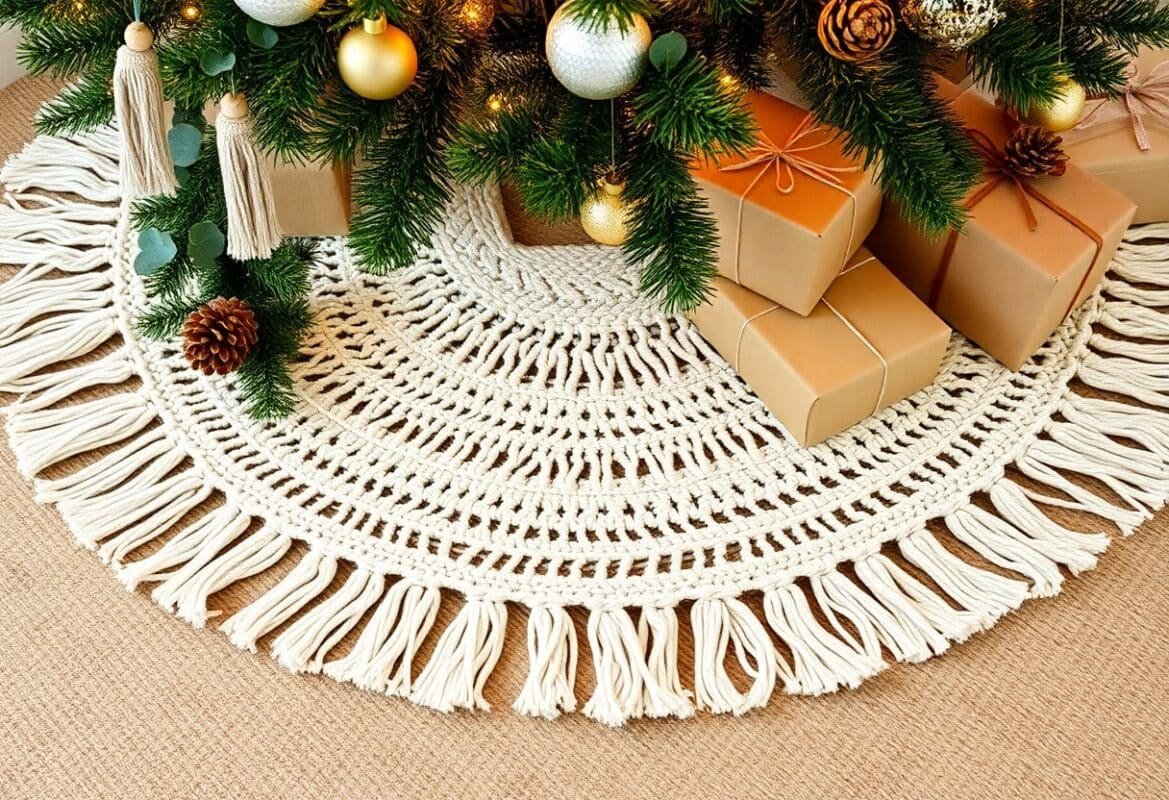
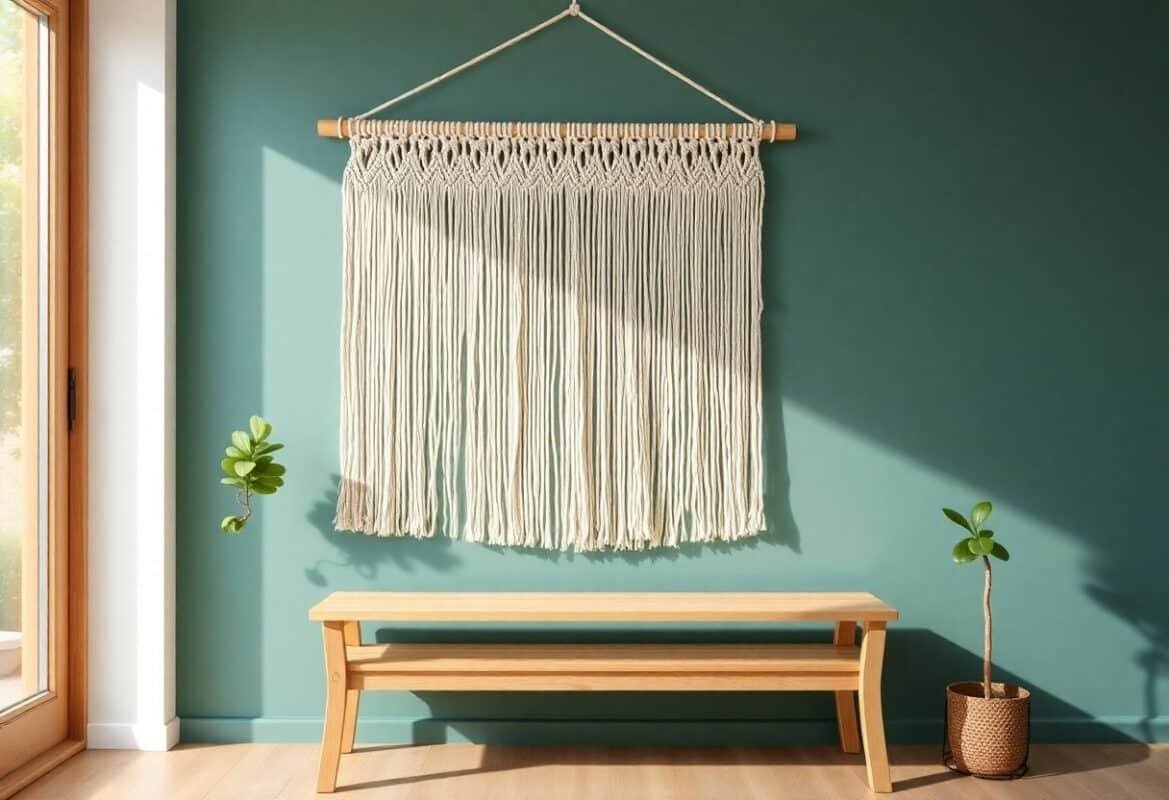
Inspiration and Trends
You can spot recurring motifs-minimal micro-macramé studs, bold fringe drops, and geometric hoops-in 2024-25 boutique catalogs; color-wise, earthy terracottas and muted pastels mix with metallic accents. Try combining wood beads with brass findings for contrast. For a curated moodboard, explore 22 Macrame Earrings ideas in 2025 to see specific shapes and colorways.
Current Styles
Three styles dominate right now: micro-macramé studs for everyday wear, cascading tassel drops for festival-ready looks, and oversized geometric hoops as statement pieces. You should use 0.5-1.5 mm cord for delicate studs and 1.5-3 mm for structured shapes; mixing metallic findings or seed beads adds polish and durability to each design.
Where to Find More Ideas
Use Pinterest boards, Etsy best-seller lists, Instagram reels, and DIY YouTube channels to collect references; you should pin or save 15-30 images to define a cohesive palette and silhouette before starting a design. Look for posts that include material lists and clear step photos to speed up your learning curve.
When searching, use specific phrases like “micro macramé earrings,” “boho tassel earrings,” or “macramé hoop tutorial” to narrow results; you should filter for “tutorial” or “video” to find step-by-step guides. Also join niche Facebook groups or local craft workshops to test techniques hands-on and gather supplier links for cords, beads, and findings.
Conclusion
On the whole you can master macramé earring techniques quickly, using simple knots and varied cords to create trendy, wearable art that fits your style. With practice your designs become more refined, allowing customization of color, length, and embellishments. DIY macramé earrings remain an affordable, sustainable way to build a unique accessory collection and potentially a small business offering handmade styles that stand out.
FAQ
Q: What basic supplies do I need to start making DIY macrame earrings?
A: The imperatives are cord, earring findings, tools and finishing supplies. Choose cord by material and diameter – waxed cotton, nylon, linen or polyester in 0.5-2 mm widths; finer cords (0.5-1 mm) suit delicate, detailed work while 1-2 mm create bold texture. Findings: ear wires, studs with flat pads, jump rings, small hoops and crimp beads. Tools: sharp scissors, tweezers or a needle, ruler or caliper, a lighter (for synthetic cord ends), small pliers, and a clip or pinboard to hold pieces while knotting. Finishing: clear-drying jewelry glue, bead caps or end crimps, and optional beads or charms for decoration. Cut lengths vary by pattern (common starting lengths are 30-60 cm per working strand) and plan for extra to allow knotting and finishing.
Q: Which macrame knots are used most often for earrings and how are they applied?
A: Key knots: lark’s head (attaches cords to a base or hoop), square knot (flat decorative panels or small borders), half knot/spiral knot (creates twisted columns), double half hitch (fine outlining and shaping), overhand knot (simple stopper), and wrapped knot (securely binds ends to findings). Use lark’s head to attach strands to hoops or rings; square knots for flat shapes and patterns; half knots when you want a spiraled texture; double half hitch to create tidy edges and small curves; wrapped knots or crimp beads for attaching to ear hooks. Practice each knot on spare cord to control tension and spacing.
Q: What trendy macrame earring styles should I try and which cords suit them?
A: Popular styles: boho tassel drops (soft cotton or linen, fine to medium cord), geometric shapes and mini wall pieces (stiffer waxed or nylon cord for crisp edges), wrapped hoop earrings (thin cord for delicate wraps, medium for chunky look), layered dangles with beads (mix of cords and lightweight beads), asymmetrical statement pieces (contrast textures and colors), and feathered macrame or fringe (long natural-fiber cords for movement). Match cord choice to the style: natural fibres for a matte, organic look; synthetic or waxed for defined shapes and durability.
Q: How do I plan earring size and weight so they’re comfortable and wearable?
A: Decide intended wear: studs/mini drops (1-3 cm), everyday drops (3-6 cm), statement pieces (6-10 cm). Keep total weight low: aim under ~6 grams per earring for sensitive ears; use lightweight beads and avoid heavy metal findings. Thicker cords increase perceived weight and stiffness-use wider cords only for short designs or secure with lighter findings. Prototype one earring and wear it for 10-15 minutes to test comfort, balance and movement before finishing the pair.
Q: What are tidy, secure ways to attach macrame work to earring findings and finish ends?
A: Options: use wrapped knot or whip finish around a jump ring/eye pin, then trim and seal; thread cords through a flat pad stud and glue inside the pad before clamping to hide ends; insert cord ends into crimp beads or cord ends and crimp with pliers; for hoops, use lark’s head or tight wrapping and secure with a drop of glue. For synthetic cord, carefully melt tips with a lighter and press to seal; for cotton/linen, use a dab of Fray Check or clear jewelry glue and tuck ends under knots or into bead caps. Ensure knots are tightened while pinned to a board so attachments sit flat and aligned.
Q: What common problems occur and how can I fix them during the macrame earring process?
A: Uneven knots – measure and mark cord centers, use a clipboard/pinboard and tension each strand equally; twisted cords – untwist by running fingers along strands or use a light steam for natural fibers; fraying – trim cleanly and seal ends with glue or heat as appropriate; slipping knots on slick cord – add a small drop of clear glue at the core knot or switch to waxed cord; asymmetry after finishing – unpick only the section needed and re-tie with consistent tension; heavy or drooping earrings – reduce bead size or switch to lighter cord or findings. Test fixes on scrap lengths first.
Q: How should I clean, protect and store handmade macrame earrings to keep them looking good?
A: Dust gently with a soft brush. Spot-clean cotton or linen with mild soap and water; rinse quickly and air-dry flat away from direct sun. For synthetic cord, wipe with a damp cloth. Keep metal findings from tarnishing by avoiding water and perfumes; polish metals with a soft cloth. Store pairs flat or hanging to avoid tangles, ideally in a dry container with silica gel to control moisture. For sensitive ears, use hypoallergenic findings (sterling silver, gold fill, titanium) and replace base findings if irritation appears.