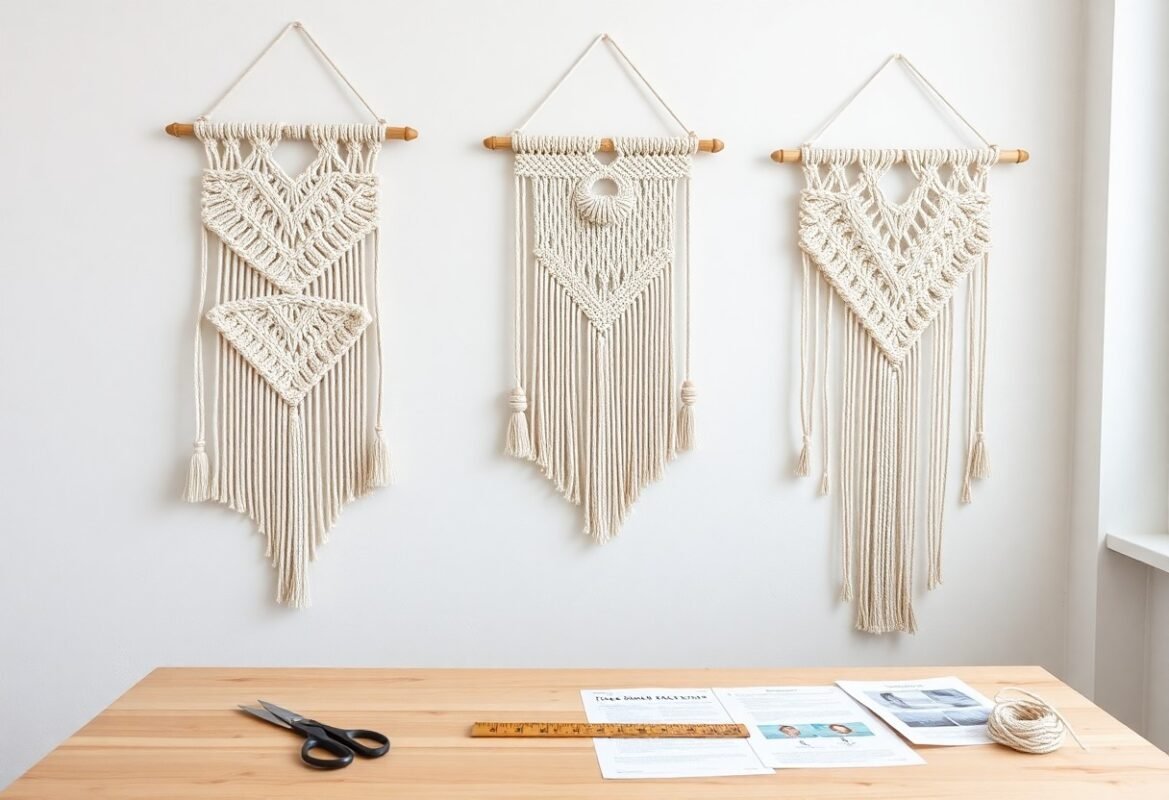
Most projects like this require only cord, a dowel or ring, and basic knot skills, and you can quickly create a stylish macrame hair clip holder that organizes your clips and doubles as decor. This tutorial guides you step-by-step through materials, crucial knot techniques, and finishing touches so you achieve durable, professional-looking results even if you’re new to macrame.
Key Takeaways:
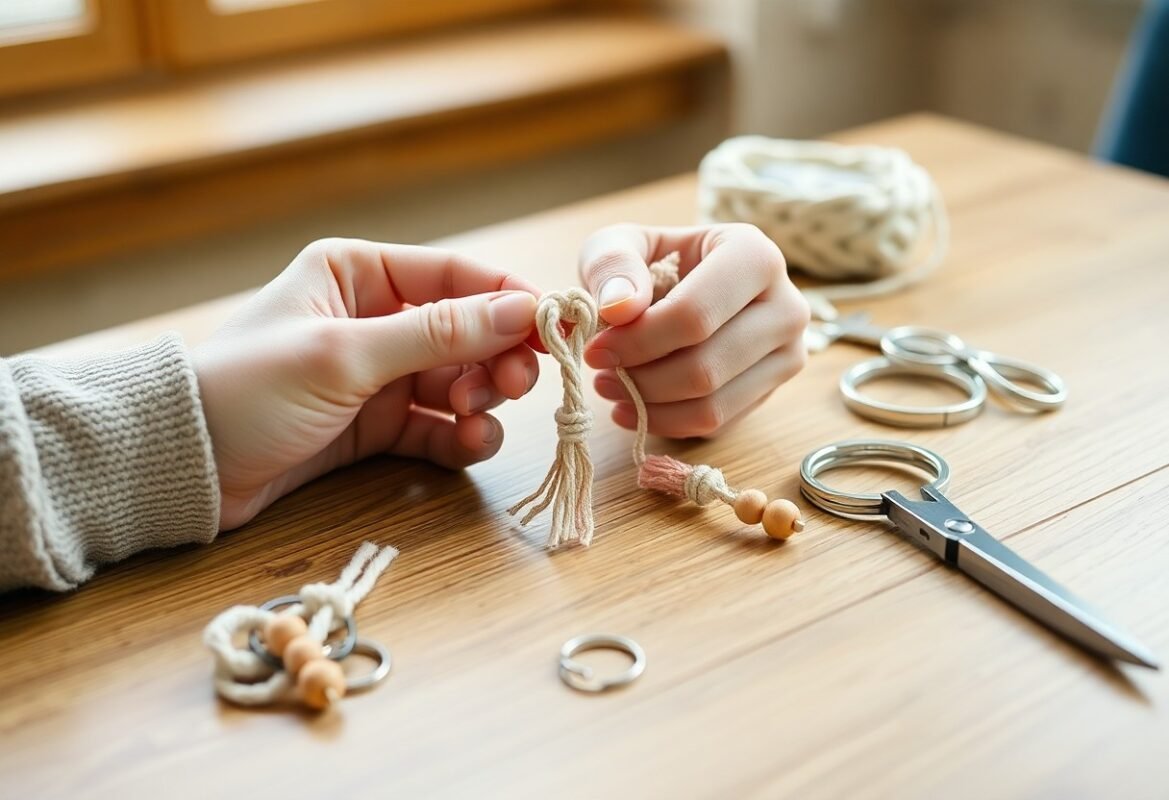
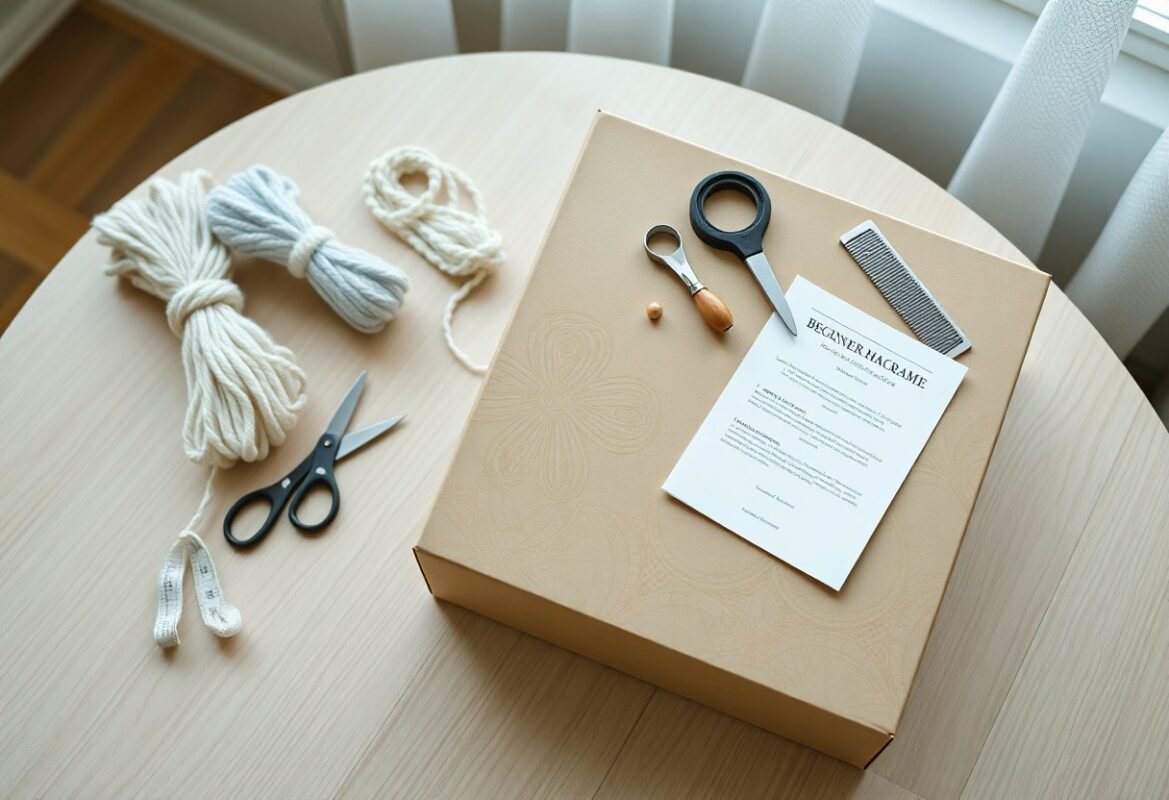
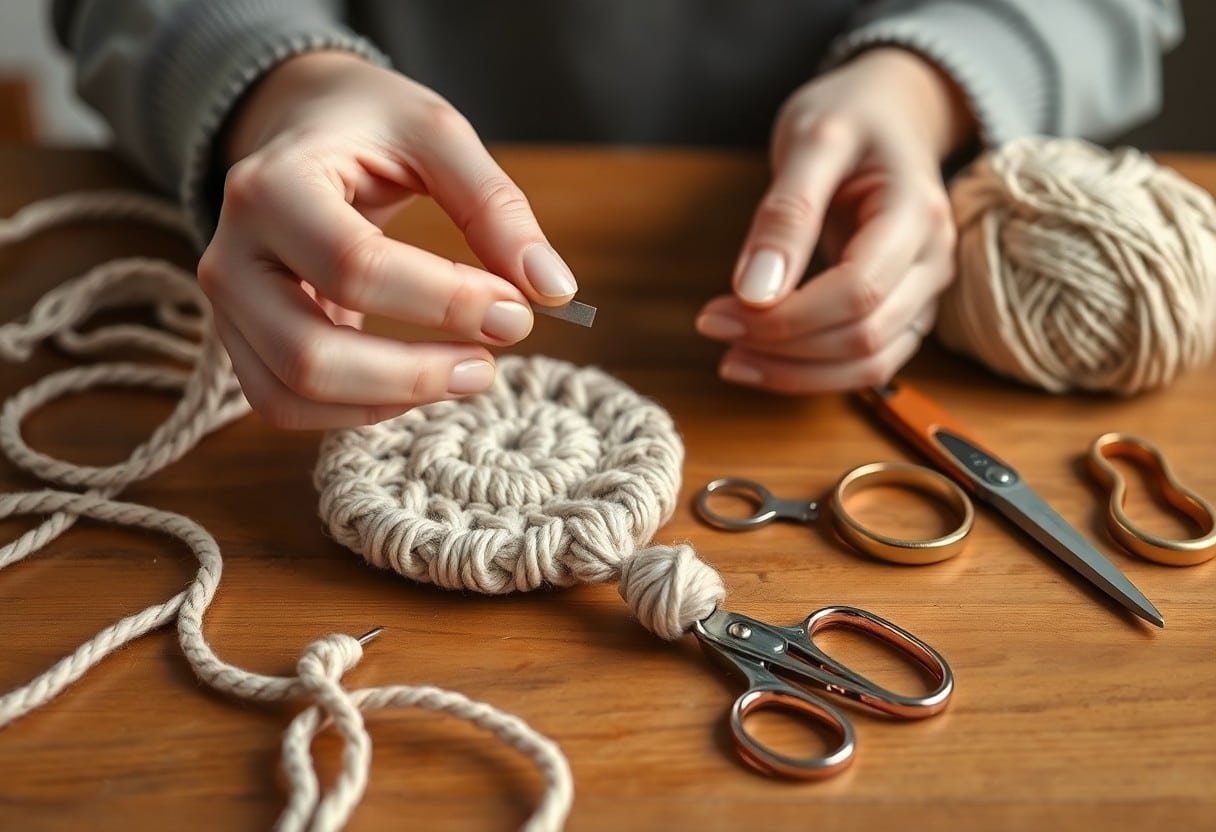
- Gather cotton or nylon cord, a wooden dowel or ring, scissors, tape measure and fabric glue or Fray Check for finishing.
- Learn a few basic knots: lark’s head to attach cords, square knots and half-hitches to build the pattern.
- Measure clip sizes and plan cord length and spacing so clips fit without crowding and leaves room for fringe or trims.
- Create secure clip attachment points with small knotted pockets, sewn loops, or jump rings for removable clips.
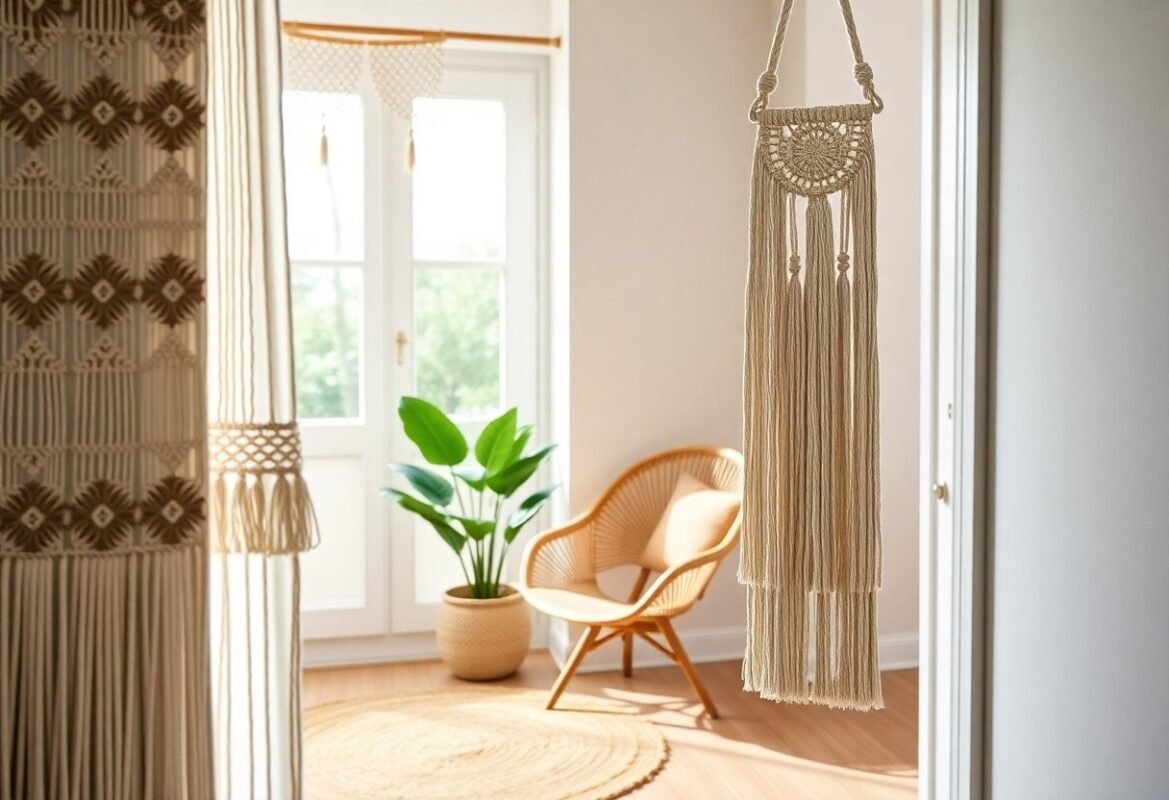
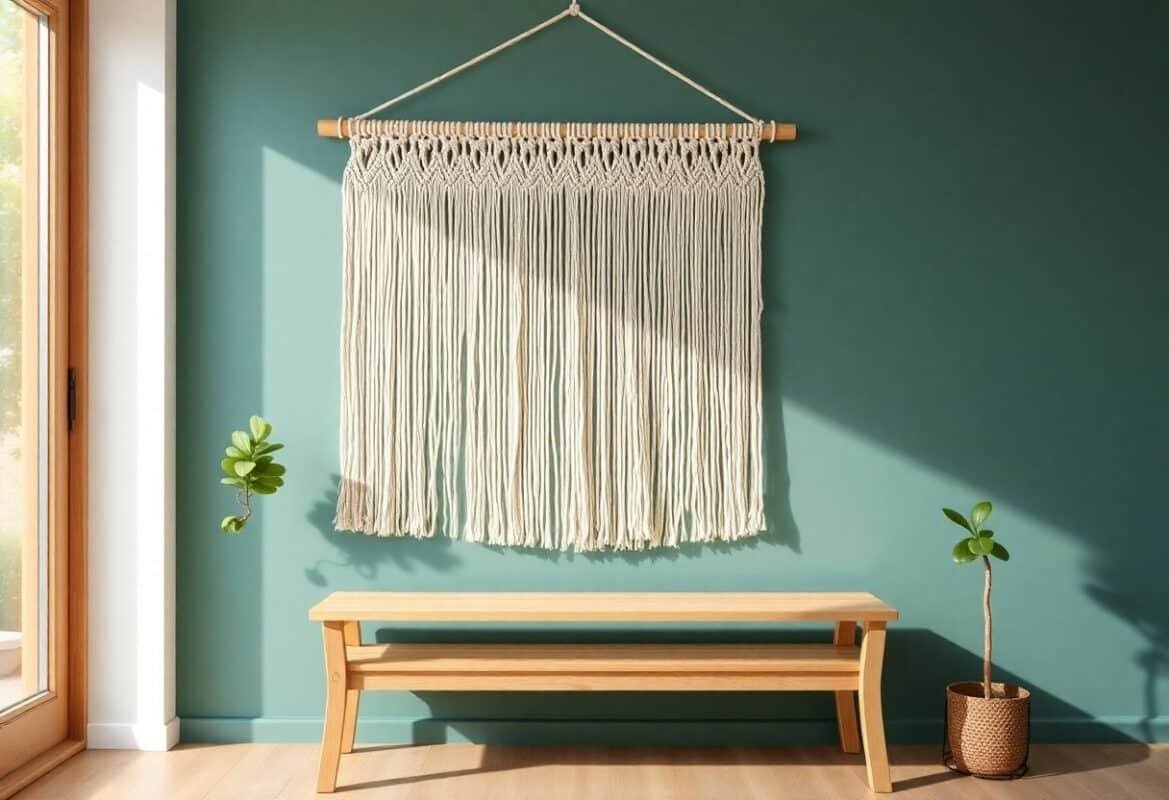
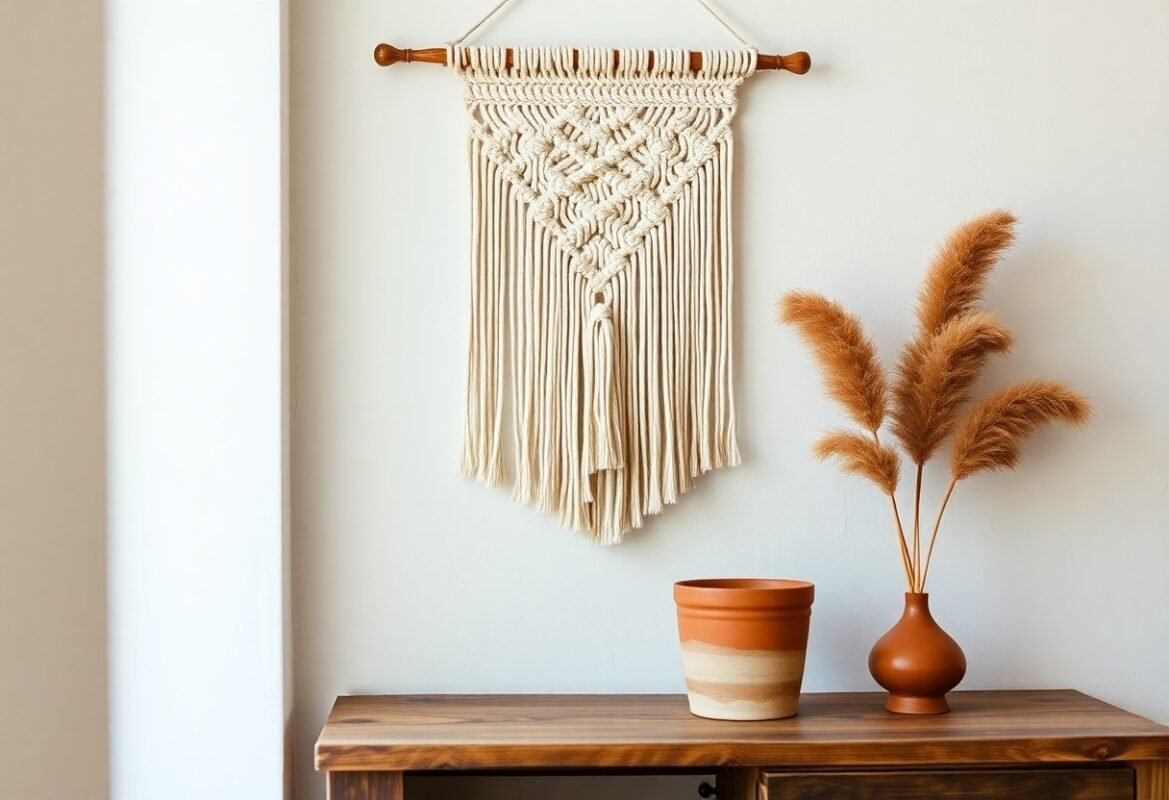
- Finish neatly by trimming ends, sealing with fabric glue, and hang the holder near a mirror or bathroom for easy access.
Materials Needed
Essential Supplies
You’ll need about 50-100 ft of 3mm cotton macramé cord for a 12-18″ hair clip holder, a 12-24″ wooden dowel or smooth branch, 20-40 hair clips (alligator or snap style), a measuring tape, sharp craft scissors, and a 2.5mm crochet hook to help pull cords through tight knots; add a ruler and a couple of clothespins or a small clamp to hold sections while you work.
Optional Decorative Items
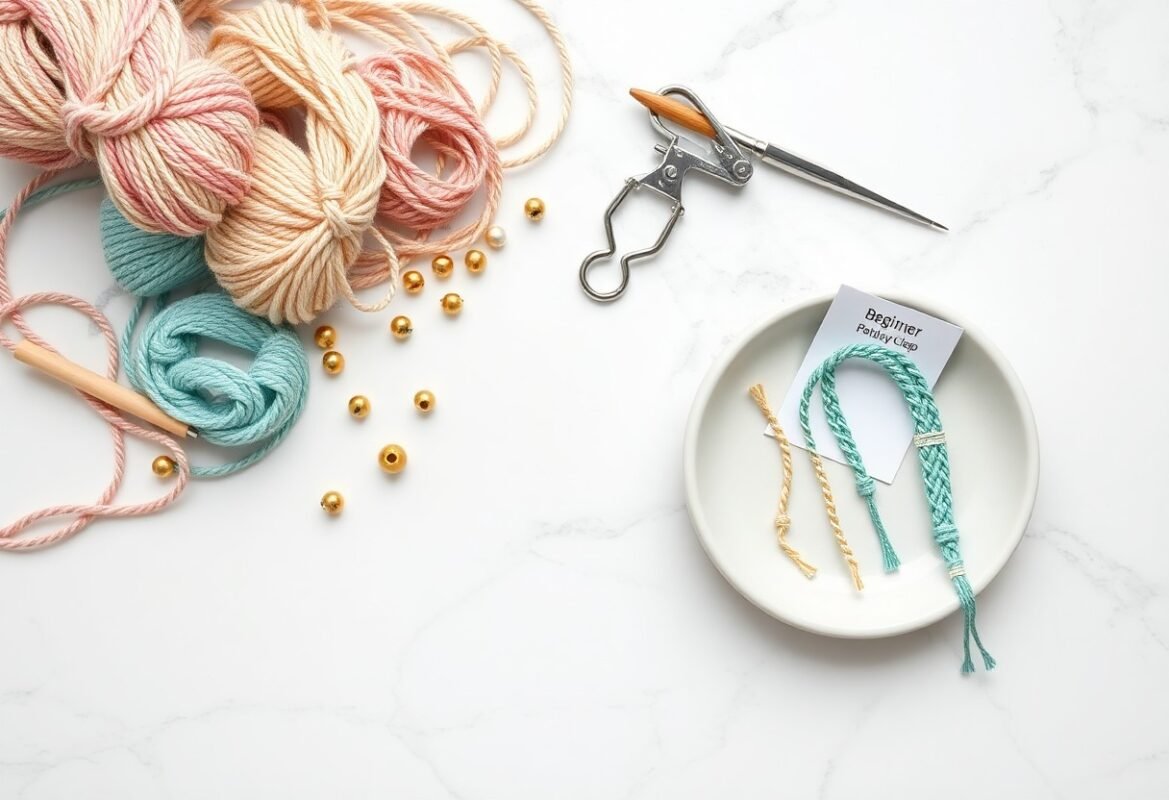
Choose beads (6-12mm wooden or acrylic), 10-30 pieces depending on your pattern, metal or wooden charms, 2-3 colors of embroidery floss for tassels, small pom-poms, fabric scraps, and non-toxic paint or stain if you plan to finish the dowel; prioritize lightweight items so the holder hangs flat against the wall.
You should use beads with hole diameters of at least 2mm so your 3mm cord feeds through easily; avoid heavy 12mm acrylic beads in large numbers-limit to 6-8 per row to prevent sagging. If you paint the dowel, seal it with a matte polyurethane, attach charms with 4-6mm jump rings, and space decorative elements every 2-3 inches for balanced weight and consistent visual rhythm.
Preparing the Macrame Cord
Before knotting, wash and dry your 3mm cotton to remove sizing and reduce future shrinkage; a quick cold wash and air-dry works. Stretch each strand lightly to relax twists, then measure against your dowel and pattern. For layout inspiration, consult this diy macramé holder for hairbow organization. Aim to cut total cord between 50-100 ft for a 12-18″ holder, adding 10% extra for mistakes.
Cutting the Cord to Length
Use the 3-5× rule: multiply the desired finished length by 3-5 depending on knot complexity-3× for simple lark’s head and square-knot edges, 5× for dense patterns. Example: for a 16″ finished piece cut each working cord ~80″ (6.7 ft); if you need 10 cords that’s ~67 ft total. Add 10-15% spare per cord for trimming and testing.
Organizing Your Workspace
Set up a flat, well-lit table with a non-slip mat and a clamp or clipboard to anchor your dowel; this prevents shifting while you knot. Arrange tools-sharp scissors, measuring tape, ruler, binder clips-in reachable zones and sort pre-cut cords by length into labeled piles. Keep a small bowl for beads and hair clips to avoid spills and speed assembly.
Batch tasks to save time: cut all cords first, then sort them into numbered bundles using zip-ties or colored tape. Mount your dowel about 12-18″ above the work surface so you can knot comfortably without hunching. Use clear plastic bins (3-4″ deep) for small findings and a pegboard for scissors and measuring tape to keep cords tangle-free between sessions.
Basic Macrame Knots
Master a handful of knots and the holder falls into place: square knots build the flat panel and overhand knots finish ends or create stoppers. For a standard hair-clip strap, start with 4 cords at 60 cm each and expect roughly 30-40 square-knot repeats to reach a 12-15 cm finished length, adjusting knot density for thicker or thinner cord.
Square Knot
For a square knot you use four cords – two outer working cords and two center filler cords. Pass the left working cord over the two center cords and under the right working cord, then reverse: right working cord under center and up through the left loop; tighten evenly. Aim for 10-12 knots per 5 cm with 3-4 mm cotton cord to keep the panel firm and flat.
Overhand Knot
Use an overhand knot as a simple stopper: form a loop, pass the tail through once and pull snug against the work. It secures loose ends, anchors beads, or locks the clip; with slick polyester cord prefer a double overhand or add a drop of clear craft glue. Trim tails to 5-10 mm for a neat finish.
When you need more hold, tie a double overhand (wrap the tail twice through the loop) to increase bulk and friction; this is especially helpful with 3-4 mm synthetic cords that tend to slip. Position the knot 3-5 mm from the clip hinge, tighten gradually so the tension doesn’t shift adjacent square knots, and if the holder will see frequent use, finish the tail ends with a tiny dot of fabric glue or a heat-sealed tip on synthetic fibers.
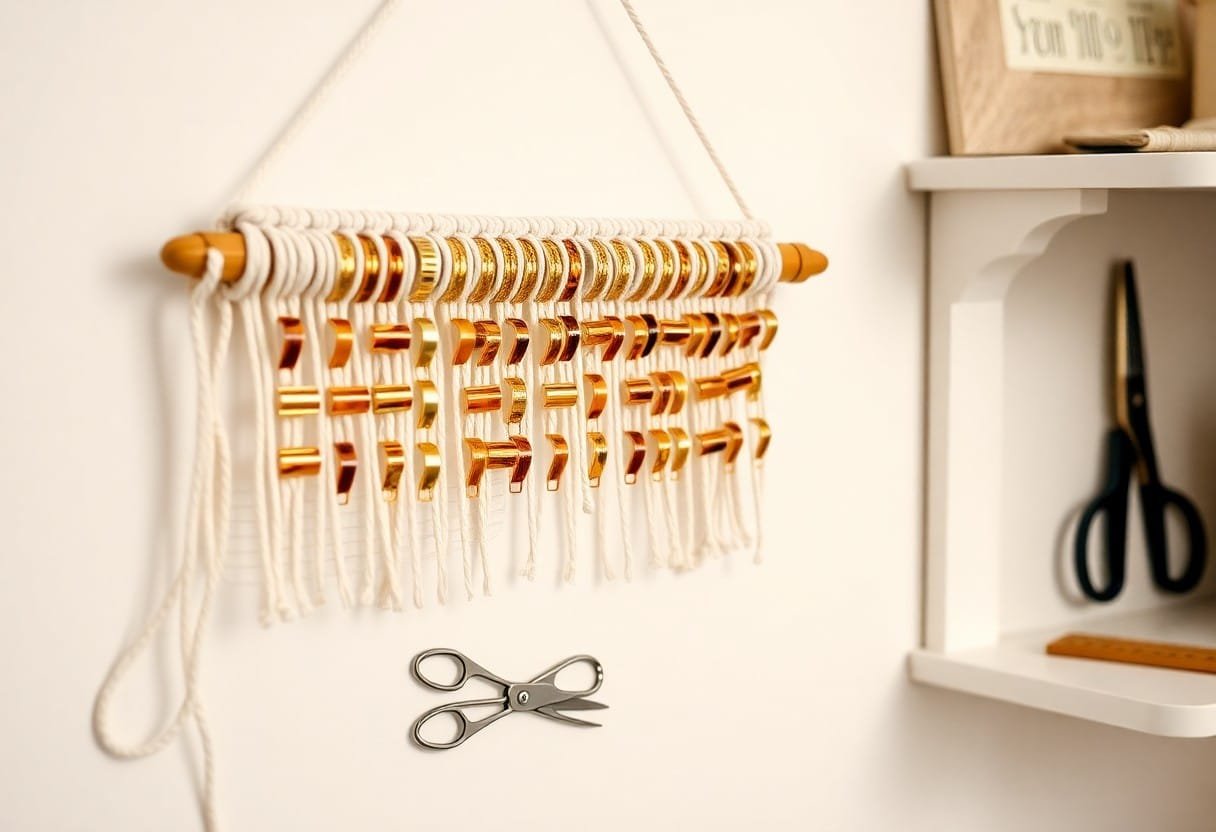
Creating the Clip Holder Design
Decide on a layout: a single 12″ row holds roughly 6-10 standard clips spaced 1-1.5″ apart, while a 18″ or tiered design can carry 12-20 clips in 2-3 rows. Mark your dowel at measured intervals before attaching cords, then build a 4-6″ square-knot panel as the main body; this gives you a stable surface for clips and decorative accents. Use contrasting cord colors every 3-4 knots to create visual bands that help organize clips by size or color.
Starting the Base
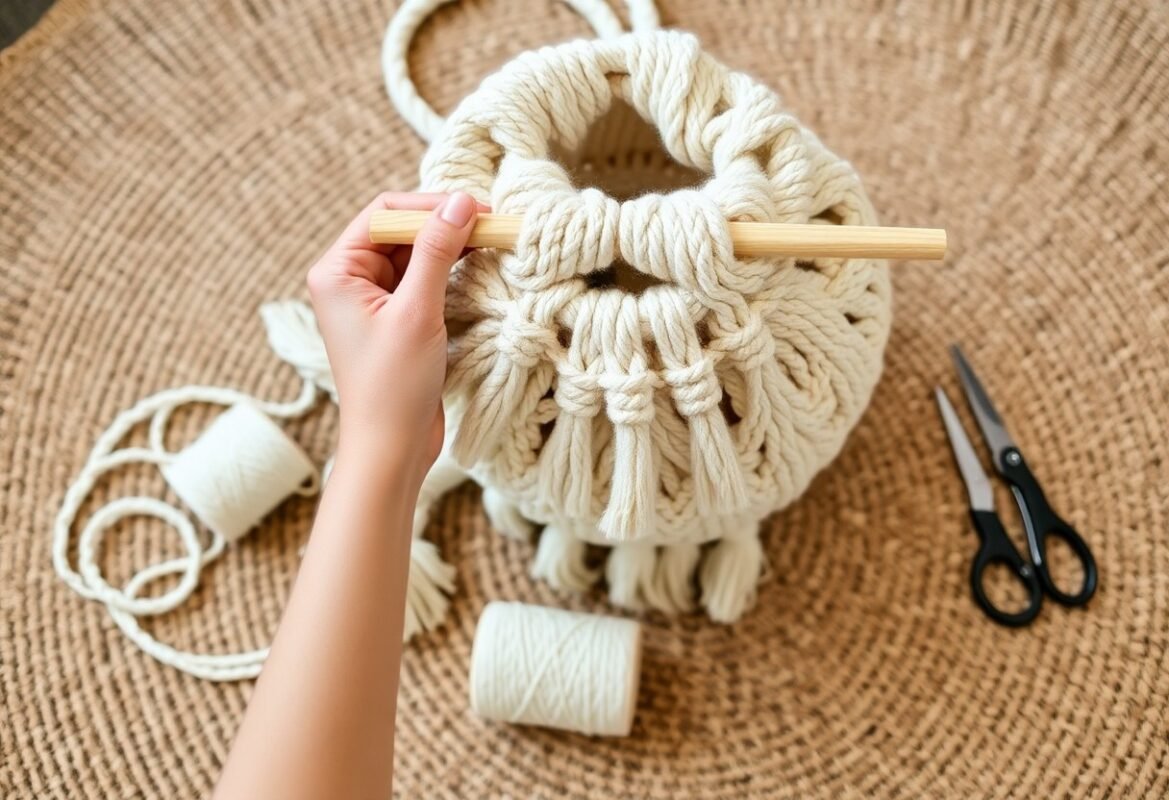
Attach lark’s head knots to the dowel using twice the finished length plus 12-18″ per cord to allow for knotting and fringe. Work in groups of 4 cords to form alternating square-knot blocks, making 5-8 rows for a firm panel; tighter knots (pulled to about 6-8 mm width) prevent sagging. Finish the bottom with overhand knots at 1-2″ intervals or a 1-2″ twisted fringe to add weight and keep the holder hanging straight.
Adding Decorative Elements
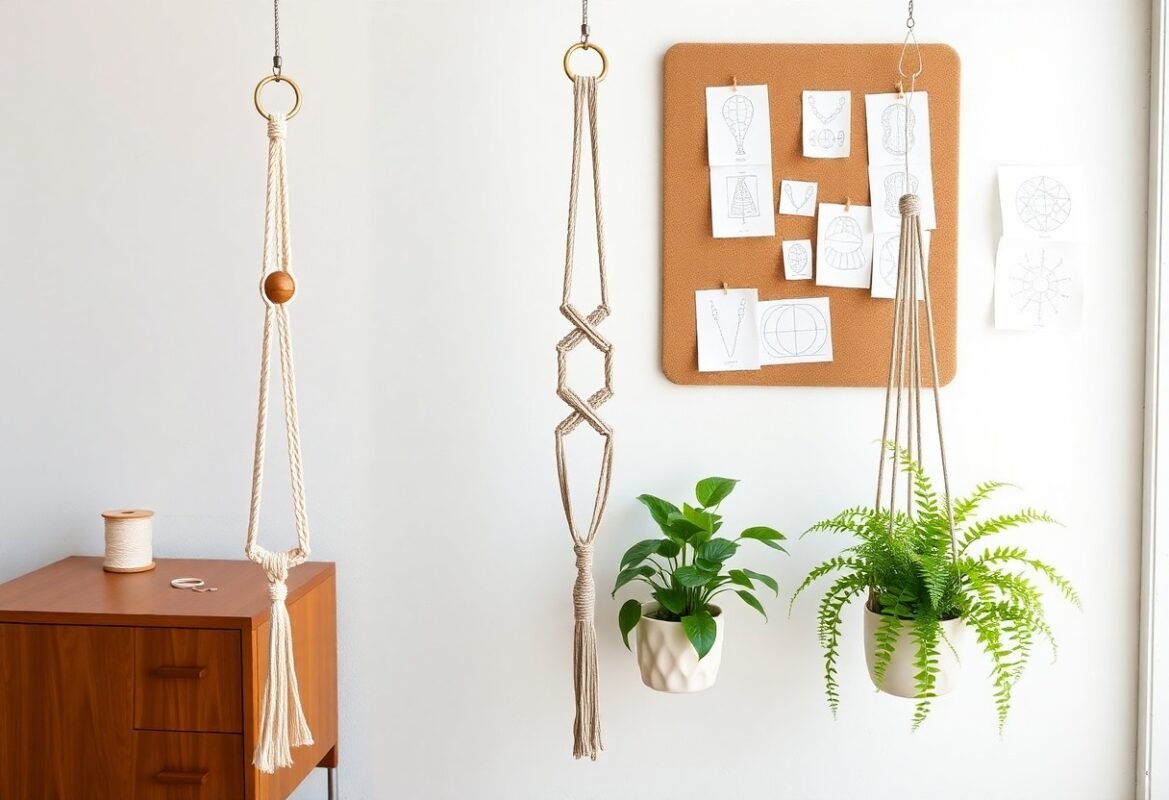
Incorporate beads, wooden rings, or small tassels by threading them onto cords before knotting-use 4-8 mm glass beads or 8-12 mm wooden beads that fit 3 mm cord snugly. Space three beaded strands evenly across a 12″ panel for balance, or alternate bead rows with leaf knots every 6-8 knots for texture. Metallic rings (20-30 mm) make attractive clip anchors when secured with wrapped half-hitch knots.
To add a tassel or wrapped coil, cut fringe 20-30 cm long, fold and bind with a 6-8 cm whipping cord using tight half hitches, then secure the binding with a dab of clear craft glue for durability. For bead placement, slide beads onto the working strand before creating the next square knot so they lock in position; this method prevents shifting and keeps your decorative elements aligned with clip spacing.
Attaching the Hair Clip
Start by laying the finished panel flat and position the clip about 1-1.5″ from the top edge; see placement ideas in the DIY Macrame Hair Claw Holder with Forrest tutorial. Align the clip hinge toward the center, mark cord locations, then thread a thinner 1-1.5mm cord through any holes or wrap around the clip base before locking it in with your final knots to keep alignment precise.
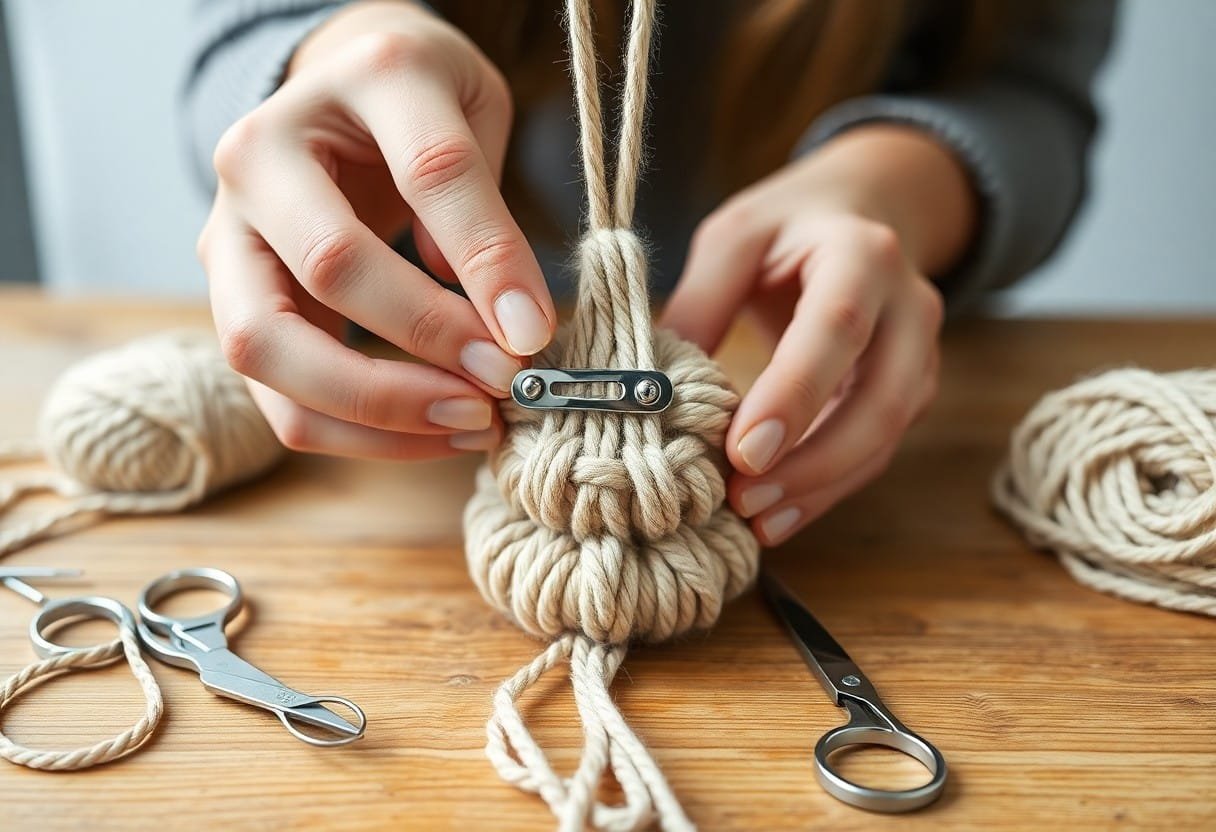
Securing the Clip
Thread a 1-1.5mm nylon or waxed cord through the clip holes or loop tightly around the base, then make 10-12 snug wraps followed by 4-6 square knots to lock tension. If the clip has no holes, bind with 4-6 tight turns and finish with a whipping knot; add a small dab of clear craft glue on the binding for extra hold and tuck trimmed ends into adjacent macramé rows.
Ensuring Durability
You should open and close the clip 20-30 times and hang 3-5 average clips to simulate real use; this reveals any slipping or weak spots. Apply a small amount of clear fabric glue or a single drop of multi-purpose adhesive at stress points, cover bindings with a short length of cord or 1/4″ heat-shrink tubing, and allow 24 hours to cure before regular use.
For added longevity, sew through the clip base with size 69 upholstery thread or run 2-3 wraps of 1mm nylon, finishing with a surgeon’s knot and Fray Check. When making holders for frequent daily use, add a metal jump ring or split ring between the clip and macramé to distribute load, clamp while adhesive sets, and hand-wash cold only; wait 24-48 hours after gluing before heavy use.
Customization Ideas
You can tweak cord thickness (2-5 mm), dowel size (20-30 cm) and knot patterns to change capacity and look; for a multi-row holder add 2-3 tiers spaced 3-4 cm apart so clips don’t overlap, or create pockets for bows by increasing loop length by 5-7 cm. Try mixing macramé knots-square, lark’s head, and half-hitch-to combine strength with decorative texture.
Color Variations
Choose palettes to match a nursery, bathroom, or dressing table: neutrals with one accent, pastel trio, or high-contrast black-and-white. You can do an ombré by dyeing four cord bundles at 20%, 40%, 60%, 80% saturation, or alternate 3-color stripes every 4-6 cm for a modern banded effect; cotton cord dyes well and keeps colorfastness when fixed with soda ash.
Adding Beads and Embellishments
Thread beads onto cords before tying major knots so they sit flush; pick beads with holes at least 1.5× your cord diameter (e.g., 6-8 mm beads for 3 mm cord). Anchor each bead with a small overhand or stopper knot below it, and add metal charms or tassels at ends for visual anchors and extra hanging points.
For precise placement, mark bead positions on cords with washable marker before knotting, then slide beads on using a beading needle or thin awl. Glass, wood, and acrylic beads work well-metal adds weight so limit to 2-3 per row. Secure slippery glass with a dab of clear craft glue under the knot, and space beads 3-5 cm apart depending on clip size for even distribution.
To wrap up
The DIY Macrame Hair Clip Holder Tutorial gives you clear, step-by-step instructions to make a durable, attractive organizer using basic knots and affordable materials; by practicing tension and pattern choices you can tailor size and style to your space, finish with secure hanging hardware, and confidently display and access your clips while sharpening your macramé skills.
FAQ
Q: What materials and tools do I need for a DIY macrame hair clip holder?
A: Basic supplies include cotton macrame cord (3-5 mm) or recycled cotton yarn, a wooden dowel, metal ring, or driftwood for the top, scissors, measuring tape, a comb for fringe, and clips (alligator or snap hair clips). Optional items: beads, a lighter (only for synthetic cord), fabric glue or clear-drying craft glue (E6000 or textile glue), sewing needle and strong thread, pliers, and a small ruler. Choose rust-resistant clips if moisture is a concern.
Q: Which macrame knots should I use and where do they go?
A: Start with lark’s head knots to attach cords to the dowel. Use square knots or alternating square knots for the main panel-these create a flat, stable surface for attaching clips. Incorporate half hitch or double half hitch knots for tidy borders or angled patterns. Use a spiral (half-knot) stitch for decorative columns and a gathering knot (wrap knot) to secure the bottom or create a hanging loop. Overhand knots or simple whipping work well to finish cord ends.
Q: How do I measure and cut cord lengths for a holder sized to fit multiple clips?
A: Determine the finished hanging length (distance from dowel to bottom fringe) and multiply by 4-6 depending on knot density. Example: for a 12″ finished panel, cut cords ~48-72″ long. Add extra length for decorative fringe, beads, or gathering knots. For a holder 12″ wide, plan a cord pair for each 1-1.5″ of width; for 10 clips across, use 20 cords (10 pairs). Cut a few extra cords for practice and mistakes.
Q: What are reliable ways to attach hair clips to the macrame panel so they stay secure?
A: Create small loops or pockets in the macrame where clips can slide on and off, or stitch clips directly to the back of the panel using strong thread through the clip’s hinge plate. For a permanent mount, glue the clip base to a small wooden or felt backing and attach that backing to the macrame with thread or glue. Use jump rings or small metal loops for removable clip attachments. Test each clip hold by tugging gently before finishing.
Q: How should I finish and secure the ends so the holder looks neat and lasts?
A: Use a gathering knot or wrap the ends with thinner cord to create a neat bottom finish, then trim the fringe evenly. For cotton, apply fray-check or fabric glue to the inner cut ends to prevent unraveling; for synthetic cord, melt tips carefully with a lighter and press to seal. Glue any sewn clip attachments with clear-drying adhesive for extra strength. Sand and seal the dowel with a clear varnish or oil if you used raw wood.
Q: How can I customize the size, layout, and style for different collections of clips?
A: To hold more clips, widen the panel and add more cord pairs; for travel-sized holders, make narrower, foldable panels with a snap or button closure. Experiment with pocket rows, staggered columns, or small pockets sized for baby clips versus large clips. Add beads, tassels, color-block cord, or dyed sections for style. Swap a ring hanger for a wooden dowel or use multiple tiers to separate daily clips from special-occasion ones.
Q: What cleaning and maintenance tips will keep the macrame holder and clips in good condition?
A: Dust regularly and spot-clean the macrame with mild soap and cold water; hand-wash gently if needed and air-dry flat to avoid distortion. Brush the fringe with a wide-tooth comb after drying. Replace or re-glue any loose clips and address rusted metal clips by replacing them. Avoid prolonged exposure to direct sunlight or high humidity to prevent fading and mildew; store spare clips separately to keep the panel organized.