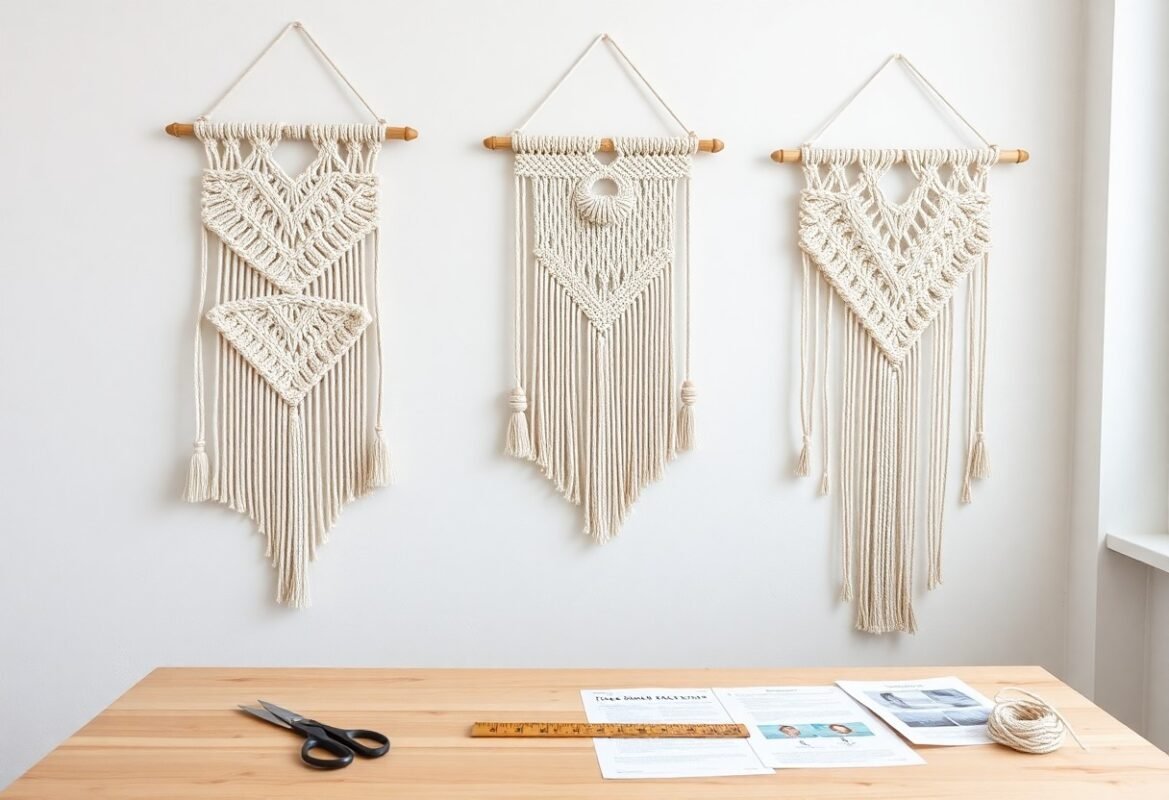
It’s easier than you think to craft stylish macrame keychains that showcase your style and skills; with a few cords, basic knots (like square and lark’s head), and simple hardware, you can complete beautiful, durable pieces in minutes. You’ll find step-by-step patterns, customization tips, and finishing techniques to make keychains for gifts, markets, or daily use.
Key Takeaways:
- Use simple supplies: 2-3 mm cotton cord, a key ring, scissors, tape or a clipboard for hold.
- Learn two basic knots-square knot and half hitch-to create most quick designs.
- Fast project ideas: tassel fringe, spiral wrap, micro-diamond, or bead-embedded keychains (10-30 minutes).
- Personalize with color combos, beads, charms, or initials for easy gifts and sets.
- Finish securely: glue or melt synthetic ends, trim neatly, and seal knots for durability.
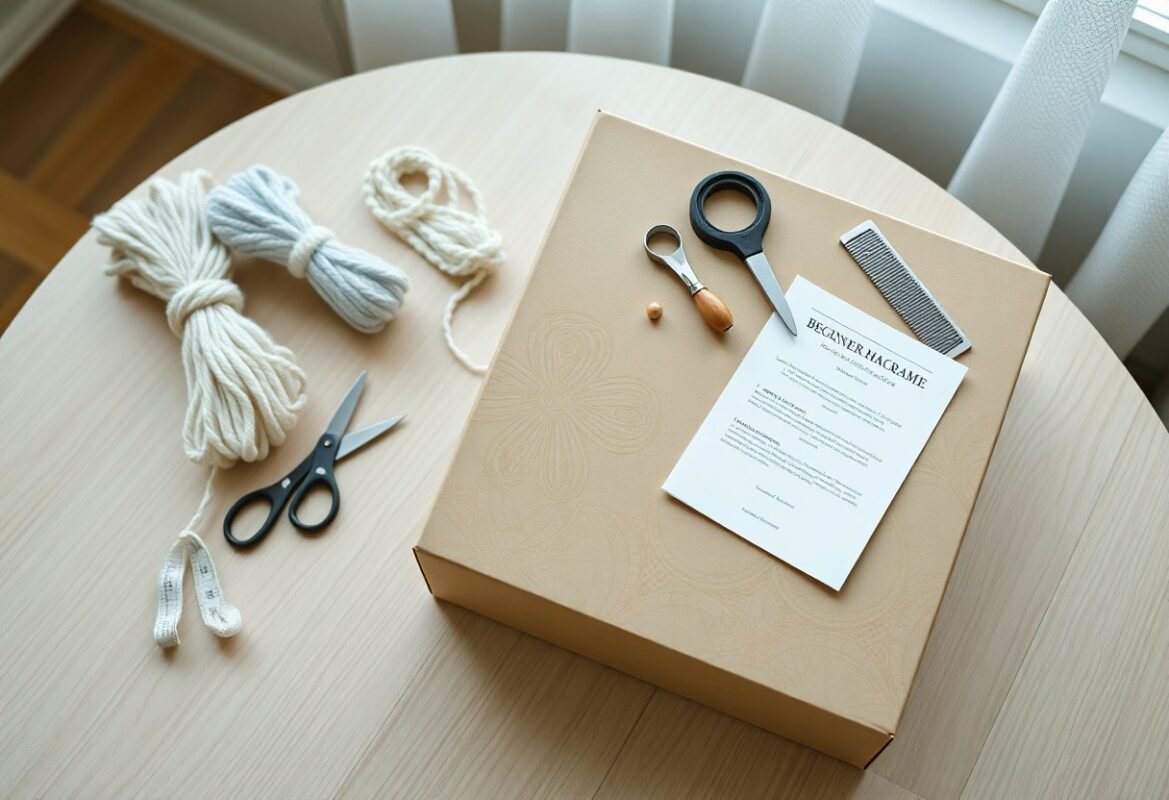
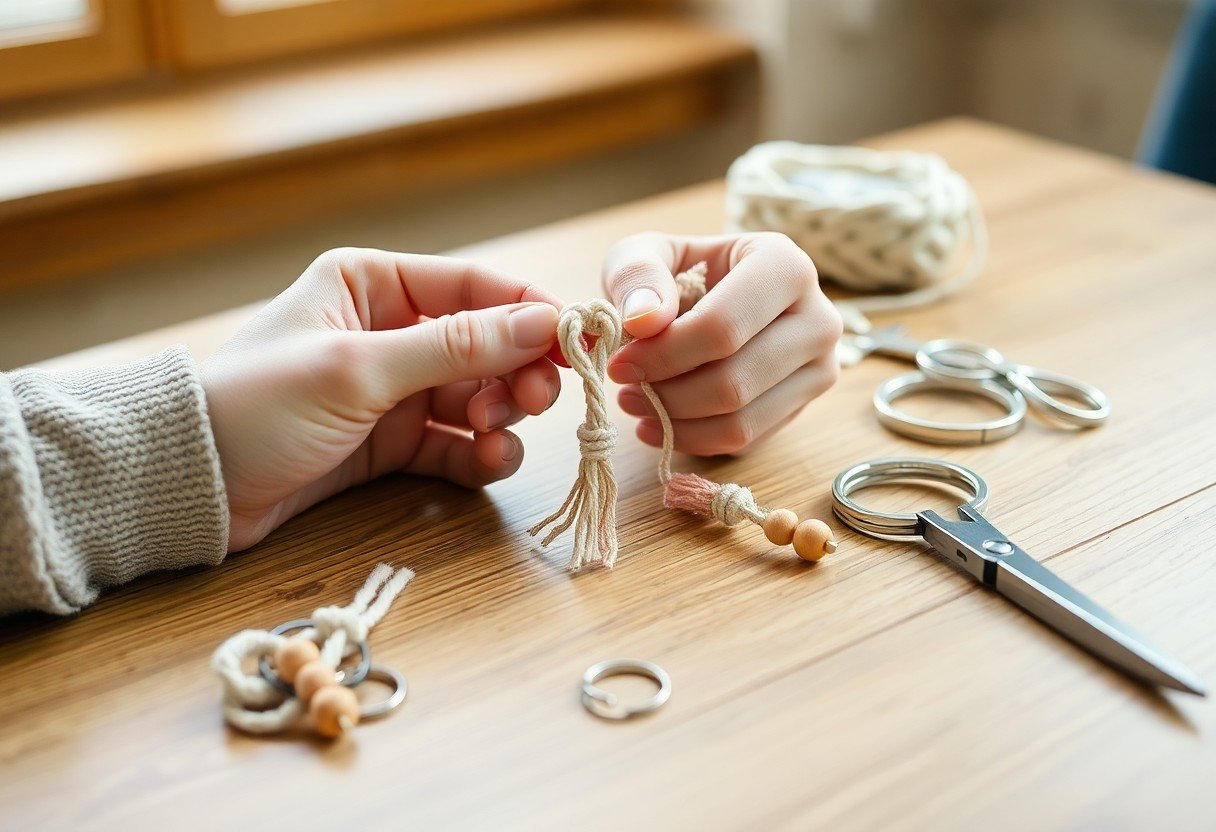
Essential Tools and Materials
Gathering the right tools speeds up your workflow: you’ll stick to a short list-2-3 mm cotton cord (or 1.5 mm for delicate charms), a sturdy key ring, sharp scissors, measuring tape, clipboard or tape to secure the top, and a lighter if you use synthetic cord. Add beads, jump rings, needle and pliers for details, and a small glue dot for finishing knots cleanly.
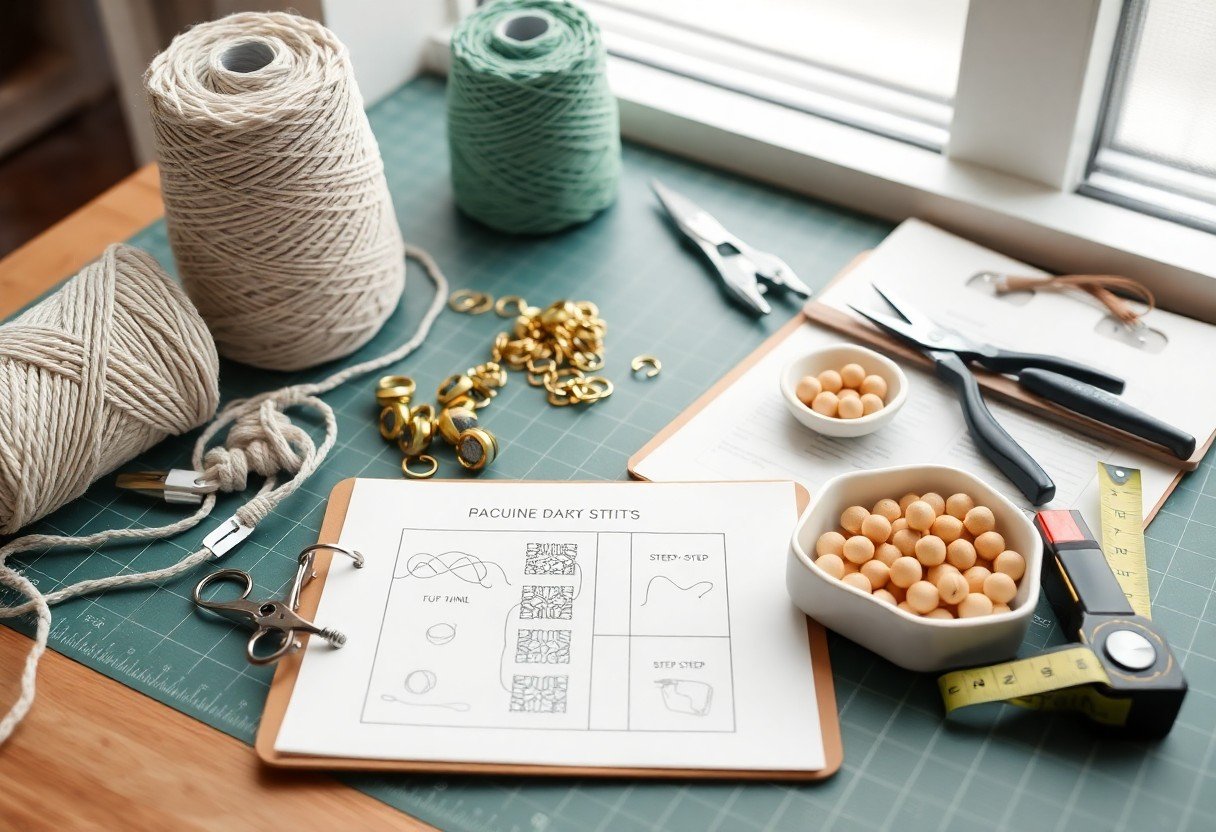
Overview of Required Supplies
For a basic keychain you’ll want four cords about 1 m each for a 6-8 cm finished piece, a 25-30 mm key ring, sharp scissors, and tape or a clipboard to hold the work. If you plan beads, select 3-6 wooden or acrylic beads with 2-3 mm holes. Keep a ruler and needle‑nose pliers handy for attaching jump rings and trimming ends precisely.
Choosing the Right Cord
Thickness defines knot clarity: you’ll find 2-3 mm braided cotton gives crisp square knots and holds shape without excessive bulk, while 1-1.5 mm cord works better for tiny tassels and bead threading. Synthetic nylon resists stains and fraying but may melt at the ends; choose cotton for a matte, natural finish and predictable tension during knotting.
Estimate cord length by design: allocate about 1 m per working strand for standard 6-8 cm keychains (so four strands ≈4 m total). Cotton softens and compresses slightly after handling; polyester keeps structure and resists UV fading. Match cord diameter to bead hole size-2 mm cord won’t pass a 1.5 mm hole-and test a 10 cm sample knot to verify tension and final look before cutting full lengths.
Basic Macrame Knots
Mastering two knots covers most keychain patterns: the square knot and the Lark’s Head. You work the square knot with four cords to build flat or spiral bands, while the Lark’s Head fastens cords to a ring or clip. Using 2-3 mm cotton cord, ten square knots yield roughly 4-6 cm of finished length, and a single Lark’s Head secures two working ends quickly. Combining these lets you add beads, alternate colors, or create tapered designs without adding new techniques.
Square Knot
The square knot uses four strands-two outer working cords and two center filler cords-and is formed by one left half-knot followed by one right half-knot (two half-knots = one full knot). You can make a flat panel by repeating 8-12 full knots, or create a spiral by only tying half-knots in sequence. For example, a 12-knot square-knot strip on 2 mm cord measures about 5 cm and holds beads neatly between knot groups.
Lark’s Head Knot
The Lark’s Head is the go-to method for attaching cords: fold your cord in half, place the loop under the ring or clip, pull the folded loop over the ring, then pull the two ends through that loop and tighten. When you use 30 cm cord lengths folded to 15 cm, the resulting tails give you enough length for 6-10 square knots. It’s fast, tidy, and ideal for starting multiple cords on a 20-30 mm key ring.
For extra control, use a doubled Lark’s Head by folding two cords together so you attach four strands at once-handy when you want symmetrical patterns or need bulk for tassels. If you’re working with split key rings, thread the loop through the ring gap and then snug the ends; this prevents slipping when you add weight like metal charms. Tension matters: snug to about 2-3 N of pull so attachments stay firm but cords aren’t crushed.
Beginner-Friendly Keychain Designs
Beginner designs focus on a few repeatable moves-square knot, lark’s head and simple braids-so you build speed and confidence quickly. You can complete most keychains in 10-30 minutes using 2-3 mm cotton cord and a 25-45 mm split ring, and the EASY DIY Macramé Keychain tutorials – STEP BY STEP provide clear, paced video demos to follow along. Try three small projects back-to-back to internalize tension and finishing techniques.
Simple Braided Keychain
Start with three equal cords of 30-40 cm and attach them to your ring with a lark’s head; then braid tightly for a neat 8-10 cm finished length. You can add a 6-8 mm wooden bead near the top for grip, secure the tail with a dot of clear glue, and trim evenly. Practicing two braids at different tensions helps you see how tightness changes final thickness and flexibility.
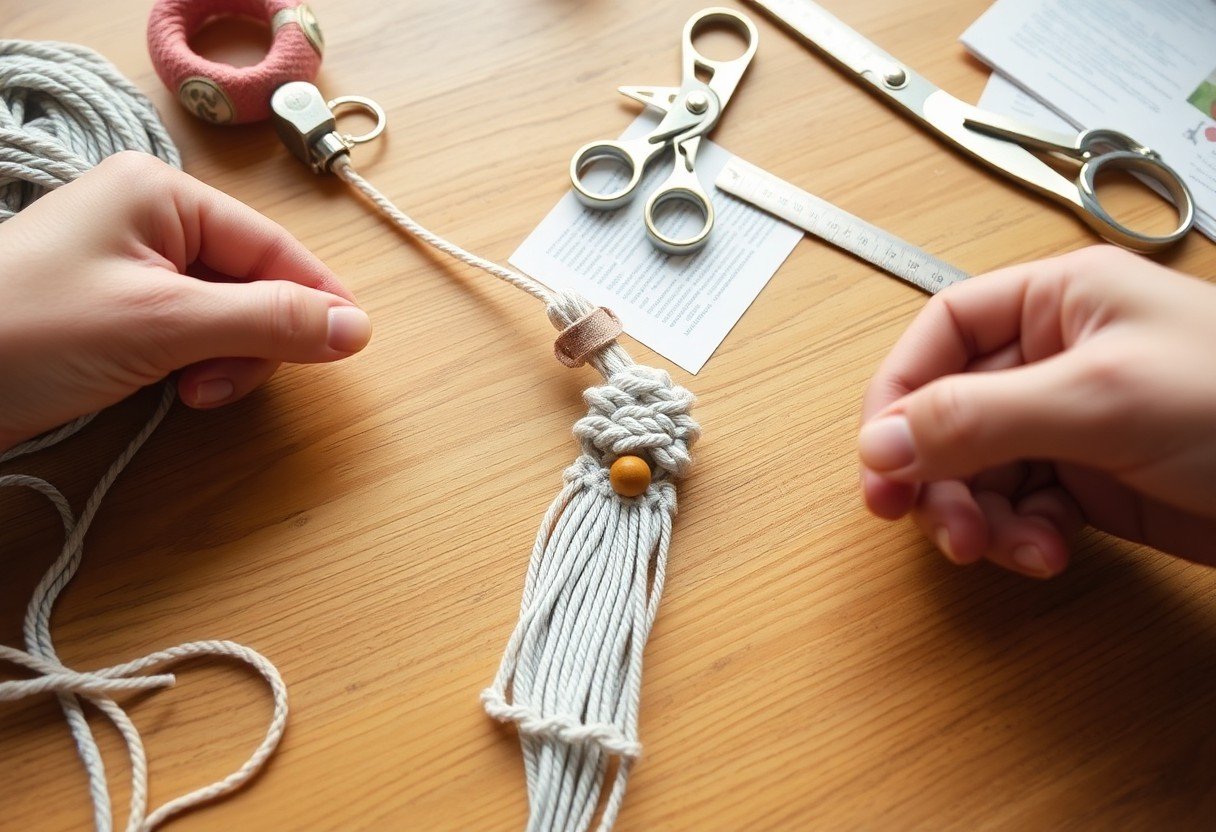
Tassel Keychain
Wrap cord around a 4-5 cm template 20-30 times to form the body, tie a 5-8 cm binding cord near the top, then cut the looped ends for a 6-8 cm tassel; attach with a lark’s head to your ring. You can mix two colors for a striped effect and finish with a small jump ring or bead cap for polish. Wet-combing the ends gives a fuller look before final trimming.
For a fuller tassel, use 40 strands of 30 cm each for a 6-8 cm finished length, secure the binding with a few half-hitch knots and a tiny drop of fabric glue, then comb and trim straight across for symmetry. Leather caps or metal bead cones hide bindings and add durability; if you want extra sheen, lightly mist natural-cord tassels with water and shape as they dry to lock the silhouette.
Intermediate Macrame Keychain Ideas
Once you move beyond basics, mix square knots with alternating half-hitches and bead insets to build texture and compact motifs; use 1.5-3 mm cord to control scale and finish pieces around 4-6 cm for keychain wear. You can adapt ready patterns from 17 Free Macrame Keychain Patterns (For Beginners) to practice three- and five-row repeats that translate well to key rings.
Geometric Patterns
You can craft diamonds, chevrons and mini hexagons by combining diagonal clove hitches with alternating square knots; plan on 10-15 cm working cords to yield a 3-5 cm finished motif, and use contrasting cord colors to make edges pop. For precision, mark knot intervals every 4-6 mm and add a single 6-8 mm bead at the center for a polished focal point.
Fringe Keychain
You’ll get bold, tactile results by pairing a wrapped neck with layered fringe: fold 20-30 cm lengths in half for 8-12 cm fringe, attach via lark’s head to the split ring, then secure a 5-8 wrap binding to form the neck-trim and comb for fullness and shape. Fringe keychains scale well when you vary strand count from 8 to 20 strands.
Start fringe pieces with 10-12 strands of 50-60 cm cord, fold and attach to the ring, then form a 2-3 cm core using square or half-hitch knots; wrap the neck tightly 6-10 times with thinner cord and secure with a dab of fabric glue or a hidden knot. For variations try bleaching or dip-dyeing the tips, adding a 6 mm bead to the wrap, or tapering lengths to create a layered silhouette.
Customizing Your Keychain
You can tailor hardware, length and finishing details to suit use and style: pick a split ring or swivel clasp, choose a 3-5 inch finished length for pocket-friendly vs bag-dangling pieces, and decide between a sewn leather tab or knotted loop for attachment. Try double overhand or whipping knots at stress points, add a small dab of clear glue on synthetic cords, and test the finished weight – under ~40 g keeps keys manageable while allowing small decorative elements.
Adding Beads and Charms
Use beads sized 4-10 mm and materials that match function: wood or acrylic for lightweight daily use, glass or metal for visual impact. Thread beads onto cords before knotting or slide them into macramé ladders, spacing 1-3 beads to avoid sagging. Fasten charms with 4-6 mm jump rings and reinforce with a crimp or glue when needed; mixing one metal charm with two wooden beads creates a balanced 3-piece focal cluster.
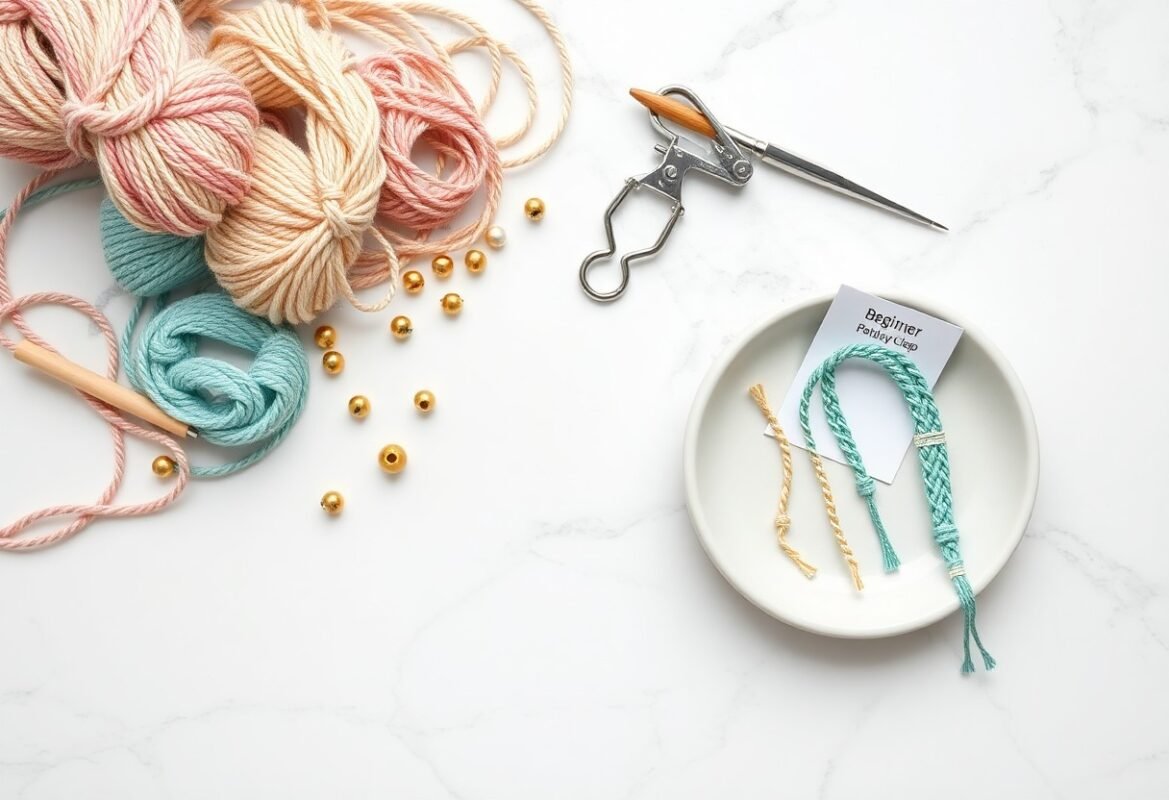
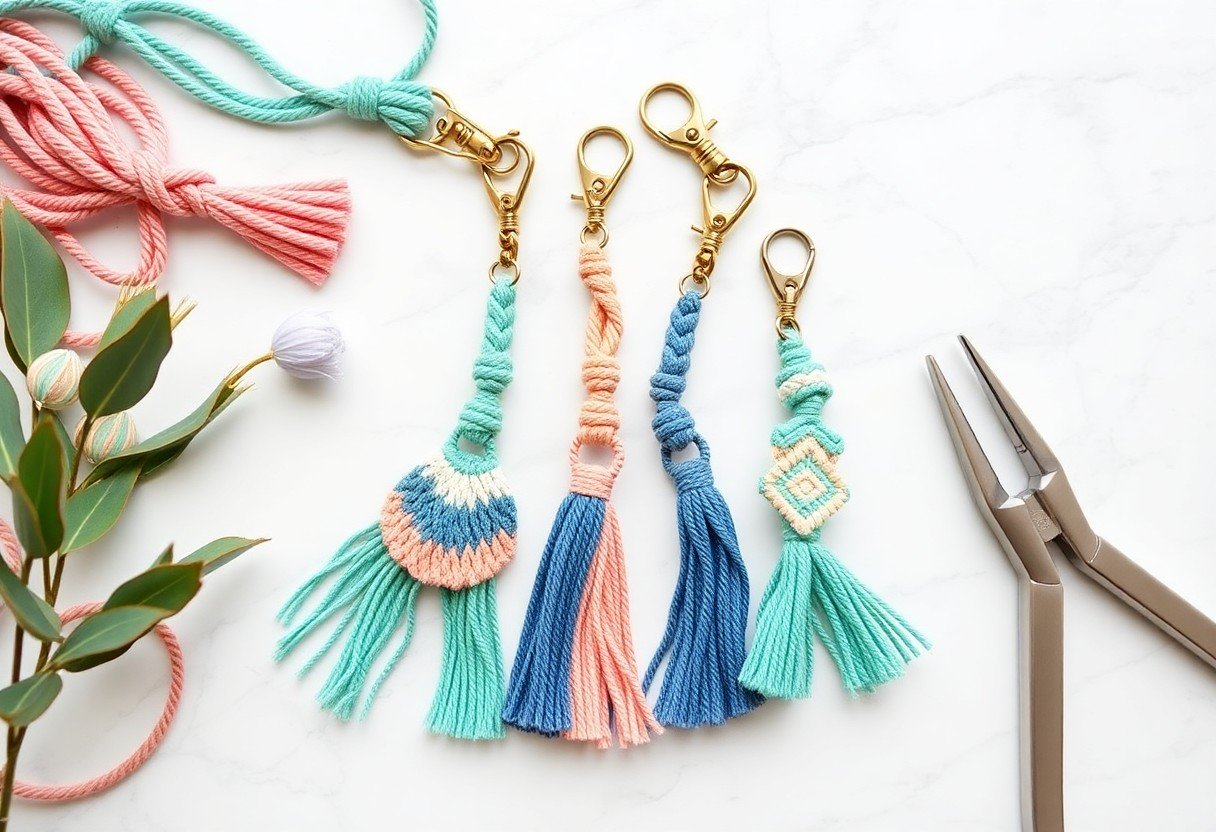
Choosing Colors and Textures
Limit palettes to 2-3 tones for cohesion: try analogous schemes like teal, aqua and navy or complementary pairs such as coral and teal. Mix cord types-2-3 mm cotton for soft, matte knots versus 1.5-2 mm waxed polyester for crisp definition-and add a metallic bead or leather accent to introduce contrast without bulk.
Apply color theory practically: use a triadic palette for playful keychains (e.g., mustard, teal, magenta) or muted earth tones for minimalist looks (olive, terracotta, cream). Test knot contrast by making a 1-2 inch sample: thicker 3-4 mm cords highlight square and spiral knots, while thinner 1-2 mm cords suit intricate micro-macramé. Texture choice also affects durability-waxed polyester resists dirt and holds shape, leather provides structure, cotton feels softer in hand.
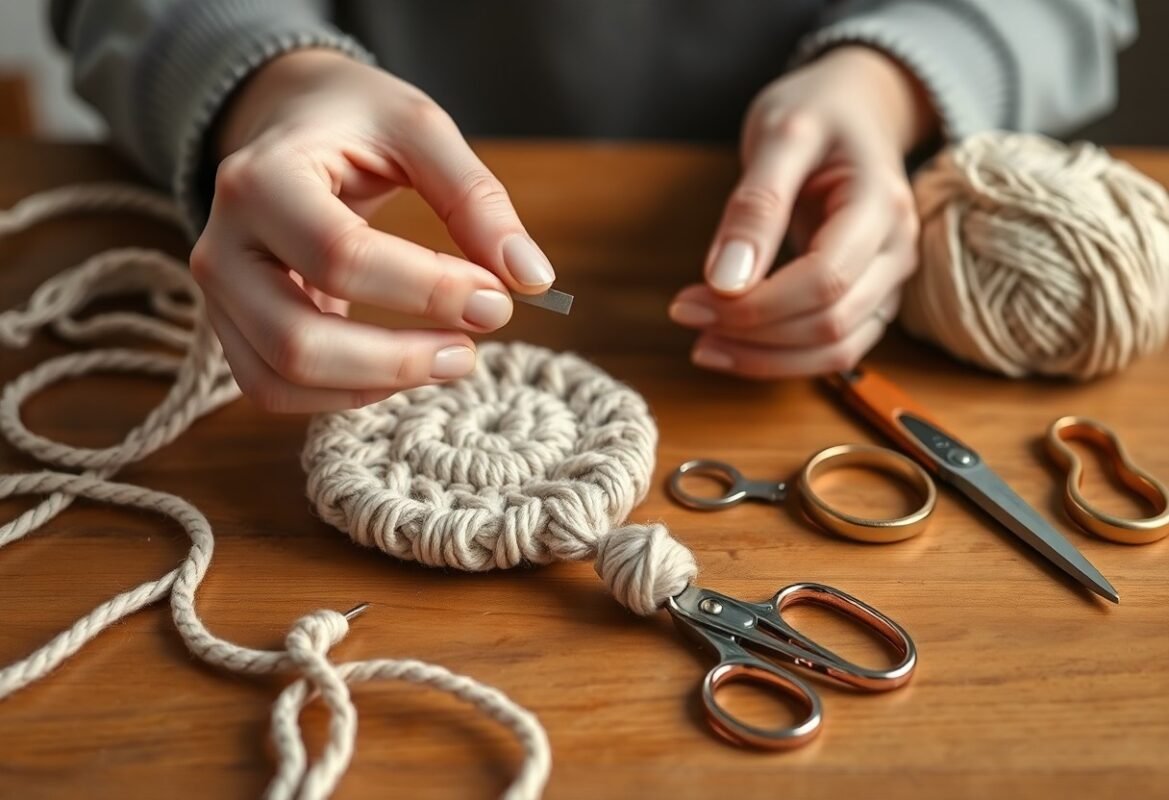
Tips for Success
Keep tension even from the first knot so patterns look crisp; practice consistent pulls and count threads for symmetry. Use a clipboard or binder clip to secure your work, choose 3-5 mm cotton cord for durability, and test finishes on scrap cord before trimming. If you need a quick refresher, consult this How to Make Macrame Keychains walkthrough for step-by-step photos and measurements. After securing hardware, trim tails to 5-10 mm and seal ends with a dab of fabric glue.
- Secure work with a clipboard or tape to maintain even tension.
- Cut 3× your intended finished length to avoid running short.
- Test knots on scrap cord before committing to a pattern.
- Use 3-5 mm cord for everyday keychains; thinner cord wears faster.
- Finish synthetic cord ends with a lighter, natural cord with glue.
Common Mistakes to Avoid
Skipping test knots or miscounting rows causes asymmetry-if you aim for a 2-inch wide motif, count stitches and repeat patterns evenly (e.g., 8 repeats per side). Cutting cords too short is the most frequent error: cut at least three times the finished length or add 10-20 cm extra for fringe. Also avoid overly tight knots that distort design; loosen by 10-20% if pattern pulls in, and choose hardware that fits the total cord thickness to prevent binding.
Maintenance and Care
Protect your keychain by spot-cleaning with mild soap and lukewarm water (around 30°C) and air-drying flat to keep shape. Wipe metal hardware with a soft cloth after exposure to sweat or rain, and apply a small drop of clear nail polish to raw metal links to slow tarnish.
For tougher stains, soak cotton cords for 5-10 minutes in diluted detergent, gently agitate, then reshape knots while damp to restore tension. Avoid bleach and machine washing; if leather is used, apply a leather conditioner every 3-6 months and avoid prolonged sun exposure to prevent fading and cracking.
To wrap up
Conclusively, you can craft stylish, functional macrame keychains quickly by choosing simple knots, durable cord, and compact hardware; your practice will speed technique, letting you personalize designs with beads, colors, and charms for gifts or resale while keeping projects manageable and rewarding.
FAQ
Q: What materials do I need for easy & quick DIY macrame keychains?
A: Basic supplies include 2-4 mm cotton or polyester cord (2-4 strands), a small keyring or lobster clasp, scissors, and a tape measure. Optional extras are beads, metal charms, wooden dowels or a clipboard to hold your work, and clear-drying craft glue to secure ends.
Q: Which knots are best for beginners making simple keychains?
A: Start with the lark’s head to attach cords, the square knot for flat patterns, and the half knot or spiral knot for twisted designs. These three cover most quick keychain styles and are easy to learn from short video tutorials or step-by-step diagrams.
Q: How long should I expect to spend on a basic macrame keychain?
A: A tassel, simple square-knot bar, or spiral keychain typically takes 10-30 minutes once you cut and attach the cords. Complex beadwork or patterns can extend to 45-60 minutes, but most beginner-friendly designs are intentionally quick.
Q: What is the fastest way to make a tassel keychain?
A: Fold several lengths of cord over a keyring, bind the top with a short wrap knot or a separate cord, trim the ends evenly, and brush the fringe if using cotton. Add a drop of glue inside the wrap for extra hold and slip on beads or charms before finishing.
Q: How can I add beads or charms without making the project complicated?
A: Choose beads with holes large enough for your cord and slide them onto individual strands before knotting. Use a single charm on the keyring or attach it with a jump ring; spacing beads between knots keeps the pattern tidy without extra steps.
Q: What’s the easiest way to attach my macrame piece securely to a keyring or clasp?
A: Use a lark’s head knot to fasten cords to the keyring, then hide the knot ends by covering with a tight wrapping knot or a short length of heat-shrink tubing for synthetic cords. For extra durability, add a dab of clear craft glue where the cords meet the ring.
Q: How do I care for and fix small issues like fraying or loose knots?
A: Trim frayed ends neatly and seal synthetic cord with a lighter or fabric glue; for natural fiber, apply a tiny bit of fray-preventing glue. Tighten loose knots by rehanging the piece and pulling each cord through the knot in sequence, or replace a damaged section by redoing only that segment.