This craft uses basic knots like square knots and half hitch, so you don’t need fancy tools. You’ll learn step-by-step how to cut cord, tie tidy rows and shape a mini tree, even if you’ve never knotted before, and you’ll save cash while making something charming for your mantel. Want to customize size or color? Go for it – this guide walks you through easy swaps, common mistakes and quick fixes, so by the end you’ll have a festive macrame tree you’re proud of.
Key Takeaways:
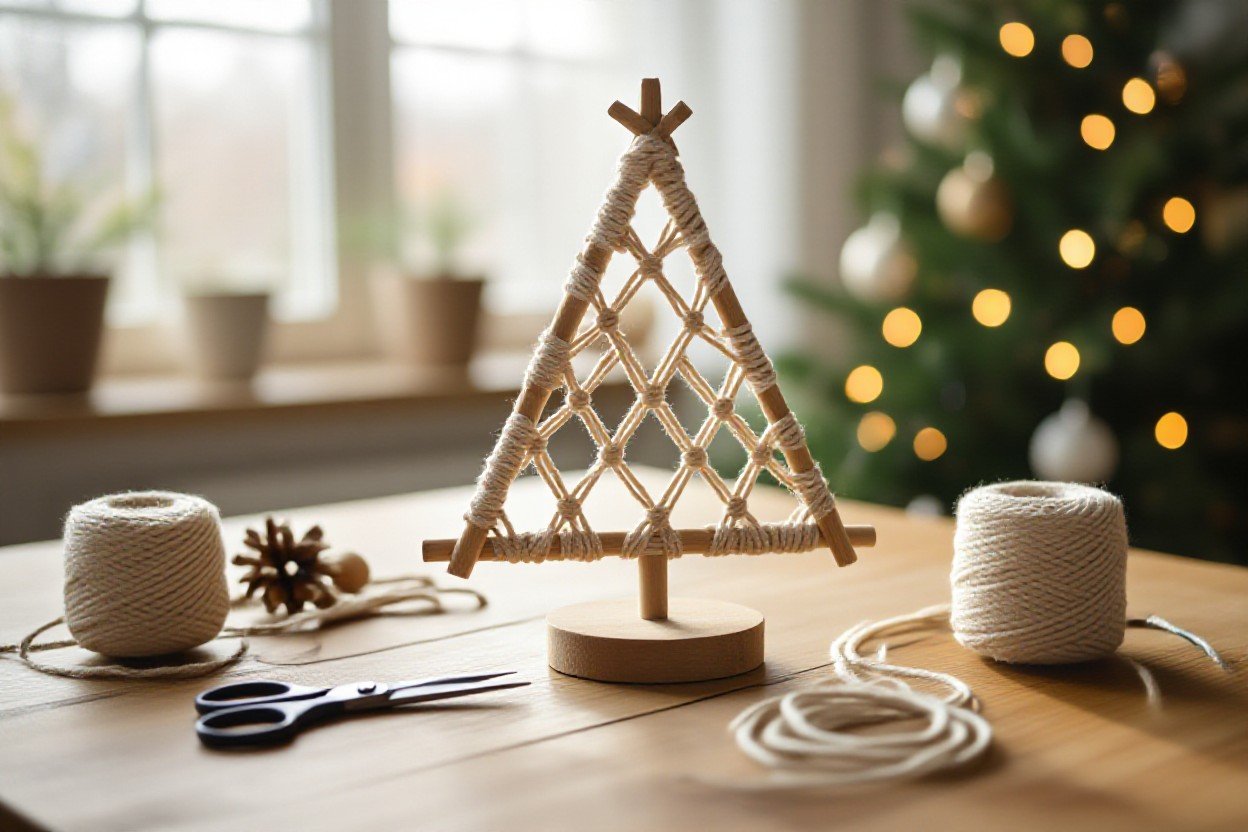
You’ll build a cozy macrame Christmas tree faster than you think.
- Start with simple materials and one basic knot – the whole project hangs on a few tidy techniques, not fancy gear.This is doable in an afternoon.
Seriously, white cotton cord, a wooden dowel and scissors is all you need, so don’t overcomplicate it. - Break the process into tiny steps and you’ll avoid frustration – measure, cut, knot, trim, assemble.
Want it fuller? Add extra cords or layer rows, but it’s totally optional and forgiving, so play around and make it yours. - Finishing touches make the difference – fringe, beads, or a little star on top give personality.
So go subtle or go bold, and hang it on a wall or use it as a table centerpiece; either way, it’s low-cost, high-style and a great handmade gift.
So, What Types of Macrame Trees Can You Make?
What kinds of macrame trees can you make for your space? You can go classic and full-bodied, pared-back and minimalist, sculptural wall-hangings, tiered tabletop pieces, or tiny cone minis for shelves and gifts. Aim for cord thickness 3-6 mm and heights from 10 cm for minis up to 90+ cm for floor trees, and choose knots to match your time and skill. This helps you pick a project that fits your tools, space, and patience.
- Classic Christmas Tree
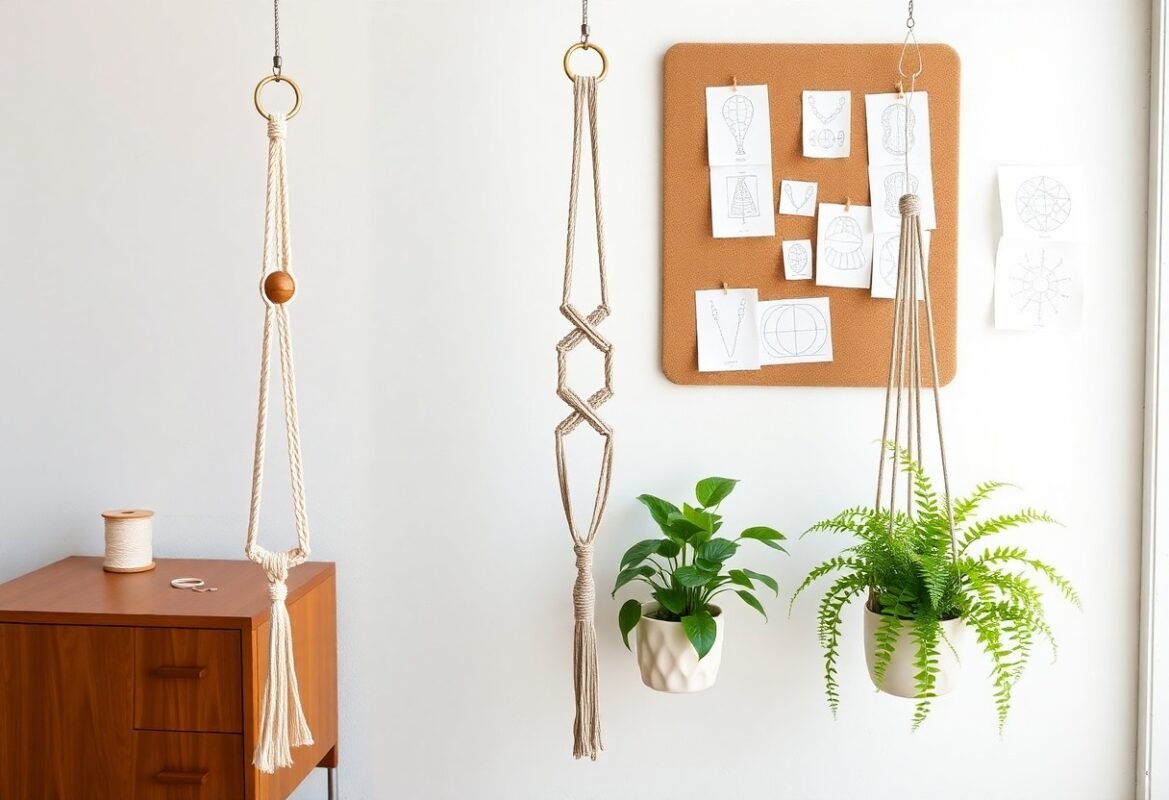
- Minimalist Macrame Tree
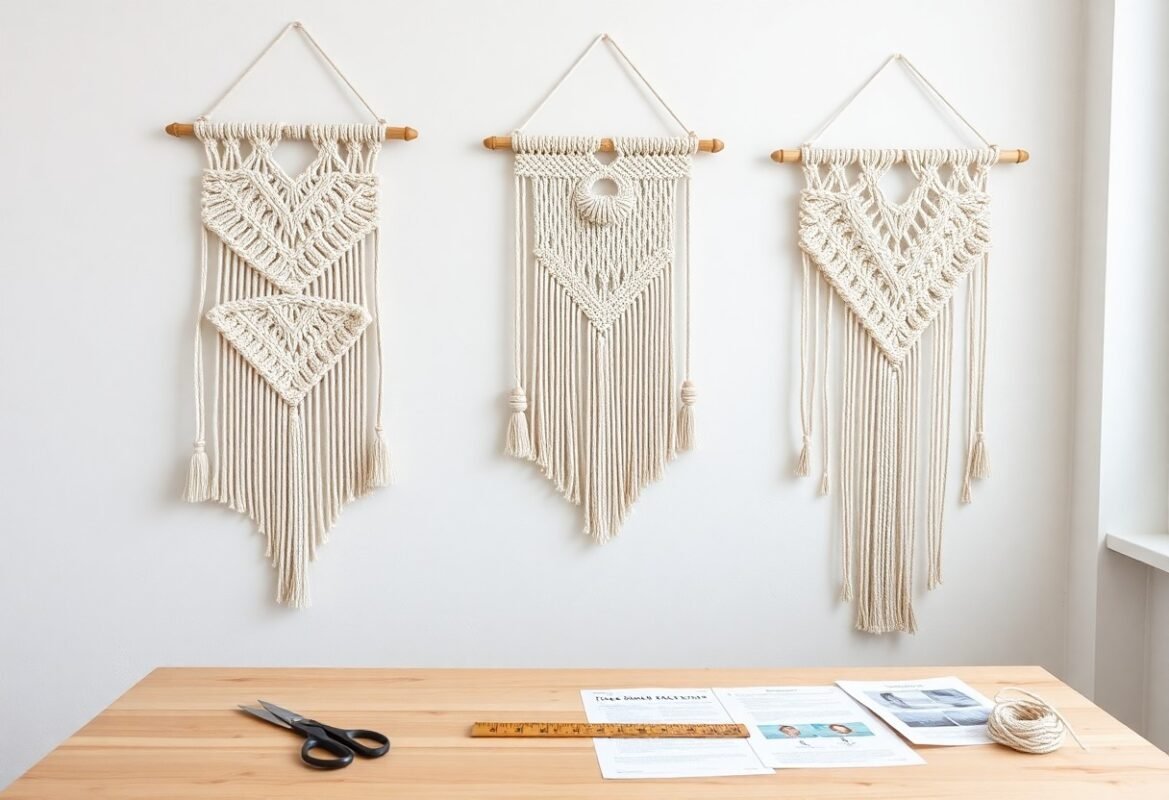
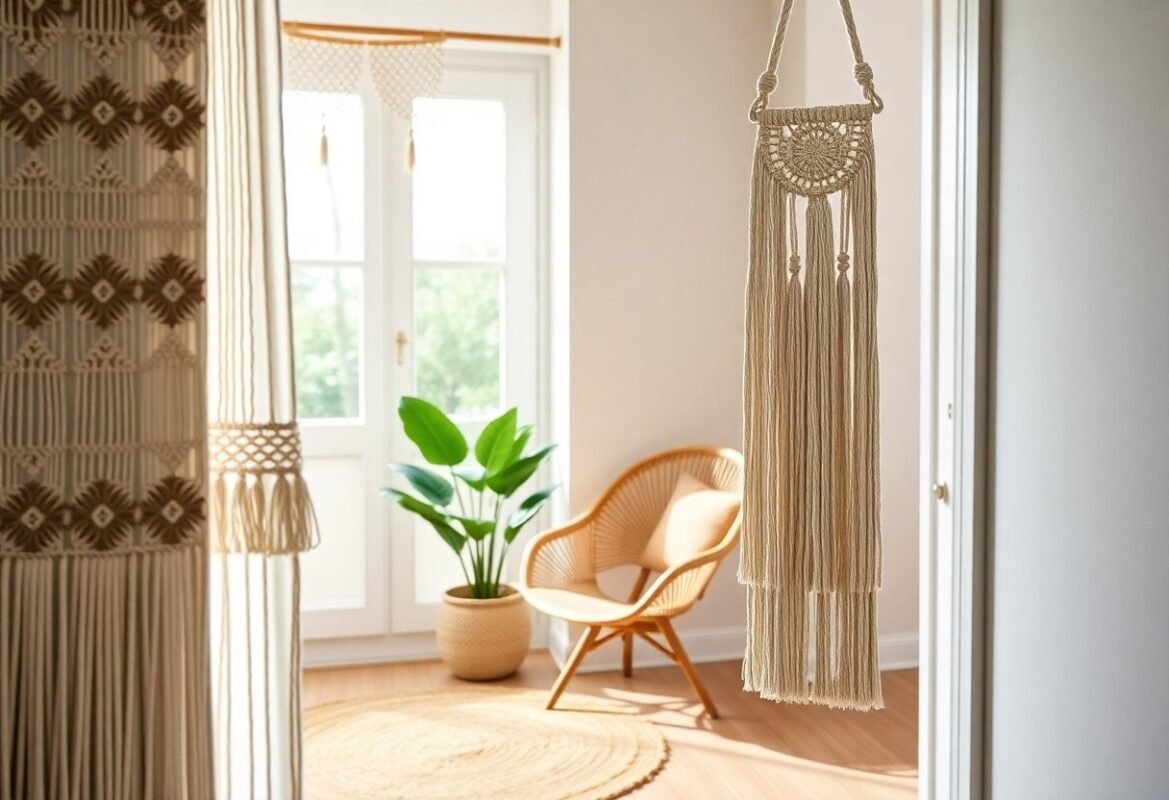
- Wall-Hanging Sculptural Tree
- Tiered Tabletop Tree
- Mini Cone Ornaments
| Classic Christmas Tree | Full triangular shape, 40-90 cm, 4-6 mm cord, square knots and layered fringe |
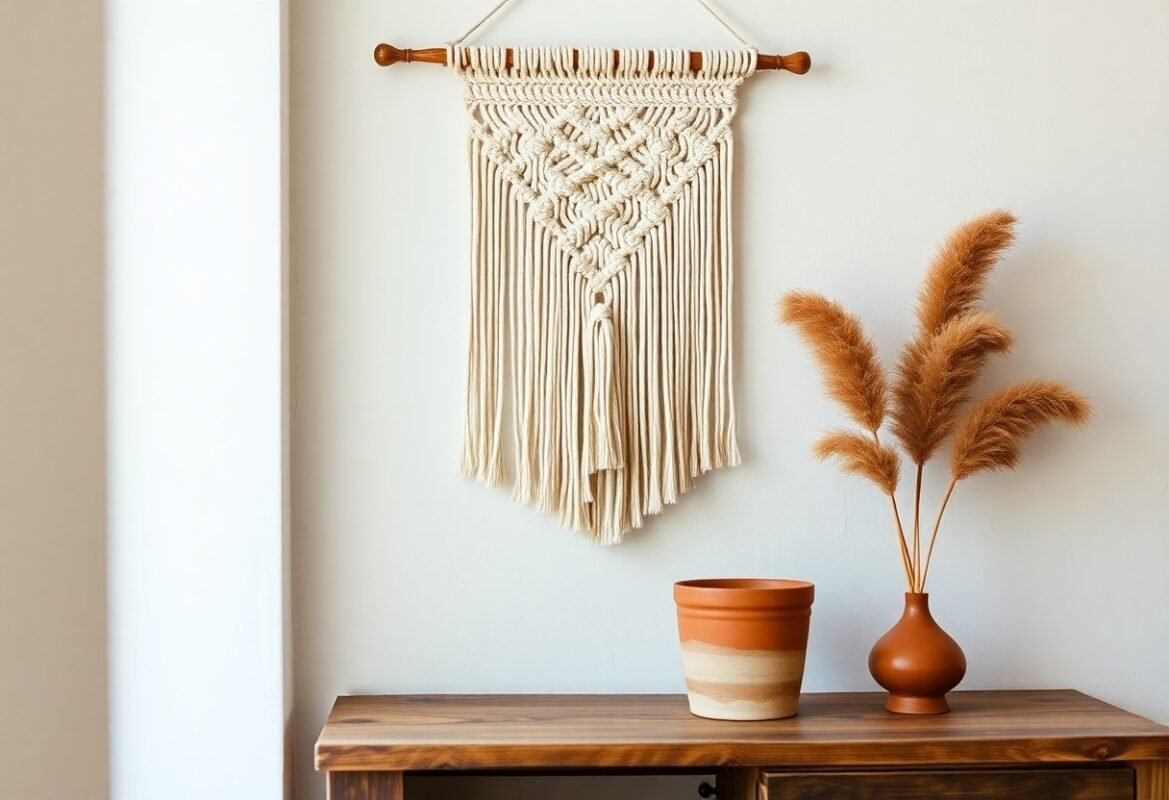
| Minimalist Macrame Tree | Clean triangle or single-line form, 20-50 cm, 2-4 mm cord, simple half-hitch rows |
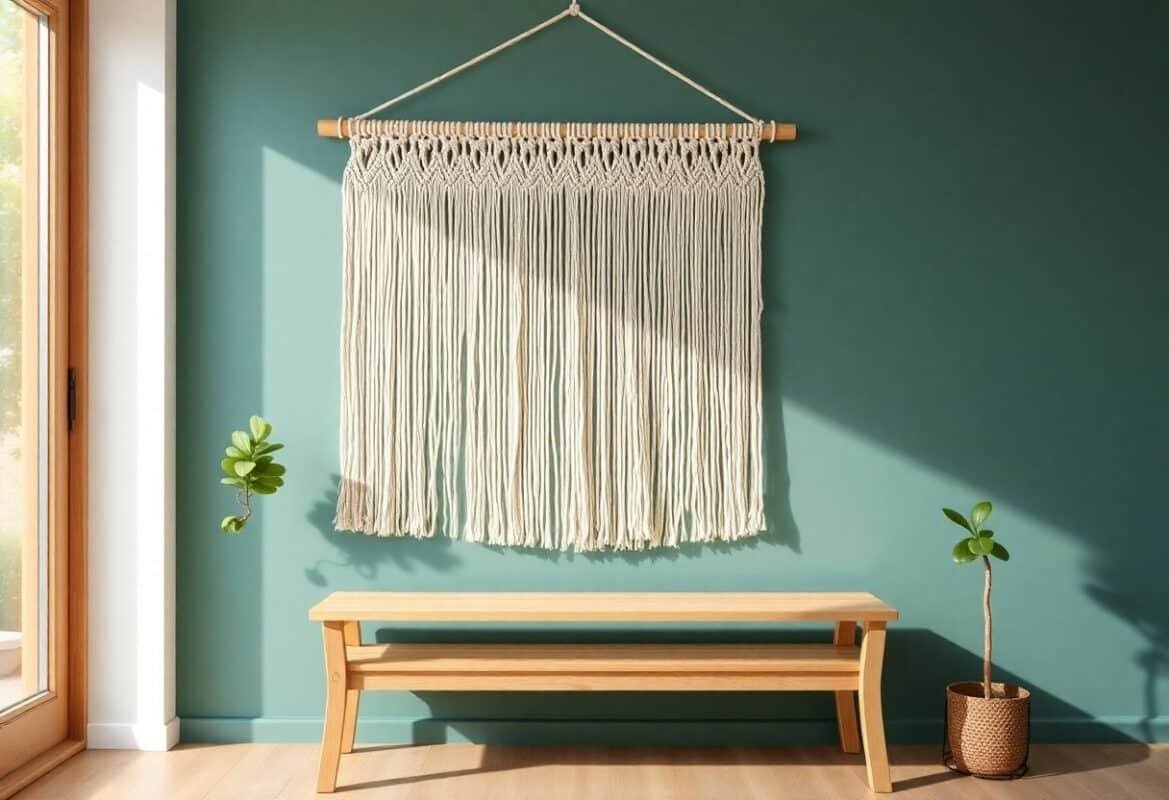
| Wall-Hanging Sculptural Tree | Asymmetric shapes, mixed textures, dowel-mounted, serves as art + decor |
| Tiered Tabletop Tree | Stacked levels, 15-35 cm, modular sections for easy storage |
| Mini Cone Ornaments | Quick builds, 5-15 cm, perfect for gift tags or garlands |
The Classic Christmas Tree Design
Want the warm, familiar tree that feels like home? You’ll usually work with 4-6 mm cotton cord, a 60-90 cm length for a substantial piece, and a mix of lark’s head starts, square knots and alternating half-hitch rows to build layered branches that taper. You can trim the fringe into a crisp triangle, add tiny wooden beads or battery fairy lights, and finish with a dowel or small trunk base so it stands straight on a mantel or lean it against a wall.
The Minimalist Macrame Tree
Can you capture the holidays with just a few knots and a clean silhouette? The minimalist tree uses 2-4 mm cord, often 20-50 cm tall, and relies on simple half-hitch or diagonal rows to suggest branches instead of full tassels, so it hangs flat on a wall or looks chic on a slim shelf. You get a modern vibe that pairs with neutral decor and-if you like-one tiny ornament or a single metallic bead for contrast.
Start with a 25-35 cm dowel and space your cords evenly, then work short rows of half-hitches to form a triangular outline. Play with negative space; fewer rows means a lighter, airier look. Use 3 mm cotton for crisp edges, trim the fringe at an angle for a clean tip, and anchor the bottom with a small wooden bead if you want weight. Try a single strand of fairy lights woven through for a subtle glow – it’s low-effort, high-style.
Here’s My Step-by-Step Guide to Crafting One
| Guide Summary | You might think a macrame Christmas tree needs advanced skills or days to finish, but you can complete a small desktop tree in 2-3 hours. You’ll work with 3-6 mm cotton cord (about 100-150 ft total for a 12-18 in tree), a 12-18 in dowel or 4-6 in metal ring, beads, and scissors. Follow measured tiers (7-9 rows usually) and simple recurring knots to build shape, then trim and style for a tidy, festive look. |
Materials You’ll Need
You might assume you need pricey supplies – not true. Get 3 mm or 4 mm cotton cord (about 100-150 ft depending on size), a 12-18 in wooden dowel or 4-6 in metal ring, sharp scissors, a tape measure, ruler, a small comb for fringing, a lighter or glue for securing ends, and optional beads or mini fairy lights for decoration; that combo covers most tree sizes and styles without breaking the bank.
Getting Started: Basic Knots and Techniques
You might think macrame knots are intimidating, but you only need a handful: lark’s head to attach, square knot for bulk, and half hitch for shaping – that’s it. Start by cutting short practice lengths, tie 10 square knots to feel the pattern, then scale up using 4-8 working cords per segment. Want a quick win? Master one repeating row and you’ll see the whole structure fall into place.
You might expect long theory before practice, but dive right in: attach cords with lark’s head to your dowel or ring, make 2-3 rows of square knots (each row about 1-1.5 in apart) to form a tier, then use alternating square knots to taper. Use a measuring tape to keep tier spacing consistent – 1.25-1.75 in works well for a 12 in tree – and comb or trim the fringe to shape fullness and symmetry.
Assembling Your Tree: A Walkthrough
You might think assembly is just random knotting; it’s actually methodical. Start by anchoring your top ring or dowel level, work down in concentric tiers (7-9 tiers for a 12-18 in tree), secure each row so knots don’t slip, then trim and shape. Expect 30-60 minutes for assembly once knots are familiar – add beads every 3rd knot or wrap tiny lights as you go for a finished look.
You might assume decoration is an afterthought, but integrate it during assembly: place beads on cords before tying the knot where you want them, space tiers 1.5-2 in for a balanced profile, and reinforce the top join with a dab of fabric glue if the tree will be handled a lot. When you’re done, hang it by a loop and tweak fringe length until the silhouette reads like a neat little tree.
Tips for a Seriously Stunning Macrame Tree
Some people think tips mean fancy tools, but tiny tweaks win the day: keep knot tension consistent so tiers sit level, stagger knot placement by 5-10 mm to add texture without bulk, and trim fringe at a gentle angle for a cleaner silhouette. Use a cardstock template to line up tiers and test the tree against a wall light to check the shadow – it tells you more than you’d expect.
- Check knot tension every 3-4 rows so the tree reads even from 1.5 m away.
- Trim fringe with sharp scissors at a 30-45 degree angle for a polished look.
- Pick dowel lengths: 20-30 cm for tabletop, 40-60 cm for wall versions.
- After assembly, tuck a 1.5 m string of warm-white micro LEDs around the tiers for subtle glow.
Choosing the Right Cord and Colors
Many assume any cord will do, but your choice shapes the final vibe: go 2-3 mm cotton for small tabletop trees, 4-5 mm for larger wall-hangings; cotton gives a matte, cozy finish while nylon or blended cord adds subtle sheen. Pick a palette with one dominant color and one accent – for example forest green + cream, or sage + metallic gold – and limit to 2-3 tones so your knots stay the star.
Decorating Your Tree Like a Pro
People often think more ornaments equals better, but scale matters: use tiny beads (6-8 mm) on upper tiers and larger wooden beads (12-20 mm) near the base to keep proportions right. Tie ornaments with clear fishing line or 24-gauge floral wire and space them roughly every 4-6 cm along a tier. Try odd-number groupings – 3 or 5 focal beads – it looks natural and balanced.
Some assume weight equals luxe, but lighter pieces register richer on macrame without pulling the cords out of shape. Anchor the biggest pieces on the bottom two tiers, alternate colors as you move up, and twist a 10-15 cm loop of metallic thread through bead holes for sparkle that won’t slip. Tuck a small battery pack behind the top loop and test from 2 m to confirm silhouette and sparkle before final trims.
Factors to Consider Before You Dive In
You can make a stunning macrame tree with basic skills. Gauge your knotting level, pick rope (cotton 3-6 mm works well), and choose a finished size – a 12-18″ mini needs far less cord than a 3-foot wall tree. Factor in budget: quality rope runs about $8-15 per 50 m, plus dowels, beads and hooks. Think about pets, hanging hardware and storage. Any small change in cord thickness or knot tension will shift the tree’s final look.
- Skill level: beginner, intermediate, advanced
- Materials: cord thickness, dowel size, beads
- Budget: $10-60 depending on size and materials
- Safety: weight limits, pet-safe placement
- Storage: how you’ll pack and reuse it after the holidays
Space and Placement
Placement makes or breaks the whole piece. Measure the wall and allow at least 6 inches of breathing room around a 12-18″ tree, and about 12 inches for 24-36″ pieces; for a 24″ hanging tree plan roughly 30″ of vertical clearance so it doesn’t crowd other decor. If you’re hanging it, use a picture hook rated 10-20 lb or a masonry anchor for brick walls. Want it on a shelf? Check the shelf depth and stability first – will it actually get seen?
Time Commitment: How Long Will It Take?
You can finish a small macrame tree in an afternoon. A 12-18″ mini with basic square knots usually takes 2-4 hours, while an ornate 3-foot wall tree with tiered rows and fringe can take 6-12 hours across several sessions. If you’re new, add 30-50% more time for measuring, practice knots and fixing mistakes. Pick a simple pattern first and you’ll shave hours off your first build.
Break the project down: cutting and measuring cords takes 15-30 minutes, prepping fringe another 20-40 minutes, knotting each tier can run 30-90 minutes depending on density, assembly and finishing about 30-60 minutes, and tidying up 10-20 minutes – so a 24″ tree often lands around 6-9 hours total. Want to speed up? Pre-cut all cords, clamp the dowel to a jig or a chair, and practice a row of square knots until you can do 20 in 5 minutes. Work in 30-45 minute blocks to avoid sloppy knots, and don’t be shy about pausing to straighten rows – a little rework early saves hours later.
The Real Deal About the Pros and Cons
Recently the tiny-tree and handmade holiday decor trend has blown up on socials, so you probably see macrame trees everywhere now – from studio apartments to boutique shop windows. You’ll want the quick wins and the gotchas up front: some designs take 30-90 minutes, others stretch into several hours, and materials range from $2 per yard ropes to $20 specialty cords, so weigh time, cost and storage before you dive in.
Pros vs Cons
| Pros | Cons |
|---|---|
| Low-cost basic supplies (cotton cord, dowel) | Costs rise with premium cord, beads, or specialty hooks |
| Portable and easy to hang anywhere | Lightweight pieces tangle or get knocked by pets |
| Highly customizable – color, size, embellishments | Complex patterns take significant time and patience |
| Quick small projects: often 30-90 minutes | Larger trees can take several hours or multiple sessions |
| Great for small-space décor and cupboards | Less visual impact than a full real tree for some |
| Reusable and easy to store flat | Fringe and shape can compress in storage, needing reshaping |
| Eco-friendly if you pick natural fibers | Synthetic cords aren’t biodegradable |
| Fun group or kid-friendly craft with supervision | Small knots, scissors, beads can be tricky for little hands |
Why I Love Making These Trees
Because the mini-macrame movement is getting bigger, you can riff on designs and make something that actually fits your space and style; you’ll mix colors, add beads, even use copper wire for a modern twist. You get a satisfying payoff in under two hours for a small tree, and it’s cheap enough to experiment with – so why not make five? Plus, gifting homemade trees is a hit at holiday swaps.
Potential Drawbacks You Should Know
Some patterns look easy but hide fiddly steps, so you might spend longer than you planned and need practice to get consistent knots. You’ll also deal with storage squish, and if you want a dramatic, full-sized centerpiece it won’t replace a real tree; think of these as statement accents, not living-room main events.
Digging deeper, durability depends on cord choice and finish – cotton softens and frays over years, synthetic holds up but feels less cozy. If you leave trees in humid spots they can stretch or mildew, so store them flat in a breathable bag and avoid damp basements. Finally, factor in embellishments: glued-on glitter or glued beads can loosen, so use sewn or tied attachments for pieces you want to keep longer.
Final Words
Ultimately you don’t need fancy tools or years of knotting experience to make a charming macrame Christmas tree, it’s mostly about simple knots, a bit of patience and a playful touch. You can wing it, tweak your design, add beads or tassels – who says it has to be perfect? Want a showstopper on a budget? You got this. So grab your cord, put on music, and have fun with your little handmade tree.
FAQ
You can make a beautiful macrame Christmas tree in under an hour with just a few supplies.
Q: What basic supplies do I need to make an easy macrame Christmas tree?
A: Plain cotton cord (3-5mm is a sweet spot), a small wooden dowel or metal ring, scissors, tape measure and a lighter or glue for finishing ends. That’s literally it – you don’t need the fancy boutique stuff to get a great-looking tree.
Want ornaments? Grab a handful of wooden beads, some twine, or a little spray paint for color. Cheap, fast, and you can totally personalize it on the fly.
If you’re short on time get pre-cut lengths or use a shorter dowel so you use less cord. Works every single time.
Q: What simple knot pattern should I use and what are the step-by-step basics?
A: The easiest route is a series of square knots or alternating half knots worked in rows to form triangular tiers. Start by cutting cords – for a small tree try 8 cords at about 1.5 to 2 times the finished length – fold them over the dowel and secure with a lark’s head knot, then move into your knot pattern.
Square knots make a neat, leafy texture. Do a row of square knots, trim the ends into a triangle shape, then repeat lower down for another tier. Want it fluffier? Brush the ends out with a comb or bit of water and then shake it apart – instant texture.
Work slowly for the first tier to set the shape, but once you get the rhythm it goes quick – like sewing, once your hands remember the move the rest flies by. And if a knot looks off you can usually untie and redo it without destroying the whole piece.
Q: How can I customize, hang, and finish the tree so it looks pro?
A: Trim the ends into a clean triangle or stagger them for a rustic look. Add beads while tying for ornaments, loop a small star charm at the top, or spray the whole thing with metallic paint for holiday glam. Little touches go a long way.
To hang, center the dowel and use a simple loop of cord or fishing line – lightweight and invisible. If you’re displaying on a shelf, glue a tiny wooden base or wrap the bottom in twine so it sits nicely. Mounting hardware is optional – it’s fine hanging straight off a nail.
Don’t overthink perfection – asymmetry can look charming. Want it sturdier? Double up the cords or use a thicker dowel. Try one and tweak – that’s the fun part.