With a few basic knots and inexpensive cords, you can transform simple materials into functional, stylish macrame pieces that build your skills step by step. This curated list of 25 Easy DIY Macrame Projects for Beginners guides you from practice-friendly keychains and plant hangers to wall hangings, coasters, and shelf organizers, providing clear instructions, materials lists, and tips so you can progress confidently and create polished results.
Key Takeaways:
- Projects are beginner-friendly and focus on basic knots like square, lark’s head, and half hitch.
- Basic supplies-cord, dowel or ring, scissors, and tape-are inexpensive and easy to source.
- Start with small projects (plant hangers, keychains) to build skills before attempting larger pieces.
- Step-by-step instructions and photos make learning stitch patterns and measurements straightforward.
- Finishing tips, care advice, and customization ideas help personalize projects and extend their lifespan.
Macrame Basics
By drilling short practice sessions you’ll internalize knot patterns quickly: aim for 10-20 repetitions of each knot and make a 6-8 inch sample swatch to check tension. Many beginners use 3-5 mm cotton cord, a 6-12 mm (1/4-1/2″) dowel or a 2-4″ ring, and find a simple plant hanger or small wall piece takes 2-4 hours to complete once knots are familiar. Tracking knot counts and cord waste sharpens your planning for future projects.
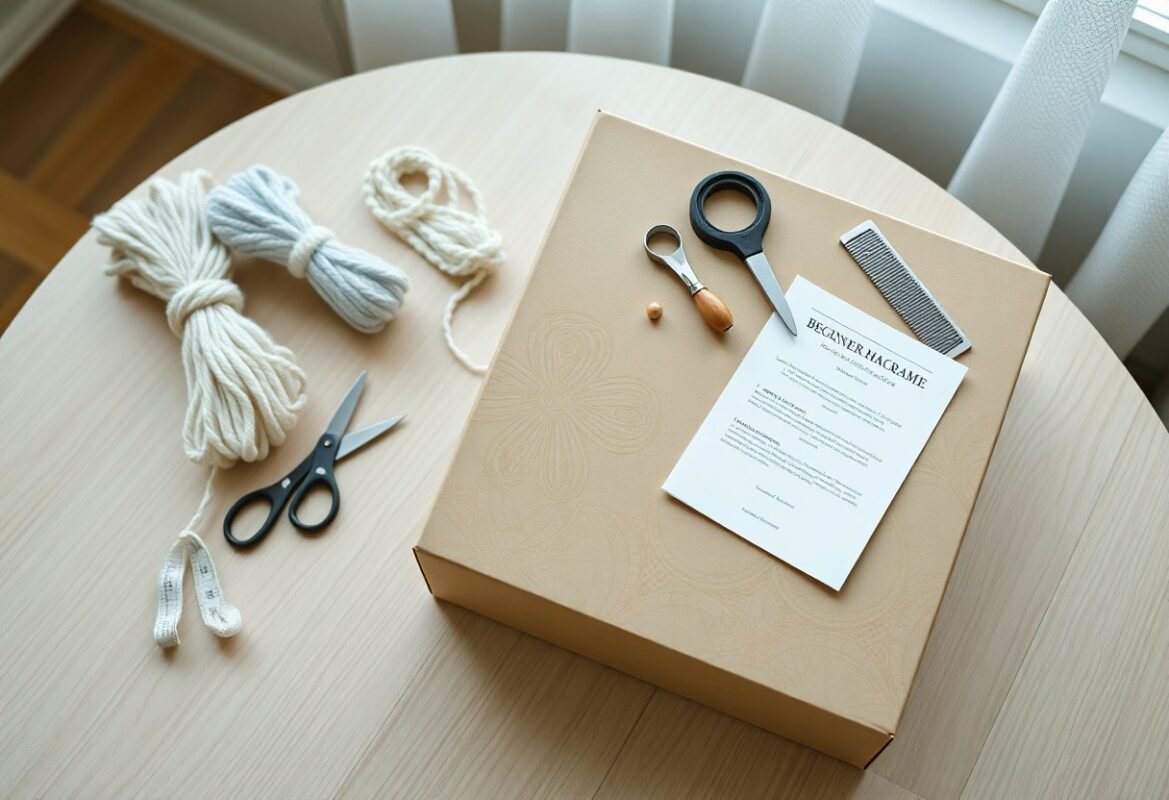
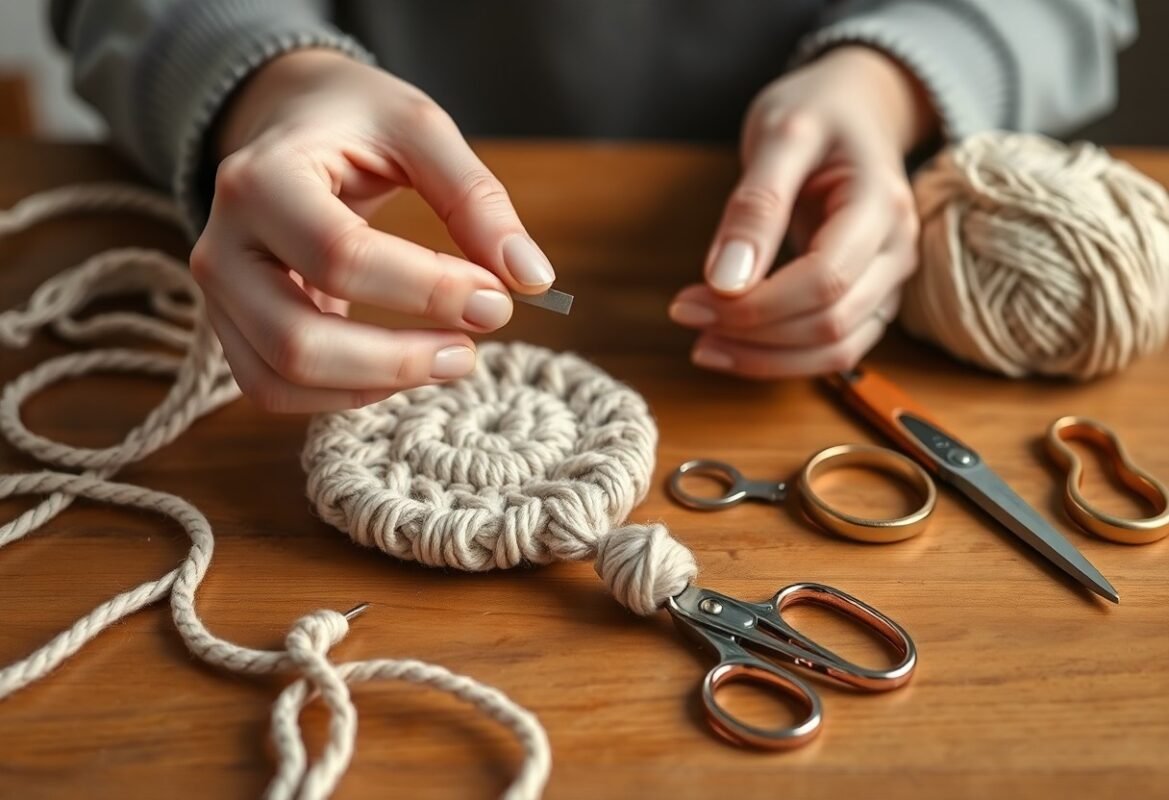
Essential Tools and Materials
You’ll want 100% cotton macrame cord in 3-5 mm for most beginner projects, plus an alternative like nylon or jute for outdoor pieces. Add a 6-12 mm dowel or 2-4″ metal/wood ring, sharp scissors, a tape measure, binder clips or clothespins, a metal comb for fringe, and a crochet hook or tapestry needle to pull and tighten ends. A small notepad to note cord lengths (see the 4× rule below) saves time and waste.
Fundamental Knots to Get Started
You should master the lark’s head for attaching cords, the square knot (uses four cords) for flat panels, the half hitch and double half hitch for diagonal and vertical lines, and the gathering knot to finish pieces neatly. Each knot has predictable uses-lark’s head anchors, square knots form nets, half hitches shape curves-so apply them deliberately when following beginner patterns like plant hangers, keychains, and small wall hangings.
Practice the square knot sequence: two outer working cords wrap around two inner filler cords; alternate left-right for alternating square knot rows to create a net. For half hitches, work left- or right-facing versions to form diagonal rows; five consecutive double half hitches create a clean horizontal line. Estimate cord length as roughly 4× the finished length for simple patterns and 5-7× for fringe-heavy designs, and make a 6-inch test strip to dial in your tension before cutting full cords.
Beginner-Friendly Macrame Projects
When you’re ready to apply basic knots, start with projects that use just 3-4 stitches and produce satisfying results quickly; many beginners complete a plant hanger or keychain in under an hour. Focus on learning the square knot, half hitch, lark’s head and spiral knot, then explore variations in the 18 Easy Macrame Projects for Beginners for step-by-step patterns and material lists you can follow immediately.
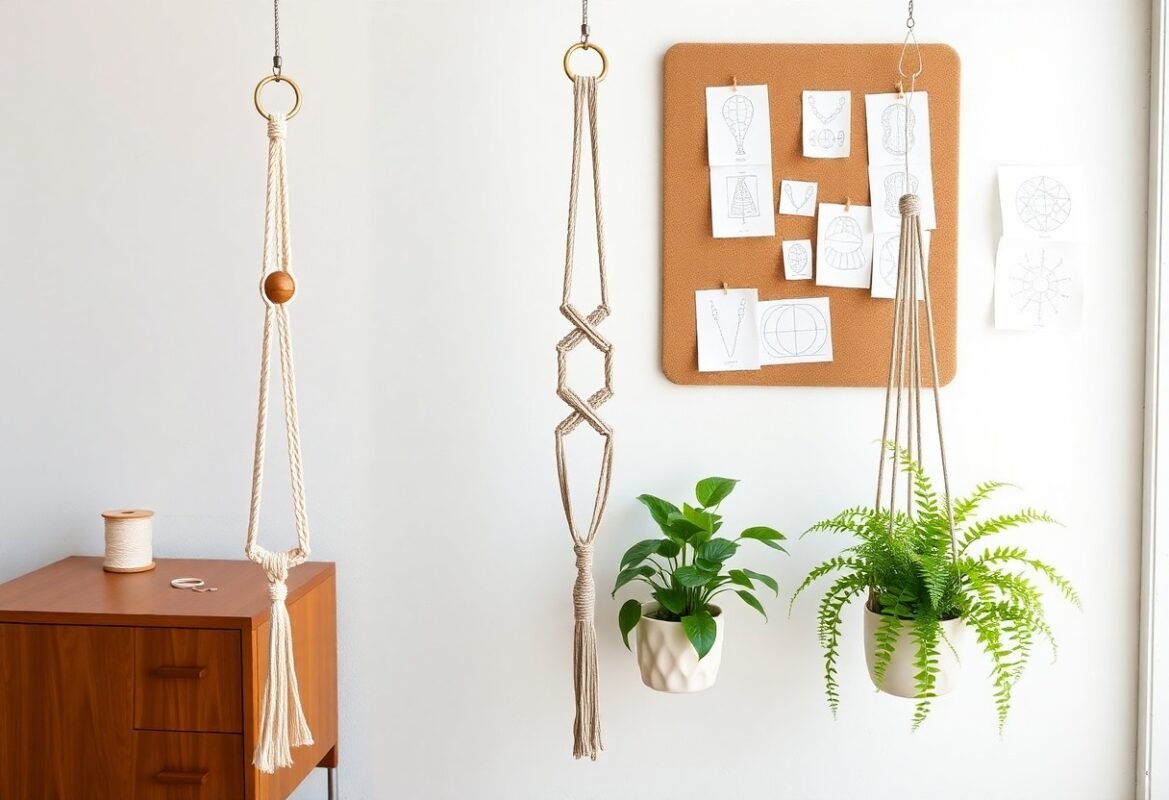
Macrame Plant Hangers
Use 3-5 mm cotton cord and cut eight lengths of about 2.5-3 m (8-10 ft) for a standard 4-6 inch pot; adjust cord length upward if you want long tassels. You’ll often employ gathering knots, alternating square knots and a finishing wrap, and adding a wooden bead near the base can stabilize the pot while giving the hanger a polished look.
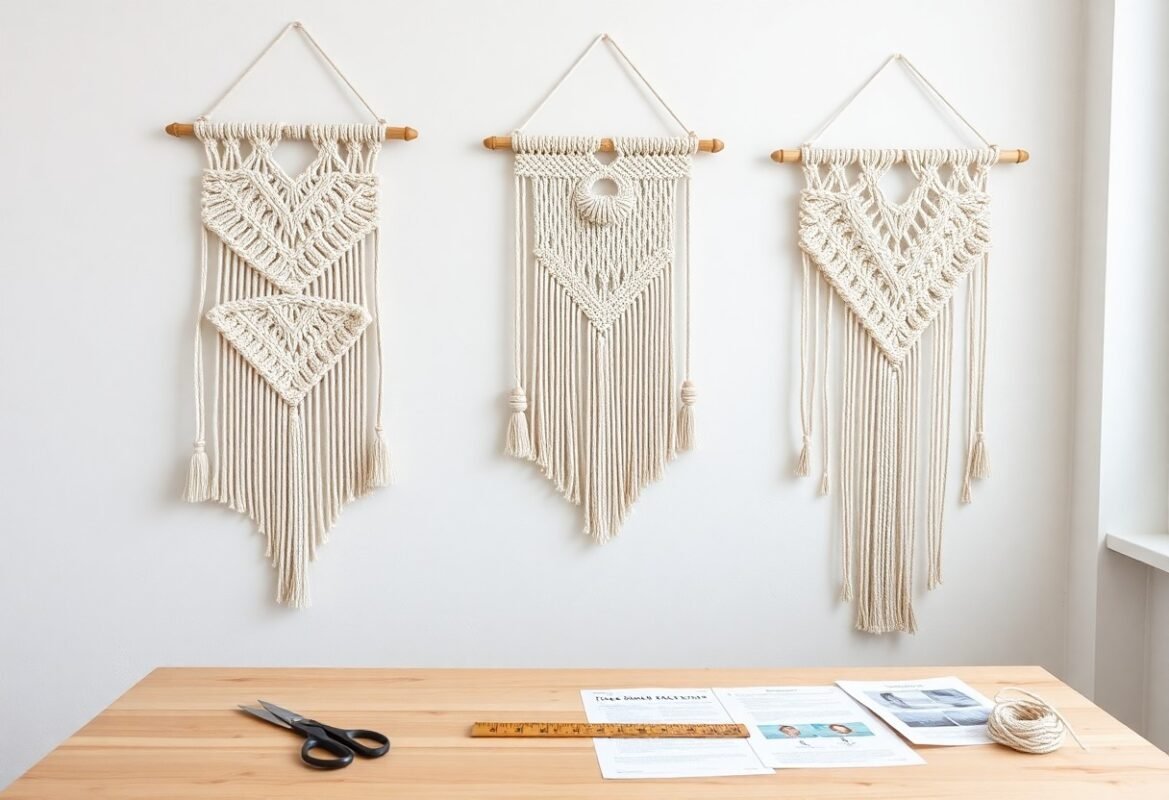
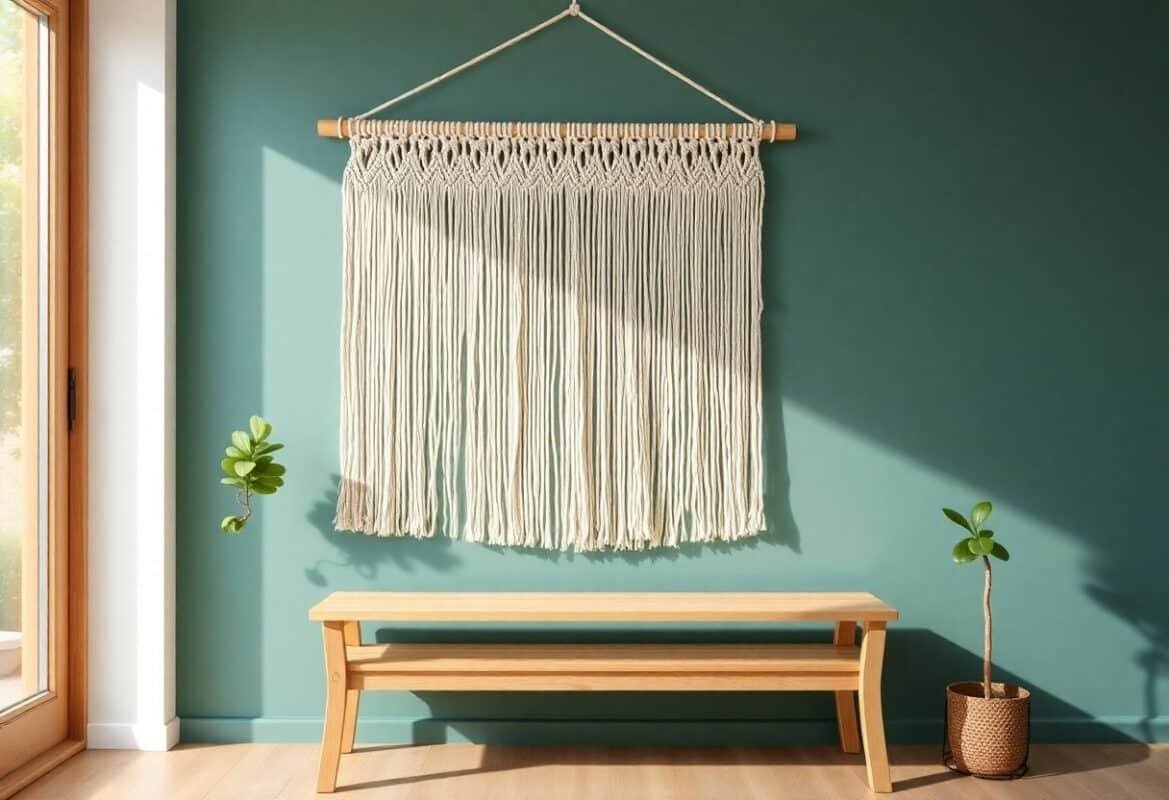
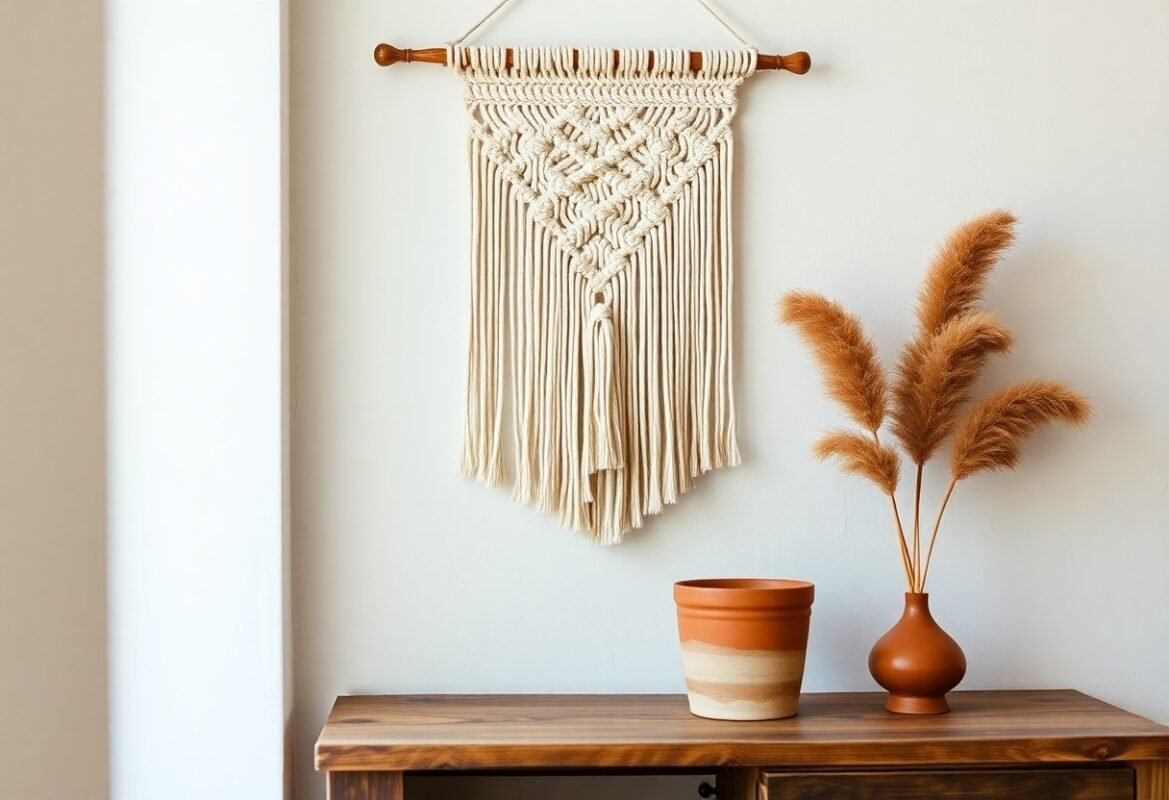
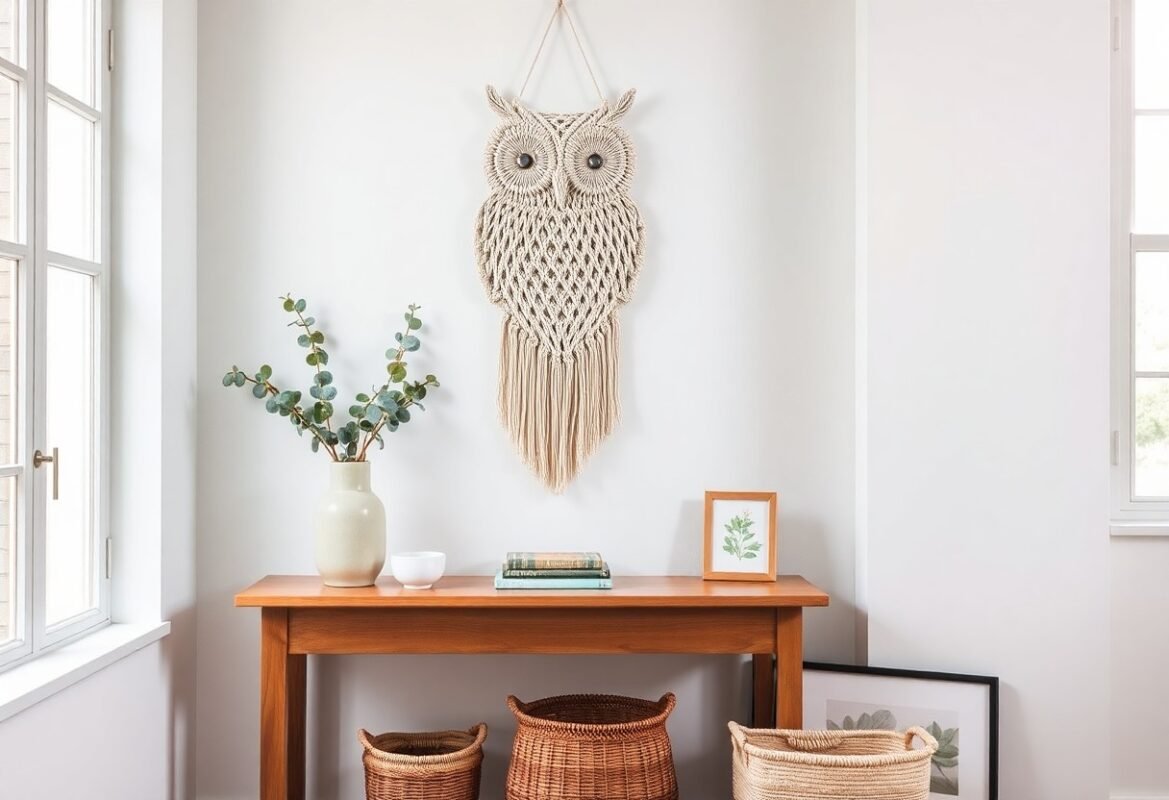
Wall Hangings for Home Decor
Choose a wooden dowel 12-24 inches wide and 3-5 mm cord to create a textured piece that fills a 1-4 ft wall space; combine square knots, vertical double half hitches and spiral knots for layered depth. You can mix yarn for softness or macrame cord for strong structure, then add dye or metallic accents to fit your room’s palette.
For larger hangings, plan sections in 6-12 inch modules and repeat motifs to scale the design; count knot repeats so patterns align across the dowel and trim fringe with a ruler for even lengths. Mount using picture-hanging hardware rated for at least 10 lb if you add heavy beads or driftwood, and consider blocking the finished piece to set curves and straighten lines.
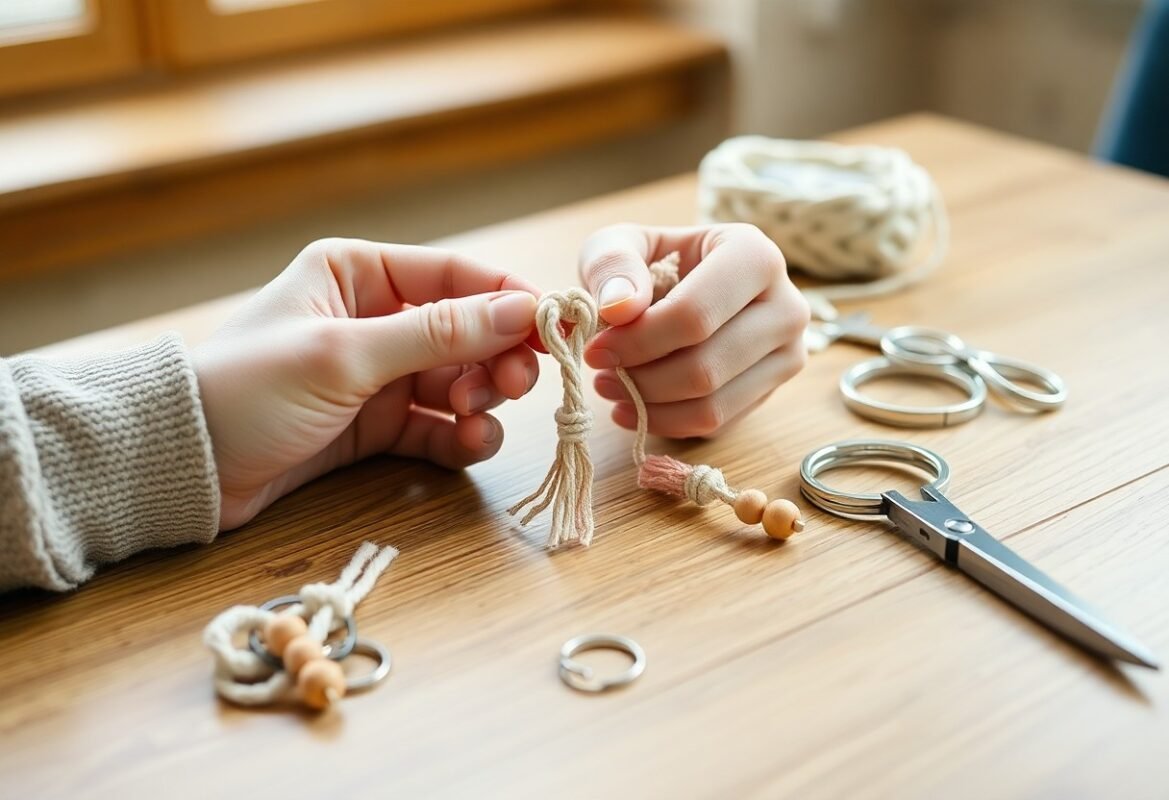
Stylish Keychains
Pick 2-3 mm cord and cut four to six 40-60 cm (16-24 in) strands to make a 3-5 inch keychain using square or spiral knots; project time is typically 10-30 minutes. Metal or wooden beads and a split ring transform a simple knot sequence into a giftable accessory that survives daily pocket wear.
When you add a swivel lobster clasp and a short leather accent, the keychain becomes more durable and fashion-forward; reinforce the final knot with a dab of clear fabric glue and melt-smooth synthetic cord ends to prevent fraying. Measure the finished total length to ensure it fits comfortably in your hand or pocket.
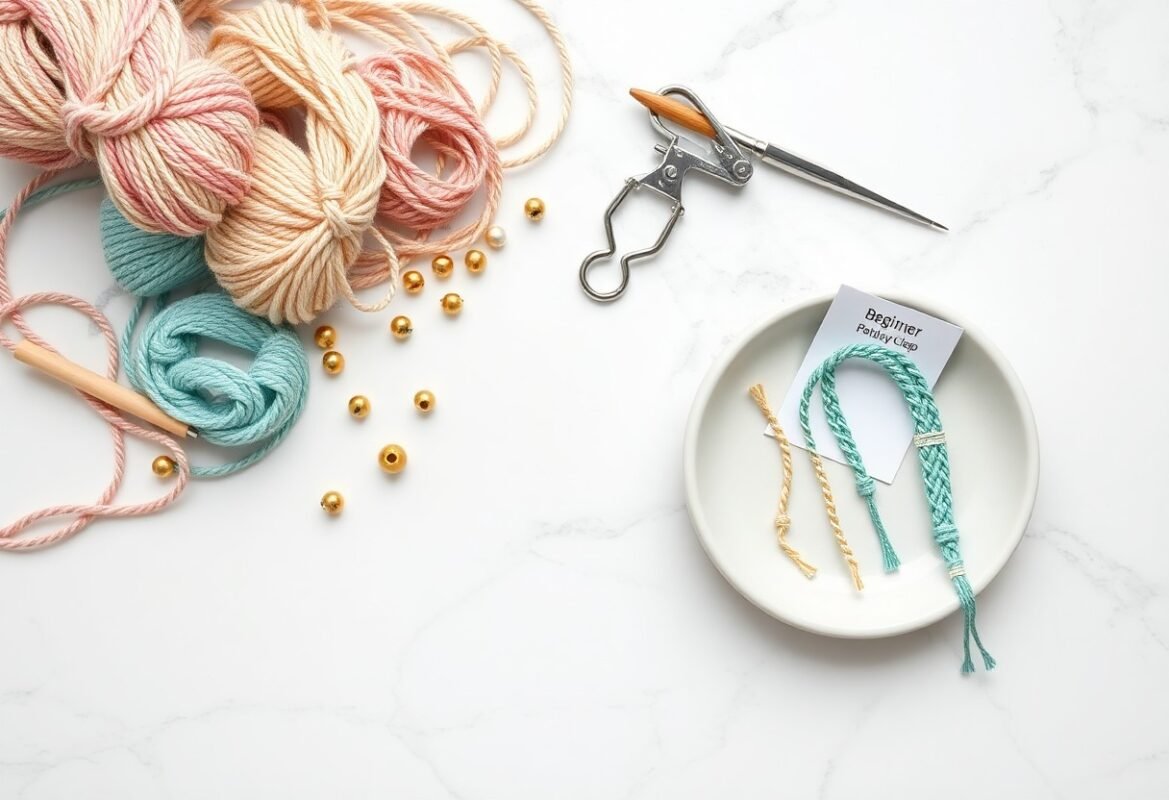
Simple Bracelets
Work with 1-2 mm waxed cotton or nylon cord and plan for wrist circumference plus 6-8 cm (2.5-3 in) extra for sliding knots; typical projects take 15-30 minutes. Popular patterns include alternating square knots and simple braided sections, and adjustable closures mean one size fits most wrists between 6 and 8 inches.
Count knot repeats to match both bracelet ends for symmetry, and incorporate 4-6 mm spacer beads for visual rhythm; use a lighter to seal synthetic cord tips or a tiny bit of jewelry glue for natural fibers. Test the sliding knot on scrap cord to set tension before finishing the actual piece.
Intermediate Projects to Explore
You can start combining pattern repeats, multiple cord thicknesses, beads, and wooden dowels to make more complex pieces; try projects that use 3-6 mm cotton cord and 4-12 mm beads. Use step-up patterns like the ones in 25 Free Macrame Patterns for All Skill Levels to practice clustered square knots, diagonal clove hitches, and alternating half-hitch rows that build structural rhythm and scale.
Macrame Curtains
You can craft macrame curtains by planning panels to your window size: a 36″ panel often needs 60-100 cords depending on 2-5 mm cord thickness and desired density. Start with a sturdy curtain rod or dowel, use a mix of openwork and denser knot bands for privacy, and calculate cord length at 4-5 times finished drop to allow for knotting and fringe.
Wall Art with Beads
You can introduce beads to wall hangings to add texture, shine, and weight-try 4-12 mm wood, glass, or brass beads threaded onto cords before knotting to create focal lines or cascading columns. Plan bead placement every 4-10 knots for rhythm, and test spacing on a small sample to balance drape and bead distribution.
For more detail, thread beads onto cords before starting your main sequence so you can slide them into position as you knot; for example, a 24″ x 36″ piece might use 150-250 beads and 20-30 cords of 3-4 mm cord. Vary bead materials-mixing matte wood with a few metallic beads creates contrast-and use bead stoppers or small knots to lock beads in place and prevent shifting over time.
Decorative Table Runners
You can make table runners sized to your table-common lengths are 36″, 54″, or 72″-using finer 2-4 mm cord for detailed patterns or 4-6 mm for chunky texture. Design central motifs with symmetrical knot repeats, add fringe or tassels at ends, and leave a 1-2″ allowance for hems or backing if you plan to attach fabric for stability.
When planning a runner, measure table width and allow 6-12″ overhang per end; a 16″ wide runner typically uses 40-60 cords depending on spacing. Consider sewing a lightweight cotton backing to protect knots from spills, treat finished pieces with a textile-safe protector for stain resistance, and test washability on a scrap to ensure colorfastness before gifting or regular use.
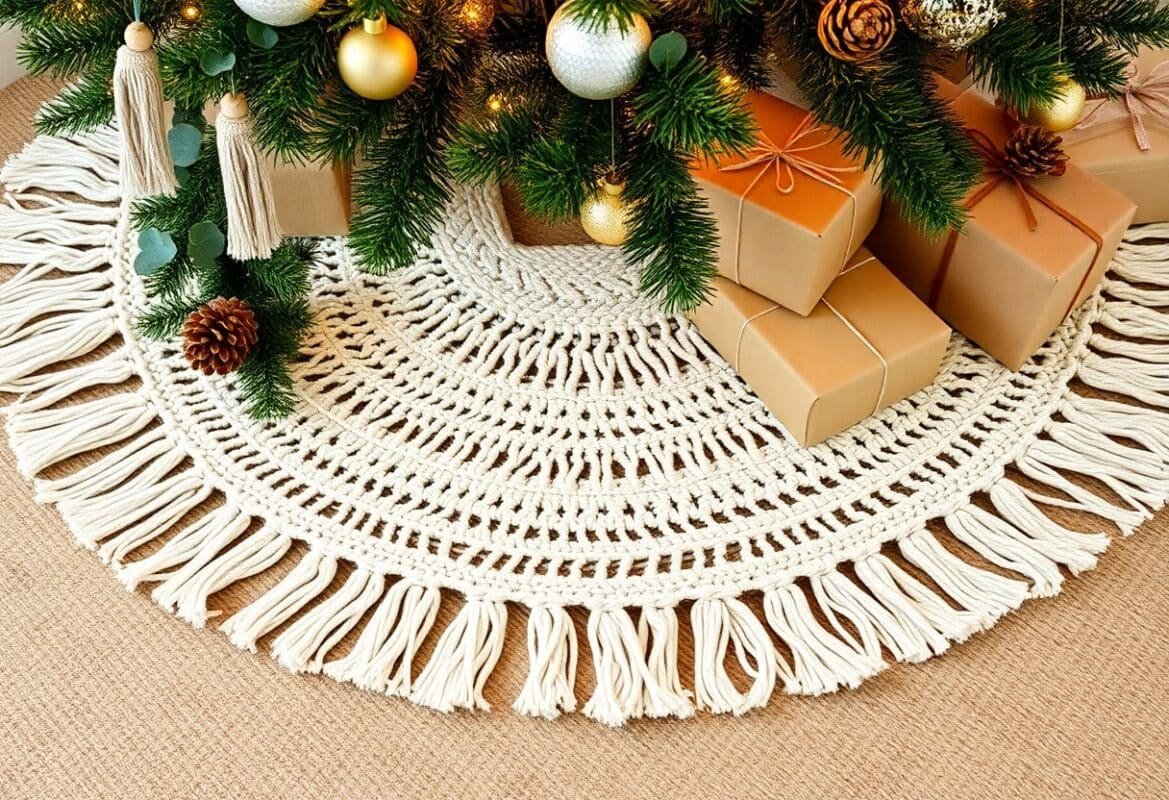
Seasonal and Themed Projects
You can tailor macrame to seasons and celebrations by swapping cord thickness, color, and embellishments: use 3-5 mm cotton for delicate ornaments and 6-8 mm for outdoor garlands, add wooden beads or metallic thread for sparkle, and plan projects that take 20 minutes to 4 hours depending on scale. Seasonal sets-like a trio of wreaths or a matching table runner and napkin rings-create cohesive decor with consistent knot patterns and palette choices.
Holiday Ornaments
You’ll make quick, giftable pieces using 2-3 mm cord, 1-2-inch wooden rings, and 10-30 minutes per ornament; popular motifs include mini tassels, snowflakes with alternating square and lark’s head knots, and tiny macrame stars threaded with metallic beads. Try making a set of 6 in one afternoon-use 3 color variations and simple finishing knots so each hangs uniformly on your tree or gift package.
Festival Decorations
For festivals you should scale up: craft 4-8 foot garlands, lantern wraps, or stage backdrops using 5-8 mm cord, add dyed sections or tassel clusters in 3-5 contrasting colors, and aim for modular pieces you can link. Festivals like Diwali, Pride, or local summer fairs benefit from weather-treated cords and quick-release hanging loops for faster setup and teardown.
Plan festival pieces with measurements and knot choices: cut 8-12 cords at 200-300 cm for a 1.5-2 m banner, use alternating square knots for density and half-hitch rows for fringe control, and finish with a 2% fabric sealant or outdoor spray if exposed to sun or moisture. In one community fair, volunteers produced 10 identical 1.8 m buntings in a weekend by standardizing cord length and pattern, cutting assembly time by half.
Tips and Tricks for Success
To speed up projects and keep tension even, practice sets of 10-15 square knots and use a tape measure to set repeating lengths; clamp your work to a clipboard or a 12-inch dowel for stability, and test cord thickness-3-5 mm for plant hangers, 1.5-2 mm for delicate wall pieces. You should keep a small kit: 3-4 inch sharp scissors, a metal comb for fringe, and bead stoppers to prevent slippage. The small extras-clothespins, stitch markers, or a notebook for pattern notes-save hours on larger pieces.
- Anchor your work with a clipboard or 12-inch dowel for even tension.
- Measure and mark repeats every 4-6 inches to keep symmetry.
- Practice 10-15 knot repetitions to build consistent speed.
- Use a metal comb and bead stoppers to finish fringe neatly.
Common Mistakes to Avoid
If you skip measuring or underestimate cord length you can run out mid-project-add 10-20% extra for fringe and errors; inconsistent tension will skew patterns, so check symmetry every 4-6 inches and use a ruler for repeat spacing. You should avoid pairing heavy wooden beads (>8 mm) with very thin cord (1.5-2 mm), and cut ends only after a dry-fit to prevent waste.
Maintenance and Care for Macrame
You should treat cotton and jute differently: machine-wash cotton pieces on a gentle cycle inside a laundry bag and air-dry flat, while jute and hemp need spot-cleaning and air-drying to avoid weakening fibers; dust indoor hangings every 1-2 weeks and keep dyed cords away from prolonged moisture to prevent color transfer.
For spot-cleaning, use a mild detergent (about 1 tablespoon per gallon) and dab with a soft cloth, or soak stained areas for 10 minutes then rinse; use white vinegar (1 part vinegar to 4 parts water) for odor removal. You can re-comb fringe with a metal comb or pet brush and use low steam through a cloth to relax kinks; for outdoor pieces prefer synthetic polypropylene cord and rinse annually to remove grime.
Inspiration and Resources
When you need fresh project ideas, browse curated galleries and roundups-sites like 25 Super Original Ideas For Your Next Macrame Project list 25 detailed patterns, many with step photos and materials lists, helping you adapt designs for 3-8 mm cord and standard 8-12 mm wooden dowels.
Online Tutorials and Videos
You can learn quickly from step-by-step video tutorials: many creators post 8-20 minute projects that show knot close-ups, measurements, and finishing techniques; prioritize videos with timestamps, downloadable supply lists, and clear difficulty tags so you can filter for 30-90 minute beginner builds.
Recommended Books and Blogs
You should keep a couple of reference books and follow 2-4 blogs: books often contain 30-80 step-by-step projects with diagrams and technique chapters, while blogs publish weekly free patterns, material substitutions, and reader comments that highlight common troubleshooting tips.
When choosing resources, pick a technique-focused book if you want measured cord lengths and knot sequences, and use blogs for seasonal or small projects; subscribe to 2-3 blogs, bookmark five starter patterns, and note typical cord listings (for example a plant hanger may call for 30-40 m total of 3-5 mm cord).
To wrap up
Presently you can use the 25 Easy DIY Macrame Projects for Beginners as a structured, progressive guide to build your knotting skills, master basic techniques, and create attractive pieces for your home; clear instructions, common materials, and scalable designs let you gain confidence, personalize projects, and move from simple keychains to statement wall hangings with ease.
FAQ
Q: What basic materials and tools do I need to start the 25 easy DIY macrame projects for beginners?
A: Essential materials: macrame cord (cotton is best for beginners), a wooden dowel or metal ring for anchors, scissors, tape measure, and a comb or brush for finishing fringes. Useful extras: a clipboard or macrame board to hold work, T-pins or sewing pins to secure pieces, beads or wooden rings for embellishment, and fabric glue or a needle for tidy ends. Choose cord thickness based on project-2-3 mm for jewelry/bookmarks, 3-5 mm for plant hangers and small wall hangings, 5-8 mm for chunky pieces.
Q: Which knots should I learn first to complete most of the beginner projects?
A: Start with lark’s head knot (attachment), square knot (and its variations), half hitch and double half hitch (for lines and curves), spiral knot (half knot repeat), and gathering knot (to finish ends). Practice tying them consistently; most projects combine these knots in different sequences to create patterns and structure.
Q: Which of the 25 projects are best for absolute beginners to build confidence quickly?
A: Begin with a simple keychain, cord bracelet, bookmark, and small coaster-each uses a few cords and basic knots and can be completed in 15-60 minutes. Next step projects: small plant hanger, simple wall pocket, and bottle sling; these introduce multiple knot rows and measuring for length without becoming overwhelming.
Q: How long does each type of project usually take and how should I plan my time?
A: Time estimates: keychains and bookmarks 15-45 minutes; coasters and small jewelry 30-90 minutes; basic plant hangers and medium wall hangings 1-4 hours; larger wall hangings or complex pieces 4-10+ hours. Plan by breaking larger projects into sessions: preparation (measuring and cutting cords), knotting sessions of 30-90 minutes, and finishing (trimming, combing, mounting).
Q: How do I choose the right cord type, color, and length for each project?
A: Cord type: cotton for softness and easy knot definition, nylon for outdoor durability, jute for rustic looks. Thickness: thinner cords for jewelry, mid-weight (3-5 mm) for most beginner home decor, heavier for large statement pieces. Color: solids highlight knot structure; variegated or dyed cord adds texture and interest. Length: measure twice-many patterns require 4-6 times the finished length per working cord; use pattern-specific cutting guides or start with longer cords and trim after finishing.
Q: What common mistakes do beginners make and how can I fix them quickly?
A: Common mistakes: uneven tension, crooked patterns, and frayed ends. Fixes: maintain steady tension-practice on sample strips; secure your anchor (clip or pin) to keep even work height; if rows drift, gently untie back to the error and re-knot; use a comb and light misting or fabric stiffener to reshape fringes; bind or melt ends when appropriate for synthetic cords to prevent fray, or knot/glue for natural fibers.
Q: How can I customize, finish, and care for finished macrame projects to keep them looking great?
A: Customize with beads, dyed cords, mixing cord weights, or using different anchors (driftwood, metal rings). Finish edges by trimming evenly and combing fringes; secure final knots with a discreet drop of fabric glue if needed. Care: dust regularly, spot-clean with mild soap and cool water, hand-wash gently and reshape while damp, avoid bleach and high heat. For outdoor pieces, choose weatherproof cord or keep under cover.