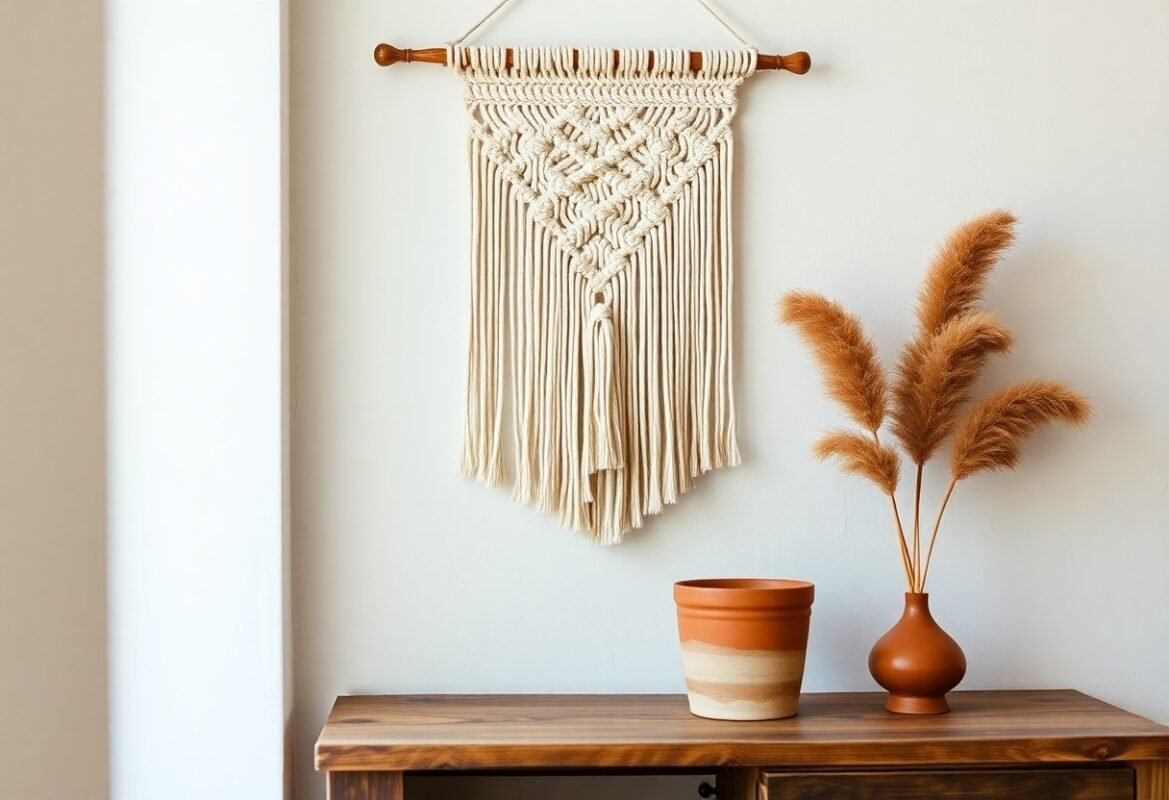
What the Heck Are Macrame Earrings Anyway?
Surprisingly, macrame earrings are tiny knot sculptures you can make with just 2 or 3 basic knots. You use thin cord (0.8 to 1.5 mm cotton, leather or nylon), jump rings, hooks and optional beads. A simple pair takes 15-30 minutes, fringe or layered styles 40-60. Many makers sell them on Etsy or markets for $12 to $35 a pair, so you get style and potential income.
A Quick Look at the Trend
You’d be surprised how cyclical this is – macrame blew up in the 1970s, then resurfaced in the 2010s thanks to Instagram and DIY culture. Vintage boho vibes sell well, while minimal geometric shapes are trending now. Thousands of Etsy listings and reels with millions of views prove demand, so following hashtags and best-sellers gives you instant trend signals.
Why You’ll Love Making Them
Believe it or not, you can turn scrap cord into a polished pair that people want to wear. Costs are low – $1 to $5 in materials per pair – and you control scale: make one for practice or 50 for craft fairs. They’re portable, so you can knot on the couch or while waiting, and customization is endless with colors, beads and shapes.
Even better, the learning curve is tiny; master the square knot, lark’s head and half hitch and you’ve unlocked dozens of patterns. Start with 1 mm cotton cord, a small hoop and a clipboard or mini loom to hold work steady. Add a single seed bead per fringe to raise perceived value, or swap in leather for an edgier look, and you’ll be prototyping new designs in 20 minutes.
Key Takeaways:
- When I taught my friend to make her first pair she brought neon thread and a stubborn coffee cup – we laughed the whole time, and somehow the earrings still turned out cute. It’s wild what a few basic supplies will do when you’ve got patience and a decent pair of scissors.Pick the right cord – it changes everything.Metal findings, a sharp pair of scissors, tape or a clipboard to hold your work, and beads if you want bling – that’s really all you need to get going. Cheap tools make it harder, so spend a little on one good pair of pliers and nicer cord and you’ll avoid a ton of frustration.
- I first messed up a whole row of knots and cried a little – then I practiced the square knot until my fingers did it without thinking. You don’t need fancy patterns to make something pretty; start simple and build up.Learn the lark’s head, square knot, and half hitch first, then riff on them – that’s where the fun starts. Need symmetry? Work both earrings at the same time so they match, or use a ruler/clip to keep length even.
- I once trimmed an earring too short and swore, but a dab of clear glue and a tiny crimp saved the day – finishing matters way more than I thought. Little details like sealing ends, checking weight, and attaching earring hooks the right way make them wearable, not just pretty.Try them on as you go, and don’t be shy about adjusting length or swapping beads – trial and tweak is the whole point. A neat finish and secure hook will keep people complimenting your DIY game.
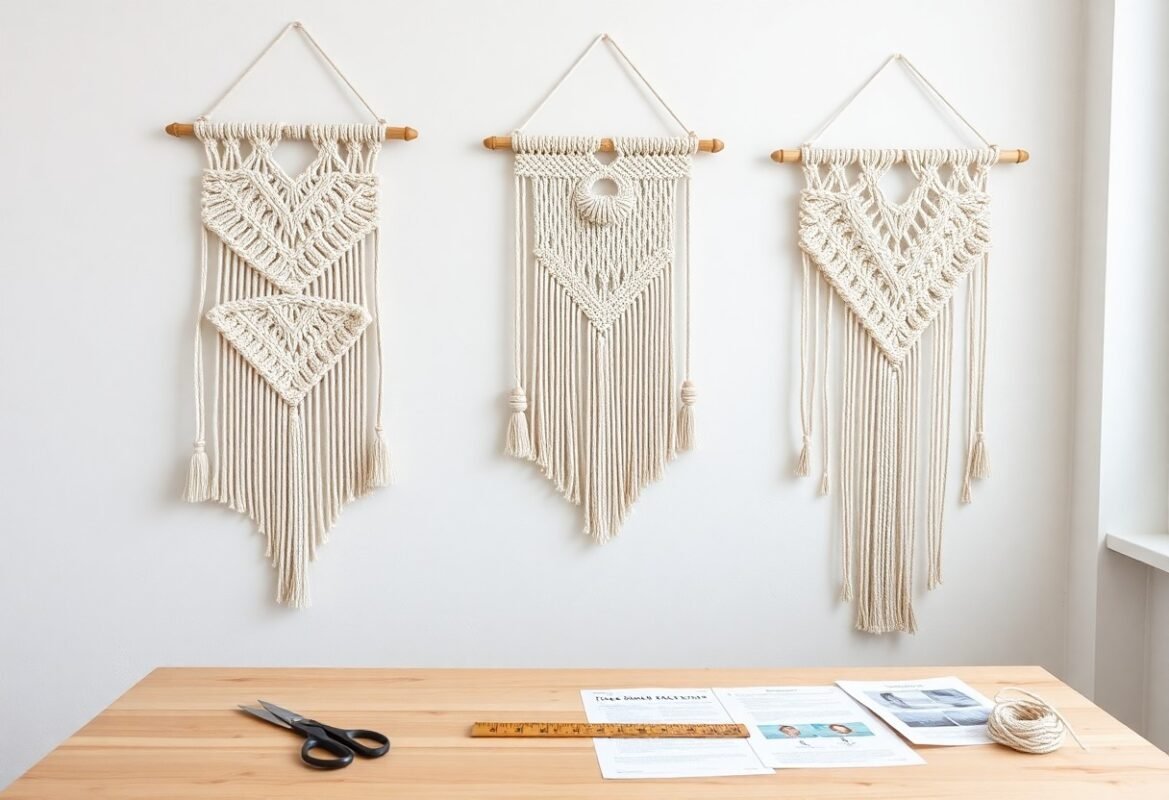
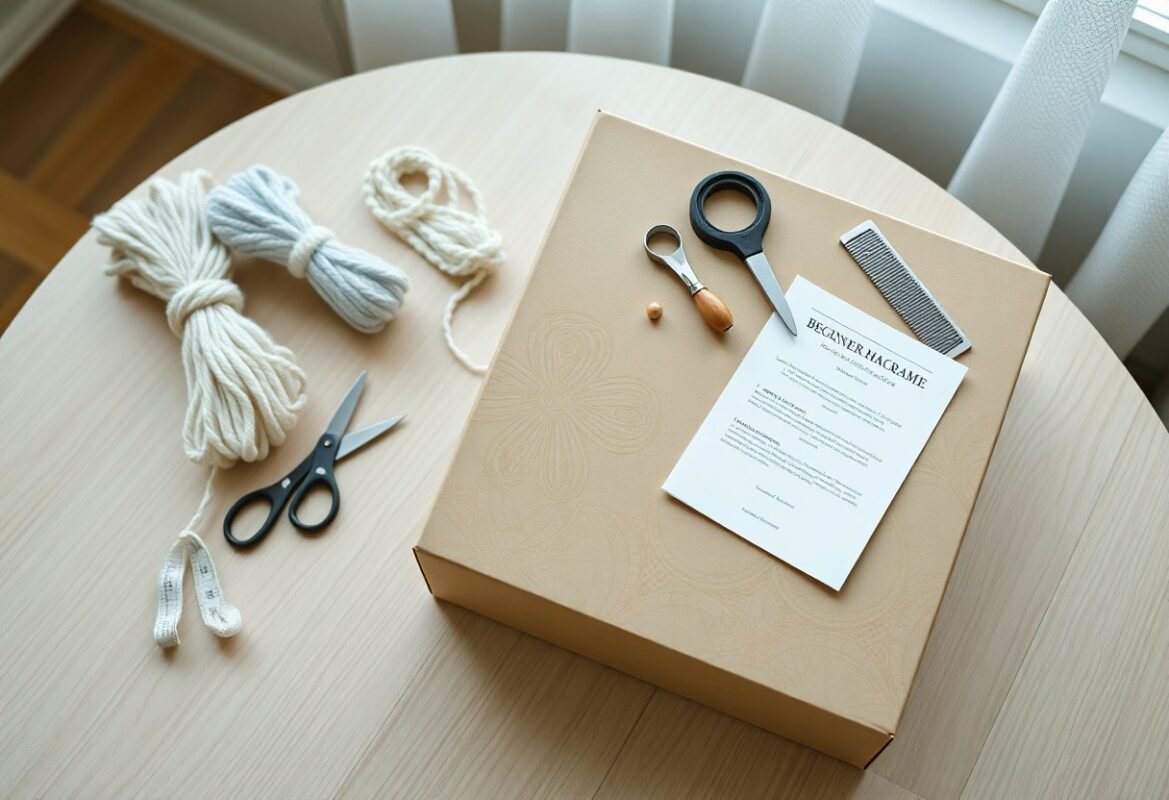
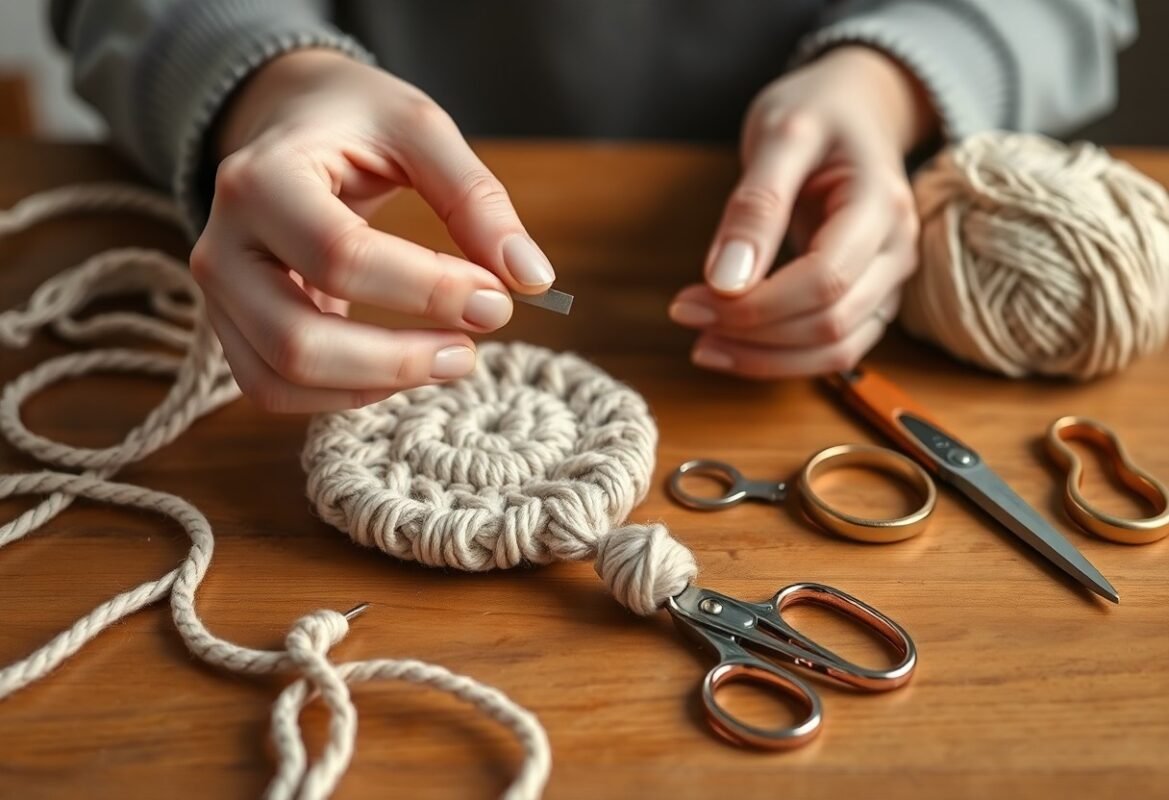
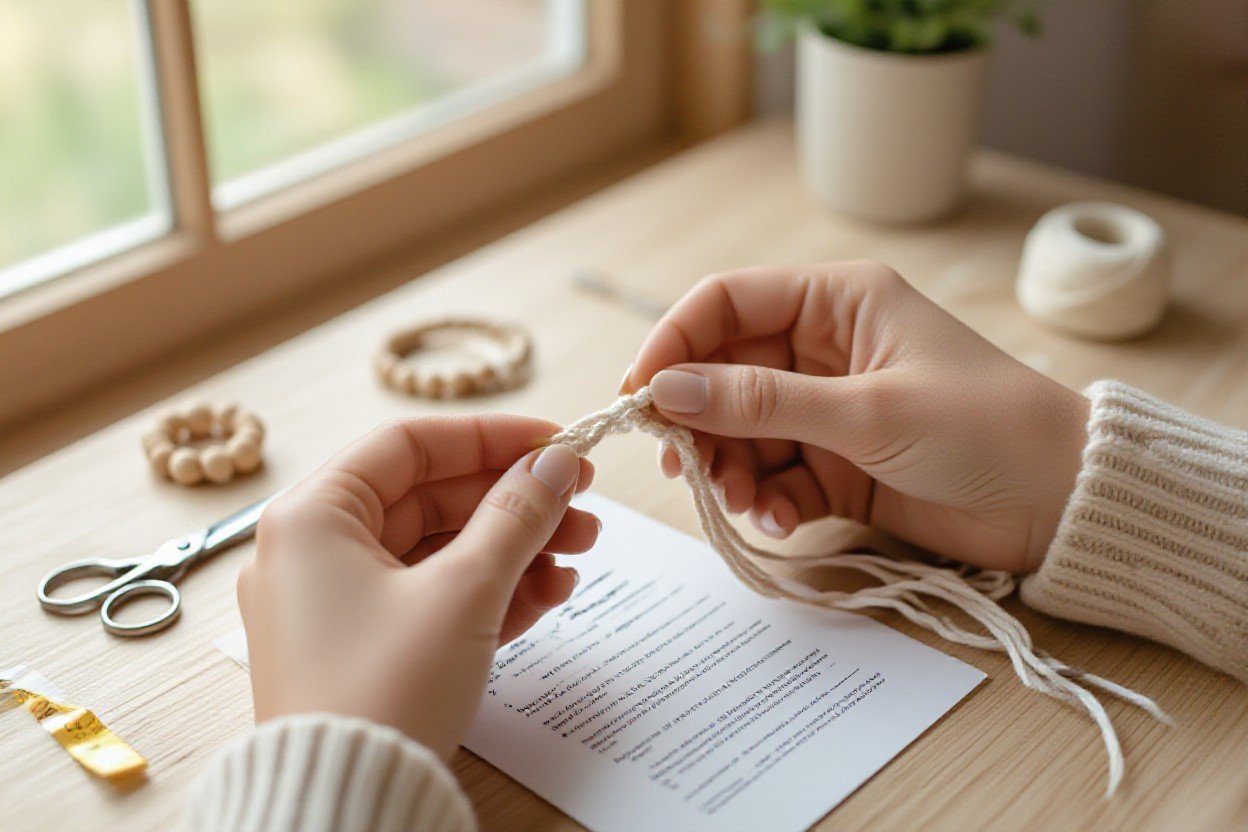
Tools and Materials You’ll Need to Get Started
With the recent TikTok boho-jewelry revival your materials list is simpler than you think, and trend-led tiny tassels and seed-bead accents mean you can do a lot with a little – you’ll want 0.5-1.5mm cord (10-30m per pair), a pack of 20-50 earring hooks, 2 pairs of pliers (flat and round), sharp scissors, a lighter for synthetic cord ends, quick-dry glue (E6000 or clear craft), plus a few 3-6mm beads and headpins for accents; cheap clipboard or tape will hold work steady while you knot.
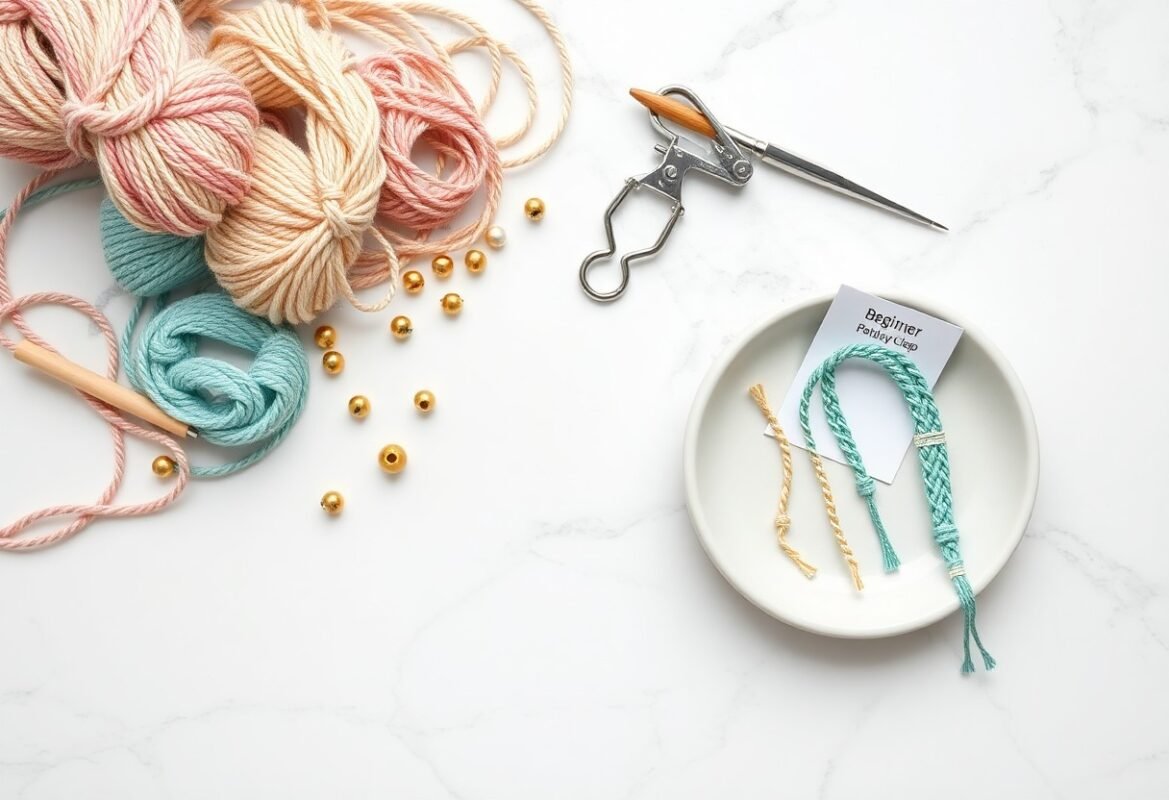
Essentials for Your Macrame Kit
Since micro-macrame is blowing up, pick thinner cord for delicate earrings – 0.8-1.0mm nylon or waxed cotton works great, while 2mm is for chunkier styles; get 10-50m spools so you won’t run out mid-project. You’ll also want 20-100 jump rings and ear hooks, small pliers, scissors, a tape measure, and a small lighter or needle for finishing ends. Toss in a bead mat and a few 3-6mm glass or wood beads and you’re set to experiment.
Where to Grab Supplies Without Breaking the Bank
With makers selling kits everywhere you can stretch your dollar – try bulk packs online, thrift old jewelry for findings, or raid hardware stores for nylon twine; Amazon and AliExpress have 50m spools under $8, Etsy has unique beads by the gram, and local craft stores run 40-60% off coupons often. Want to cut costs fast? buy multi-packs and split them with a friend, or salvage metal findings from old pairs you don’t wear.
Many pros buy cord and findings in bulk – 100pcs ear hooks for $4, 50m spools of 0.8mm cord for about $5-8, and bead lots of 200 for under $10 if you shop wholesale or use flash sales.
You can often snag a 50m spool of 0.8mm nylon cord for under $8.
Also check Facebook Marketplace and local bead shops for clearance bins, subscribe to store emails for 20-40% first-order discounts, and don’t be shy about using coupons at Michaels or Joann to triple your buying power.
Knots That’ll Make You Look Like a Pro
Over 70% of macrame patterns rely on just a handful of knots, so if you master a few you’ll already look seasoned. You’ll learn to control tension, create clean lines and fake complexity with simple repeats. Try alternating dense rows with open spaces to add visual interest. And yes, small adjustments in spacing can turn a so-so pair into showstoppers.
My Fave Knots for Beginners
The square knot shows up in roughly 60% of beginner projects, so you’ll want it first in your toolkit. You’ll use lark’s head for quick attachments and the double half hitch to make smooth curves and outlines. Try a 3-row sampler using those three and you’ll see how patterning suddenly feels intentional – and fun.
Tips for Mastering Those Knots Fast
Short daily practice boosts muscle memory – just 10 minutes a day makes a big difference, studies on motor skills suggest about a 30% gain in recall. You should focus on tension consistency, repeat five-knot sequences, and check symmetry often. Use tape or a clipboard to hold your base and don’t be afraid to undo and redo until it clicks.
- Tape down your starting row to keep consistent tension while you work.
- Film one hand-closeup so you can spot where you flick or pull too hard.
- After you finish a test pair, place them side-by-side and correct spacing mismatches.
Spaced practice beats cramming – learners retain procedural skills about 25% better when sessions are short and spread out, so you should space knot drills across the week. Focus one day on speed, another on tension, another on decorative variations; keep a small notebook of which cord thickness (0.8mm, 1.5mm) gave the cleanest results. You’ll build consistency faster by varying one variable at a time.
- Label sample swatches with date, cord size and knot count so you track progress.
- Do one slow-motion session to feel how each loop sits before tightening.
- After you’ve collected a few solid samples, recreate the best one into a finished earring pair.
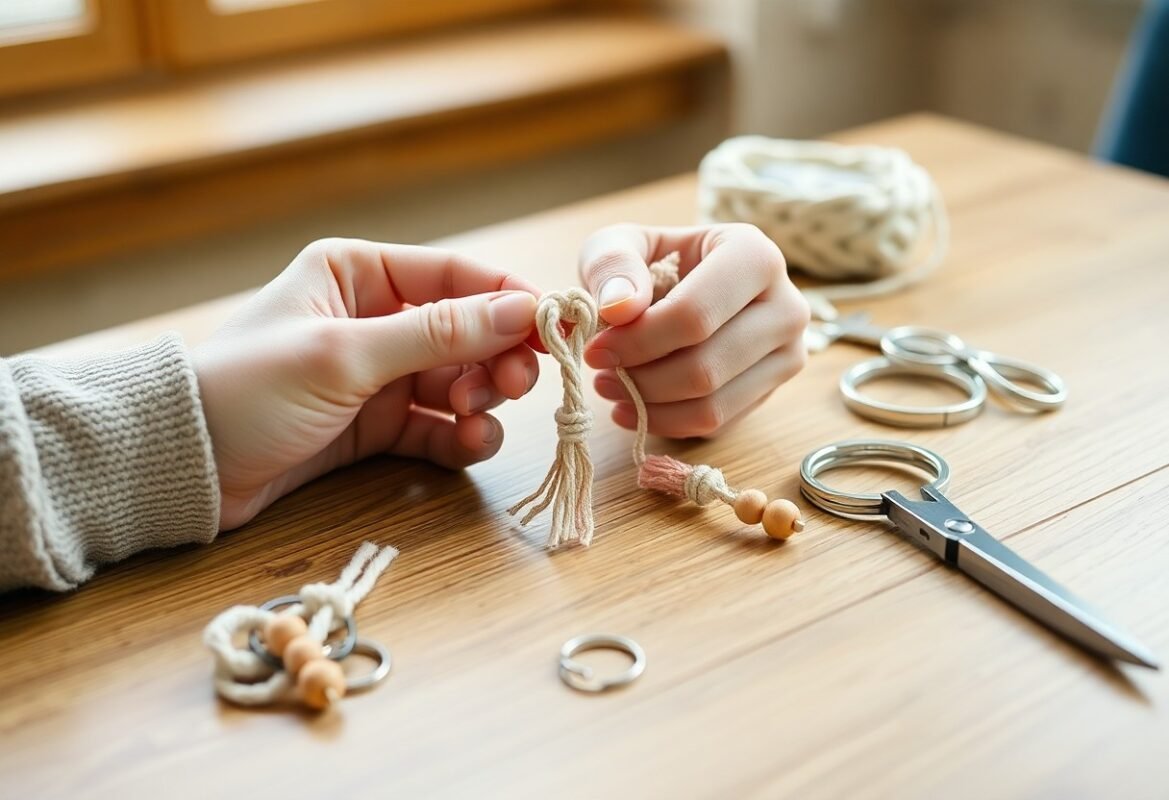
Let’s Dive Into It: Making Your First Pair of Earrings
With macrame earrings blowing up on TikTok and indie shops, DIY is way more doable than you think – lots of creators are showing tiny, 20- to 30-minute builds. You’ll cut, knot, add a jump ring and ear hook, and finish with a dab of glue; simple materials like 0.8-1 mm cord and 6-8 mm beads keep things neat. Want a boho statement or something subtle? You’ll tweak length and knot count to get the look you want.
Step-by-Step Guide to DIY Macrame Earrings
Start by cutting four pairs of cords at 20-25 cm each, fold and secure them to a clip or ring, then tie a lark’s head, follow with 3-5 square knots, finish with half-hitches and trim to shape; add a 6 mm bead if you like, attach a jump ring and hook, and seal knot ends with a tiny drop of craft glue. Practice makes faster work – try one pair in 25 minutes.
Quick Steps
| Step | What to do |
|---|---|
| 1 | Cut 8 cords, 20-25 cm each; fold and secure |
| 2 | Lark’s head knot to attach cords |
| 3 | 3-5 square knots for the body |
| 4 | Finish with tight half-hitches, add bead |
| 5 | Trim ends to shape and seal with glue |
| 6 | Attach jump ring and ear hook, polish |
Common Mistakes and How to Avoid Them
Many makers pick the wrong cord or mess up tension – too-thick cord (over ~1.5 mm) makes bulky pieces, too-loose knots flop. You might skip measuring and end up with mismatched earrings, or overtighten and pucker the pattern. Test one earring first; it takes about 10-15 minutes to prototype and saves time later.
Practice square knots on scrap for 10-15 minutes to get even tension, mark centers with a washable pen, and use a small clip board for stability. If your design looks off, undo the last 2-3 knots and re-tension rather than cutting; that little fix often saves the whole pair.
Getting Creative: Fun Earring Designs to Try
You’re at your kitchen table with a tangled handful of cords and a sketch on a napkin, so why not try a mini challenge – three quick styles in one afternoon? Start with a 20mm hoop fringe, then a 4 cm teardrop of square-knot rows, finish with a 30-minute spiral-knot dangle; you’ll learn tension, spacing and how beads sit. Try 2-3 color combos, stash metallic thread for accents, and give each pair a timed run – 30 to 120 minutes per design keeps it fun.
Popular Patterns You Can’t Mess Up
If you want dependable results go for square-knot rows, half-knot spirals and lark’s head fringes – those three cover most looks. Use 0.8mm cotton cord for delicate pairs, 1mm for bold, and add 3-5 seed beads per drop for subtle sparkle. Try a chevron with double half-hitch for geometric flair, or a simple ladder of knots for boho vibes. Need a quick win? Make a spiral pair – they take about 20 minutes once you’ve got the rhythm.
How to Put Your Own Spin on Things
Say you’ve tied a basic square-knot teardrop – now twist it: alternate two colors every 4 knots, swap half the strands for metallic thread, or mount the whole piece on a 25mm brass hoop for a modern twist. You can go asymmetrical too – one earring 3 cm longer than the other looks intentionally edgy. Add a tiny charm or a 6mm coin bead and you’ve practiced technique while making something totally yours.
Want a few concrete tricks? Cut your working cords about 4 times the finished length so you don’t run short, space beads roughly every 6-8 knots for even rhythm, and if you mix thread weights balance by pairing heavier cords with more strands. Try embroidery floss grouped in 10-12 strands for fluffy tassels, or use leather for structure – small swaps like that change the whole vibe fast.
Finishing Touches and Ear Wire Attachments
Surprising: tiny, nearly invisible glue dots at knot bases stop unraveling better than extra knots; you can get away with a single double-knot and a 1-2 mm dab of clear craft glue. Trim fringe to 3-5 mm for symmetry, and treat ends with a little beeswax if fibers fluff. When attaching ear wires, open jump rings sideways with two pliers, use 4-5 mm rings for most macrame earring sizes, and close rings flush so nothing snags your hair or clothes.
Simple Tips for a Polished Look
Oddly, a quick toothbrush scrubbing under cold water often smooths cord texture faster than fussing with knots. If one side hangs lower, nudge the adjacent knot 1-2 mm – tiny moves fix a lot. Keep knot counts and tension consistent so pairs match. The final swipe with a microfibre cloth really makes them pop.
- Trim with micro-tip scissors; cut slowly
- Use 4-5 mm jump rings for balanced hang
- Seal knots with a 1-2 mm dab of clear glue or beeswax
- Check symmetry by holding earrings about 10 cm from eye level
What to Know About Different Ear Wire Options
Weirdly, French hooks (fish hooks) often show off macrame texture best because they let the piece swing; they typically come in 20-22 gauge and pair well with 4-5 mm jump rings. Leverbacks add security for heavier or gift pieces, while posts work if your macrame is tiny and flat. You can swap findings easily to suit style or function, so don’t hesitate to experiment.
If you need hypoallergenic, choose sterling silver, gold-fill, niobium or surgical steel – plated brass can tarnish within months of daily wear. Gold-fill gives the look of gold for a fraction of the cost and will last years with normal use; plated findings are inexpensive but may need replacing after 6-12 months. Also think about closed-loop ear wires for heavier macrame pieces since they reduce stress on knots and lower stretching risk.
Got Questions? I’ve Got Answers!
Lately TikTok and Etsy shops have pushed macrame earrings back into the spotlight, so you’re probably seeing more trendy mini-macrame hoops and leaf shapes everywhere. If a pattern stumps you or your tension goes funky, you can still salvage a pair with a few tweaks, and yes – many makers finish a basic design in 20-30 minutes. Dive into these quick answers and tips so you waste less time and make more wearable pieces.
Common FAQs About Macrame Earrings
Which cord should you use? Most makers pick 0.8-1mm cotton or braided nylon for fine detail; thicker cords like 2mm give chunky, boho looks. What hardware works best? 14-18 gauge ear wires and tiny jump rings are standard, and a drop of clear craft glue (like E6000) seals knots fast. If you’re timing projects, expect simple studs in 20-30 minutes, tassel styles 45-90 minutes depending on complexity.
Troubleshooting Tips for Beginners
If knots look uneven, try anchoring your work with a clipboard or small binder clip so tension stays consistent; practice makes a huge difference. Fraying? Dip ends in clear nail polish or fabric fray-check, or carefully singe synthetic cord ends with a lighter – be cautious. If shapes won’t hold, block them on cardboard and press flat under a heavy book for 12 hours.
- Uneven tension – use a clipboard or tape the top knot down while you work so rows align.
- Fraying ends – trim cleanly and seal with clear nail polish or fray-check to stop fuzzing.
- Loose hardware – crimp jump rings with two pliers, or swap to closed-ring findings for heavier designs.
- After press pairs flat under a heavy book for 12 hours to set shape and speed drying.
Practice on scrap lengths before cutting your final cords, you’ll save time and material.
Practice tension on scrap cords before committing to your final pair.
Doing small test knots with 30cm scraps shows you how the cord behaves and whether a pattern needs tighter or looser pulling, and that one little test often prevents redoing an entire pair.
- Knots slipping – add a tiny dab of clear glue at the knot base once it’s positioned, wipe excess quickly.
- Stiff or limp finish – soak cotton briefly, shape and dry flat; nylon may need a bit of heat to tame.
- Hardware mismatch – try lighter 16-18 gauge ear wires if your findings feel bulky against delicate knots.
- After store finished pairs in an airtight bag to keep dust off and preserve shape.