Most macrame techniques translate beautifully to tree decor, and you can craft elegant, textured ornaments, garlands, and tree toppers that complement any holiday scheme. This guide shows you practical knot choices, material selections, and step-by-step approaches so you can create durable, stylish pieces that highlight your tree while reflecting your personal aesthetic and skill level.
Key Takeaways:
- Choose cord and scale to suit the project: thin twine for ornaments, thicker rope for tree toppers or wall-hanging trees.
- Mix textures and accents-wooden beads, tassels, metallic thread, faux greenery-to add festive interest.
- Use simple knots and repeatable patterns (square knots, lark’s head, spiral) for quick, beginner-friendly pieces.
- Add lightweight structure (wire frame, wooden dowel) and integrate fairy lights for stability and soft illumination.
- Create gift-ready pieces by keeping them compact, adding hanging loops, and packaging for storage and reuse.
Macrame Basics
You’ll focus on cord selection, scale, and texture to suit your tree: tabletop trees work best with 2-3 mm cotton, while full-size trees benefit from 4-6 mm for structure. You can mix cotton and jute for contrast, add 5-15 mm wooden beads for highlights, and aim for 6-10 small ornaments per tree section to maintain balanced visual weight.
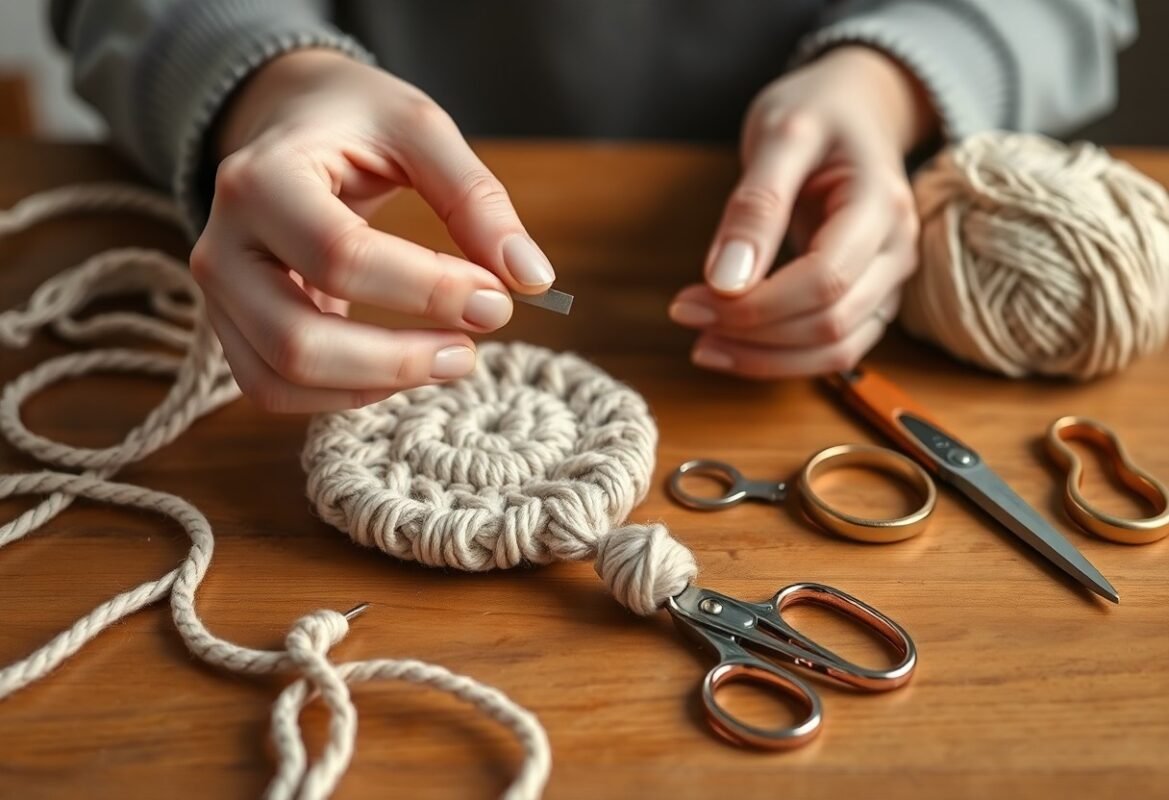
Tools and Materials
You need a tape measure, sharp scissors, a comb for fringing, wooden dowels or metal rings (20-40 mm for ornaments, 30-60 cm for wall-hanging trees), and cord in specific diameters; for detail use 3 mm cotton, for chunky pieces use 5 mm. You should stock beads (5-15 mm), a spray bottle for blocking, and fabric glue or fray-check to secure ends.
Knot Types and Techniques
You’ll use lark’s head to anchor cords, square knots for flat panels, double half-hitch for diagonal patterns, spiral knots for twist columns, and clove hitch for tidy edges; work with 4-8 working cords per motif and count repeats-20 square knots on 4 mm cord often equal about 12 cm of length.
| Knot / Tool | Use / Tip |
|---|---|
| Lark’s Head | Attach cords to dowels or rings; space evenly-works with 8-20 cords for small hangings. |
| Square Knot | Builds flat panels; use groups of 4 cords; 20 repeats ≈ 12 cm on 4 mm cord. |
| Double Half Hitch | Create diagonal lines and chevrons; maintain steady tension for crisp angles. |
| Spiral Knot | Make twisted columns; repeat same half-knot 10-15 times for a visible spiral. |
| Clove Hitch | Control edges and create tapered tree shapes; useful for joining sections cleanly. |
You should practice tension by making 10 × square-knot samples with 4 mm cord: alternating left/right produces a flat panel, while repeating the same half-knot creates a spiral of roughly 5-7 cm after 10 repeats; measure samples, note how different cords shrink when washed or lightly steamed, and mark cords every 10 cm to track stretch and gauge.
- Anchor a 30 cm dowel with eight evenly spaced cords and practice lark’s head to set uniform spacing.
- Tie 20 square knots in groups of four to test how many knots give you 10 cm of fabric with your chosen cord.
- Comb and trim fringe, then measure how much length trimming removes so you can replicate the look across ornaments.
- After you complete a sample strip, wash or steam natural fibers to observe contraction and adjust knot count accordingly.
| Tool / Material | Recommendation |
|---|---|
| Cord Type | 3 mm cotton for small ornaments, 4-6 mm for tree garlands and large pieces. |
| Thickness | 2-3 mm for delicate detail, 5-6 mm for chunky texture and structure. |
| Dowels & Rings | 20-40 mm rings for ornaments; 30-60 cm dowels for wall-hanging tree frames. |
| Beads | Wood or acrylic, 5-15 mm depending on scale; wooden beads warm up natural designs. |
| Tools | Sharp 21 cm scissors, tape measure, wide-tooth comb, fabric glue or fray-check for secure ends. |
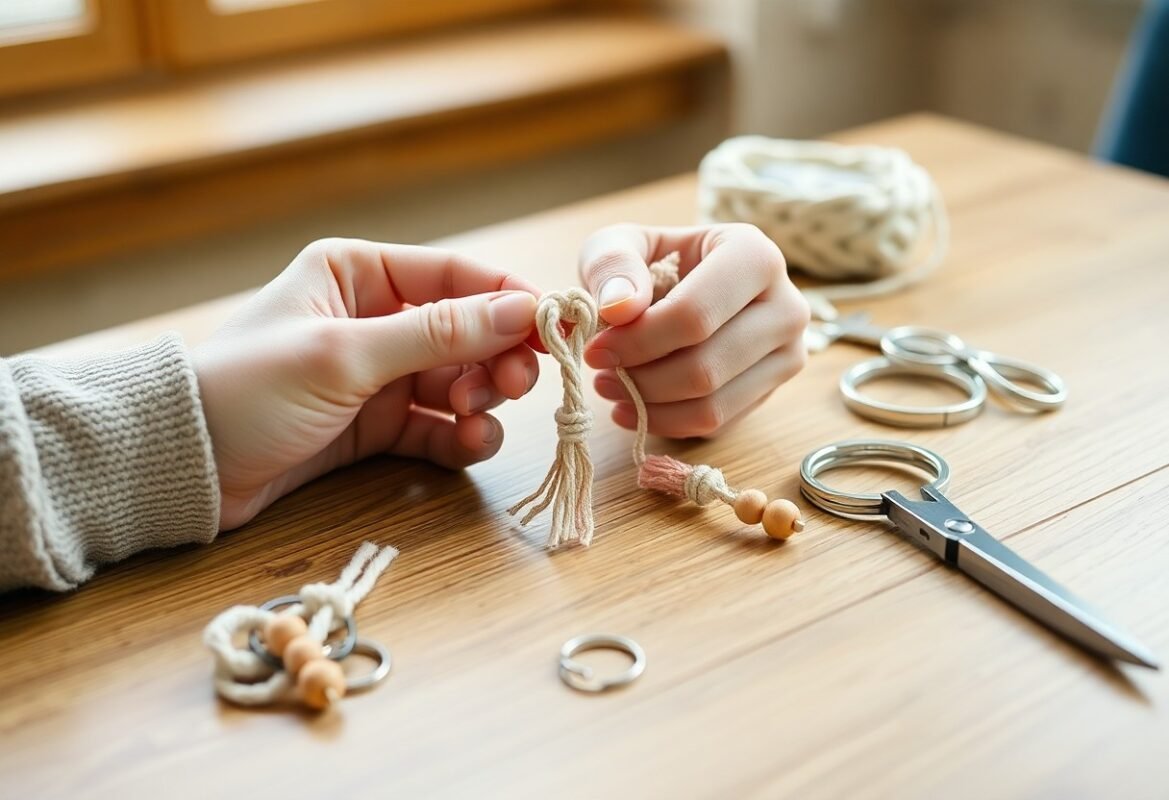
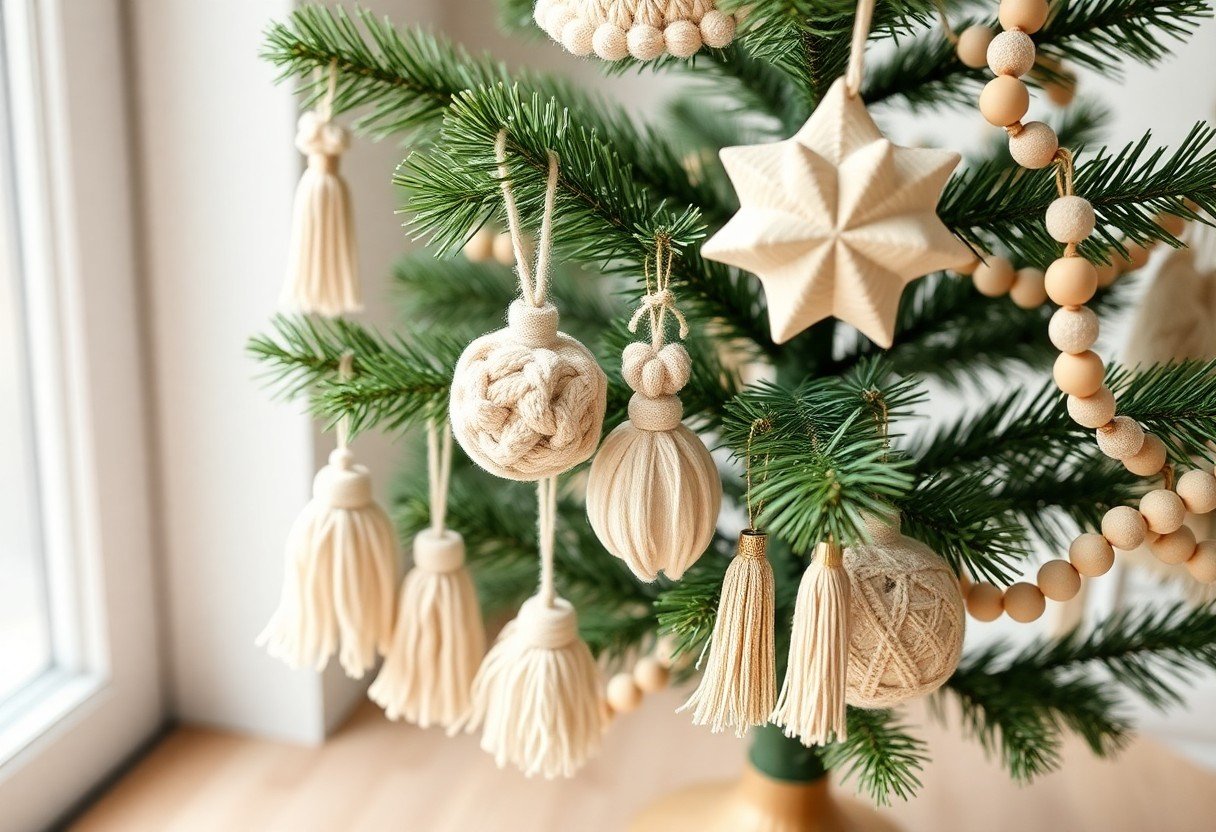
DIY Macrame Christmas Tree Ornaments
For quick, festive additions you can knot small ornaments in under an hour each; try a mini tassel or tiny wreath using 3mm cotton cord and 6-10mm wooden beads. If you want step-by-step guidance, follow this Macrame Christmas Tree Ornament tutorial to make consistent shapes and finishes for a cohesive tree display.
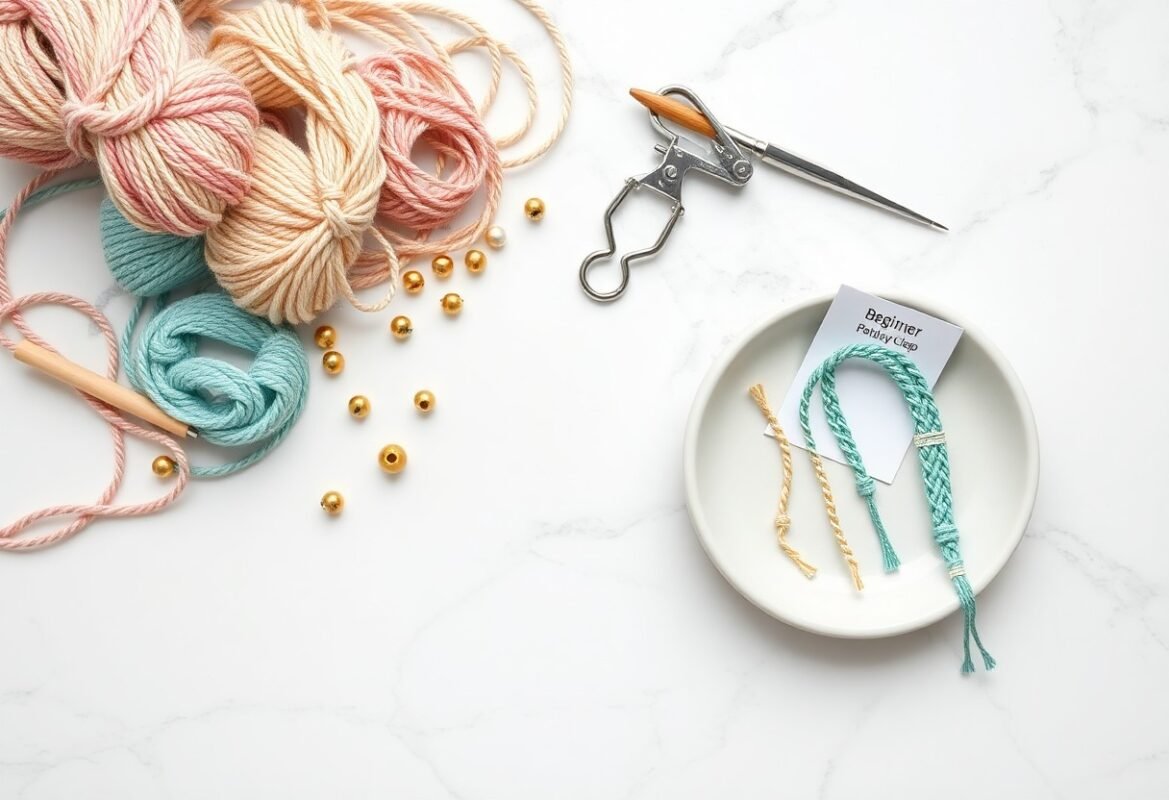
Simple Patterns for Beginners
Start with square knots, lark’s head loops and simple tassels to make ornaments in 20-45 minutes each; you’ll use 2-3 meters of 3mm cord per piece and 6mm beads for accents. As you practice, scale designs from 5-8 cm diameters, and test color contrasts like natural cord with metallic thread for instant impact.
- Tassel bauble – 3mm cord, 6mm bead, 5 cm length
- Mini wreath – ring 5-7 cm, alternating square knots
- Beaded globe – 6-10mm beads, simple net weave
Beginner Materials
| Material | Details |
| Cotton cord | 3mm, 2-3 m per ornament |
| Rings | 5-7 cm metal or wooden |
| Beads | 6-10mm wooden or glass |
| Tools | Scissors, tape, lighter for synthetic ends |
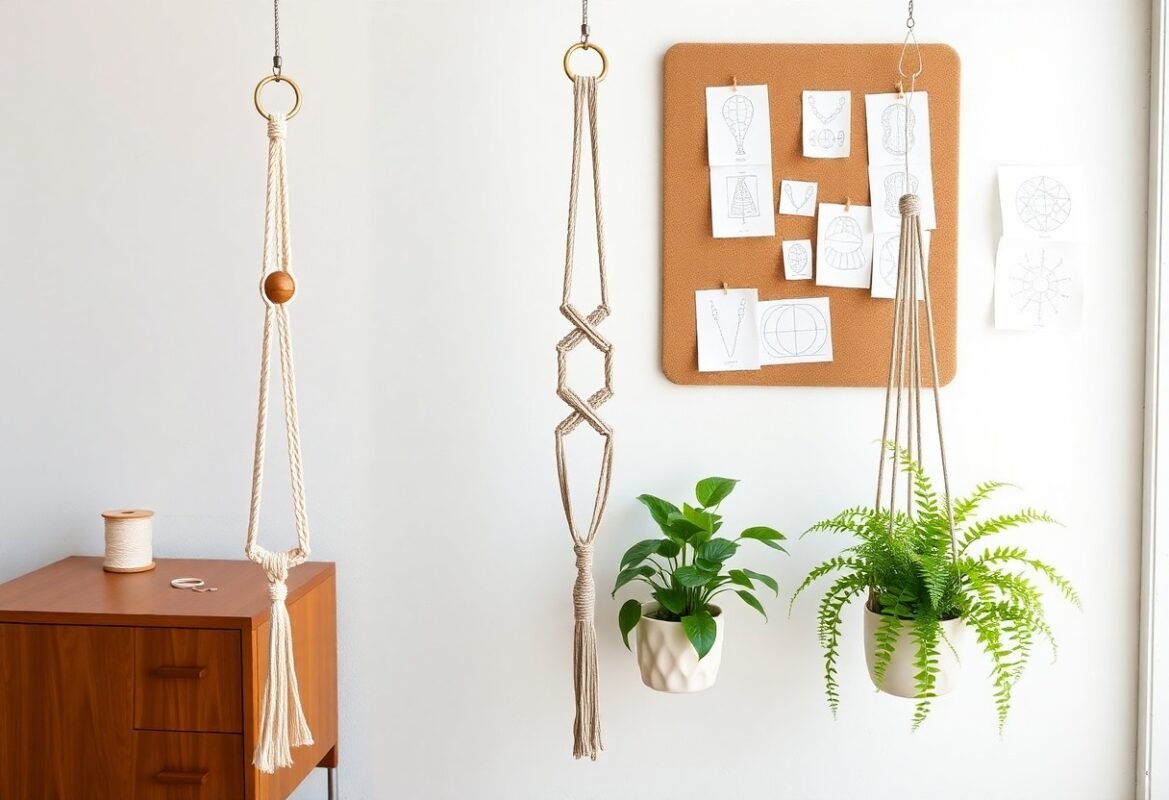
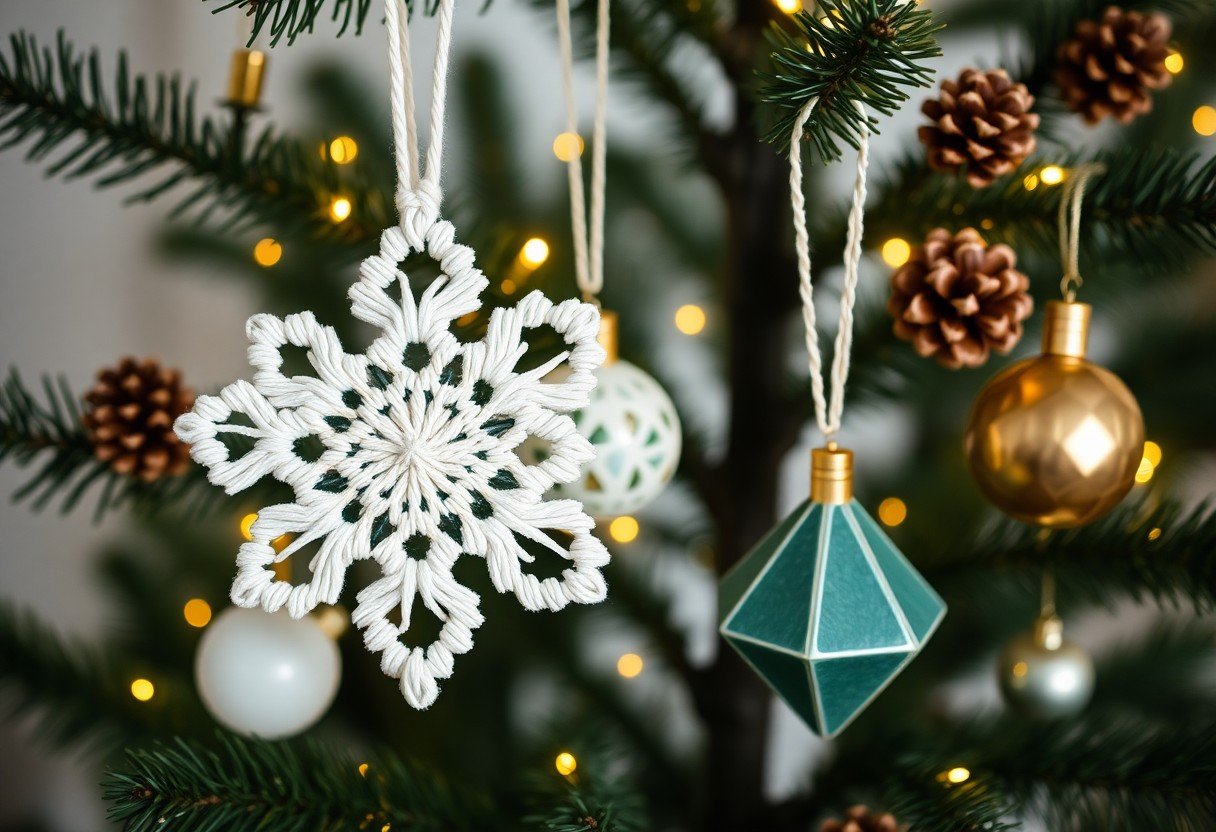
Advanced Designs for Experienced Crafters
When you’re ready to push technique, combine Josephine knots, spiral half-hitches and layered macramé to create 3D angels, filigree snowflakes or miniature tree skirts that take 2-4 hours each. Use finer cord (0.8-1.5mm) and metal armatures to hold complex shapes and achieve crisp, architectural results.
For durability and shape control you can integrate 0.8mm aluminum wire inside motifs, starch or fabric stiffener for delicate filigree, and beads sized 4-12mm for dimensional contrast; plan projects around final sizes of 8-12 cm to fit standard tree branches.
- 3D tree ornament – armature + layered knots
- Filigree snowflake – fine cord, symmetric repeats (6-8 points)
- Macramé angel – mixed knot textures, bead halo
Advanced Materials & Techniques
| Item | Purpose |
| Aluminum wire 0.8mm | Internal armature for 3D forms |
| Fine cord 0.8-1.5mm | Detailed knots and filigree |
| Pliers & wire cutters | Shape and trim armature |
| Starch/stiffener | Hold open lace-like patterns |
Macrame Christmas Tree Garlands
Garlands provide horizontal structure and can be scaled by tree size: for a 6 ft tree drape 3-5 loops totaling 12-18 feet of garland, while tabletop trees only need 3-6 feet. Use 3 mm cotton for delicate strands and 5-8 mm rope for chunkier looks; knot tassels every 6-9 inches (you’ll need ~15-20 tassels for a 6 ft tree). For patterns and step-by-step inspiration see 5 Stunning Macrame Christmas Tree Ideas for Your Holiday Decor.
Creative Ideas for Tree Decorations
Mix small macrame motifs like 3-4 inch stars, 2-3 inch woven hearts, and mini dreamcatchers to create visual variety; plan 10-15 ornaments for a 6 ft tree. Combine metallic thread or gold-spray tips on tassels for subtle shine, and alternate neutral and colored pieces to emphasize depth. You can also attach tiny battery fairy lights through loops for integrated illumination without visible wiring.
Incorporating Beads and Other Materials
Beads transform flat cords into three-dimensional garlands: pre-thread 6-12 mm wooden or glass beads onto your cord before knotting, spacing one bead every 4-6 inches. Use metal spacers or small bells between knots for contrast, and choose matte finishes for a Scandinavian feel or glossy beads for vintage glam. Secure heavy beads with a small drop of clear-drying glue at knot bases to prevent shifting.
When working with beads, you should match hole size to cord thickness-8 mm beads need at least a 2 mm cord or a pre-punched hole. For mixed-media garlands alternate bead clusters of 3 with single tassels to create rhythm; a 6 ft tree looks balanced with 40-60 beads total. Threading the cord through a bead twice before knotting increases stability, and using a beading needle speeds assembly when you work with small glass beads.

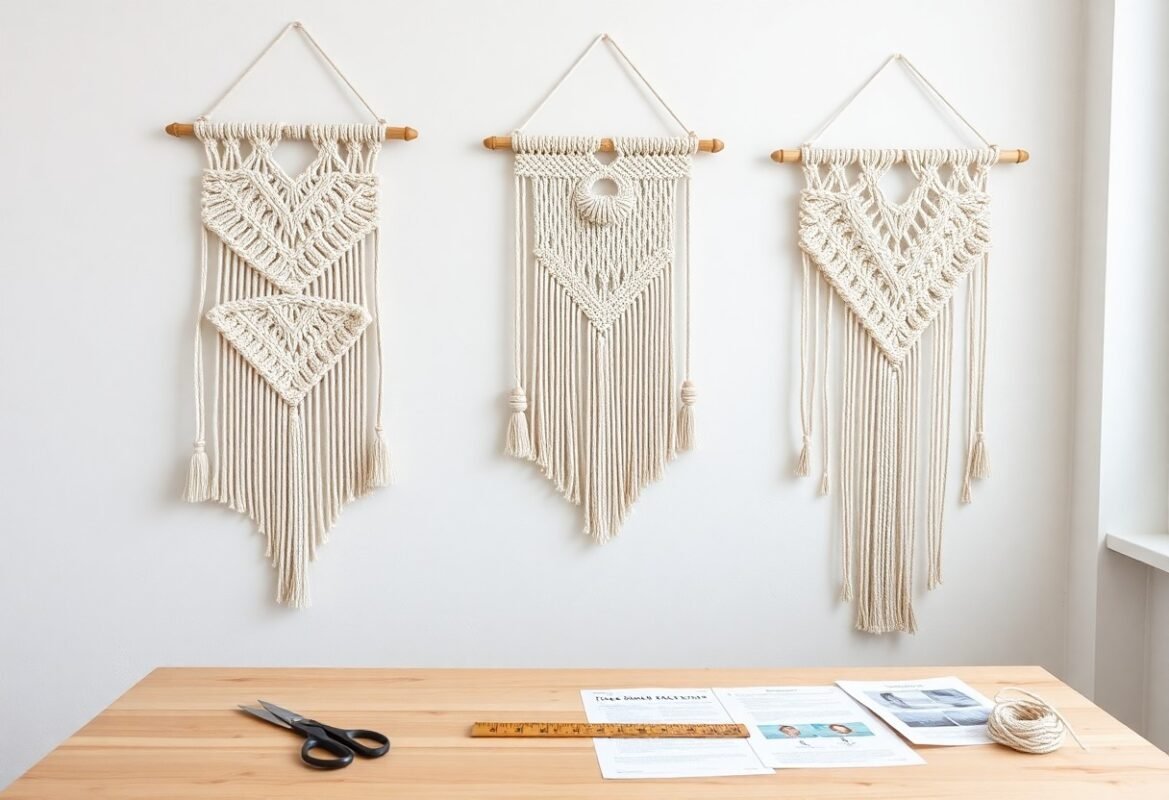
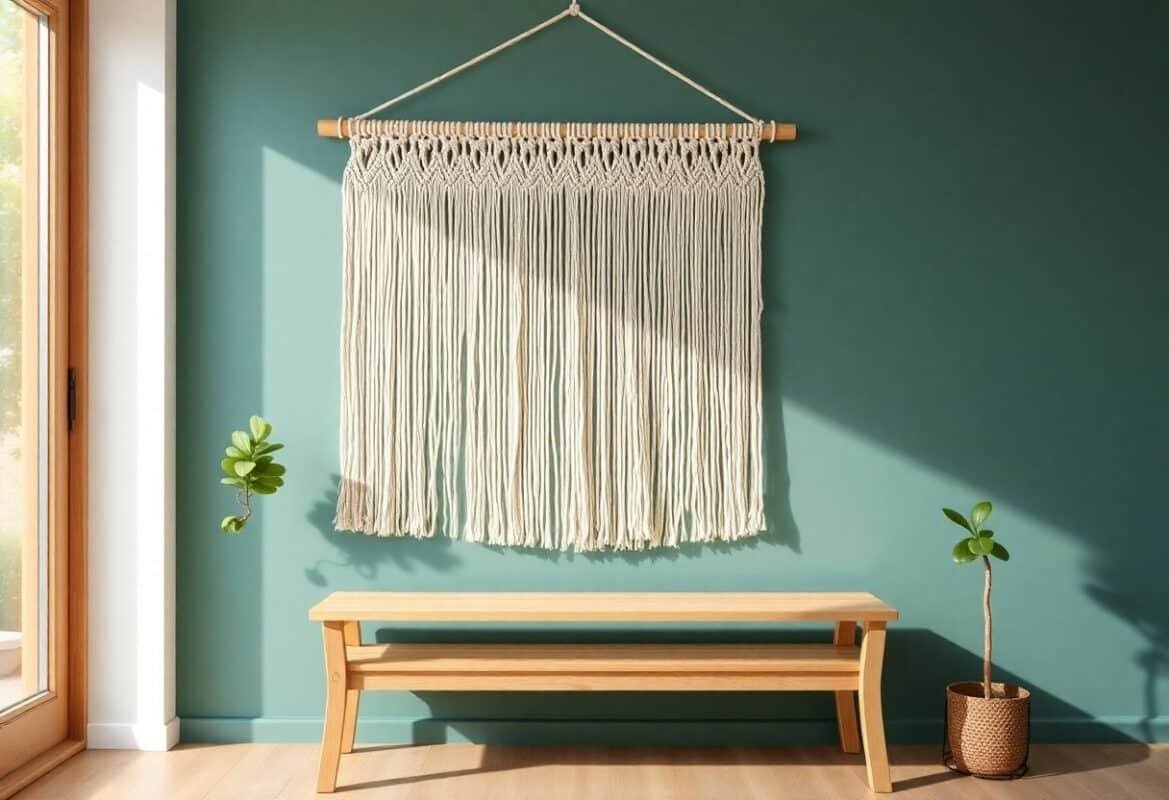
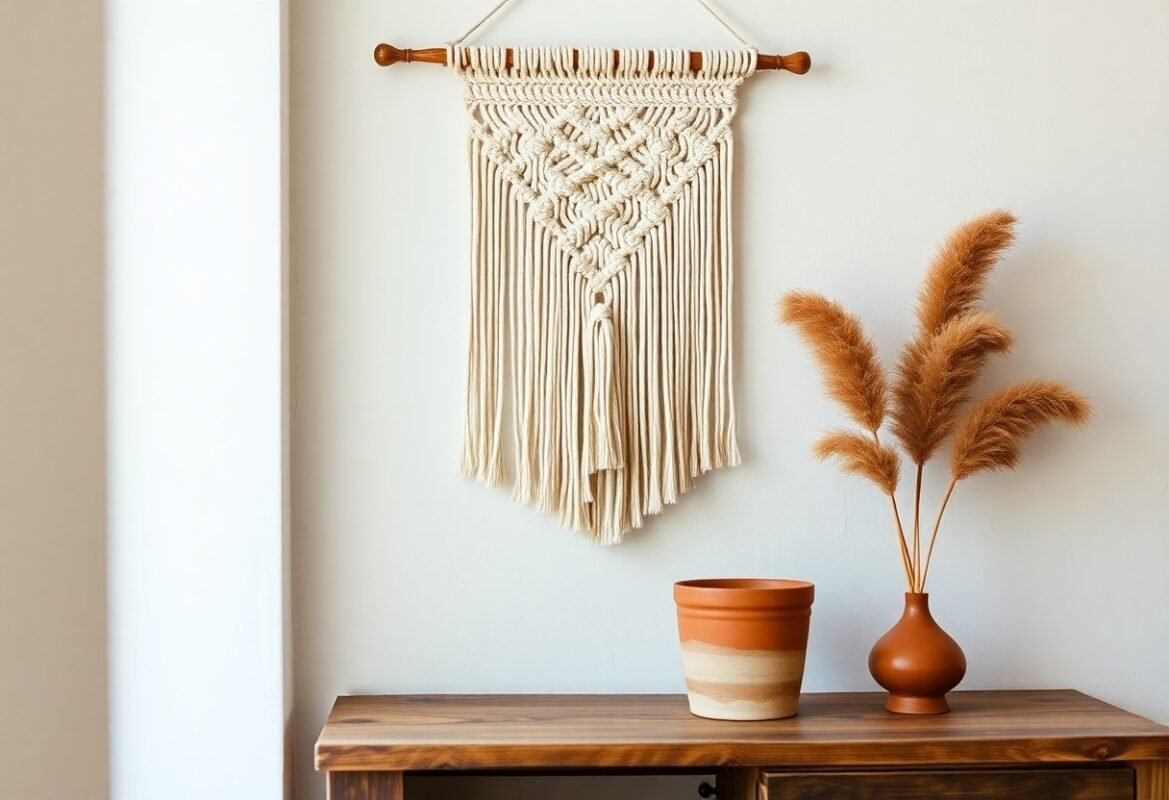
Wall Hanging Macrame Christmas Trees
You can create compact wall trees from 12-24″ dowels using 3mm cotton cord and 30-50 working strands; these hangings work well over mantels or in narrow hallways. Use triangular knotting-lark’s head to attach, then 4-6 rows of square knots and diagonal clove hitch-to shape a tapered tree. Add small wooden beads (5-10 per row) and a star topper to make each piece feel festive while keeping weight under 1 lb for secure mounting.
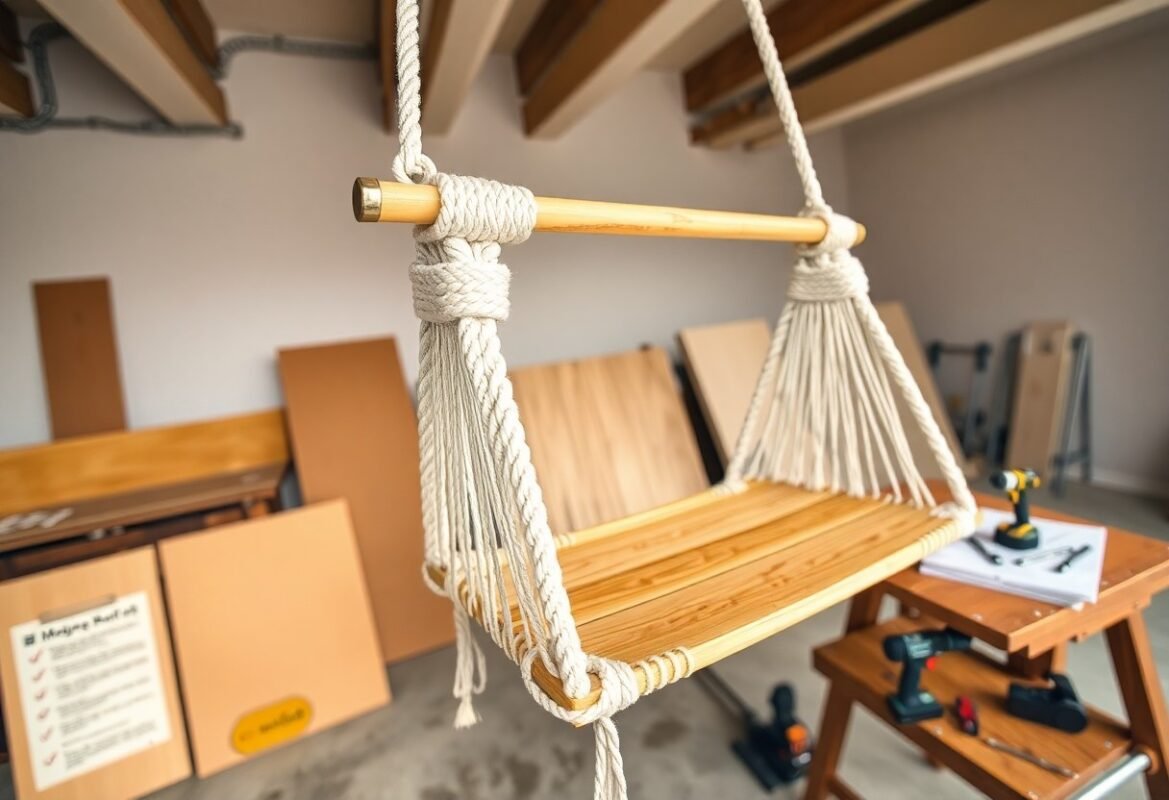
Step-by-Step Tutorial
Gather a 12-24″ dowel, 3mm cotton cord (about 50-100 ft), scissors, tape measure, comb and optional beads; attach 30-40 cords with lark’s head. Start with a base row of square knots, create 4-6 tapered rows using alternating square knots and diagonal clove hitch, add beads as you knot, finish by trimming the fringe to a triangular point and hanging with a 6-12″ loop.
Step Breakdown
| Step | Details |
|---|---|
| Prep | Cut 30-40 cords, each 2-3× dowel length (e.g., 4-6 ft for an 18″ dowel). |
| Attach | Use lark’s head knots spaced evenly across the dowel. |
| Base Row | Create a full row of square knots to establish width. |
| Taper | Work 4-6 rows, omitting outer knots each row to form the triangle. |
| Beads/Embellish | Slide 5-10 beads per row or tie small tassels for ornaments. |
| Finish | Comb and trim fringe to a point; add a star topper and a 6-12″ hanging loop. |
| Mount | Use picture hooks or removable anchors rated ≥5 lb for safe display. |
Customization Ideas
You can vary scale from 6″ mini tree ornaments to 36″ statement hangings, use 2-4 color gradients, or swap cotton for metallic cord to add sheen. Incorporate LED micro-lights powered by a 3V coin battery, sew small felt pockets for advent uses (24 tiny pouches), or attach wooden beads and a leather star for rustic charm; each tweak changes texture and display impact.
Try ombré dyeing with fiber-reactive dyes-dip lower thirds for a three-tone effect-or knot with 100% recycled cotton for an eco-friendly gift; add 24 numbered pouches for an advent countdown or weave in 10-20 LED micro-lights along inner rows, hiding a 2×2 cm battery pack at the dowel; for a modern finish, trim fringe bluntly to 1-2″ and spray tips with metallic paint for subtle shimmer.
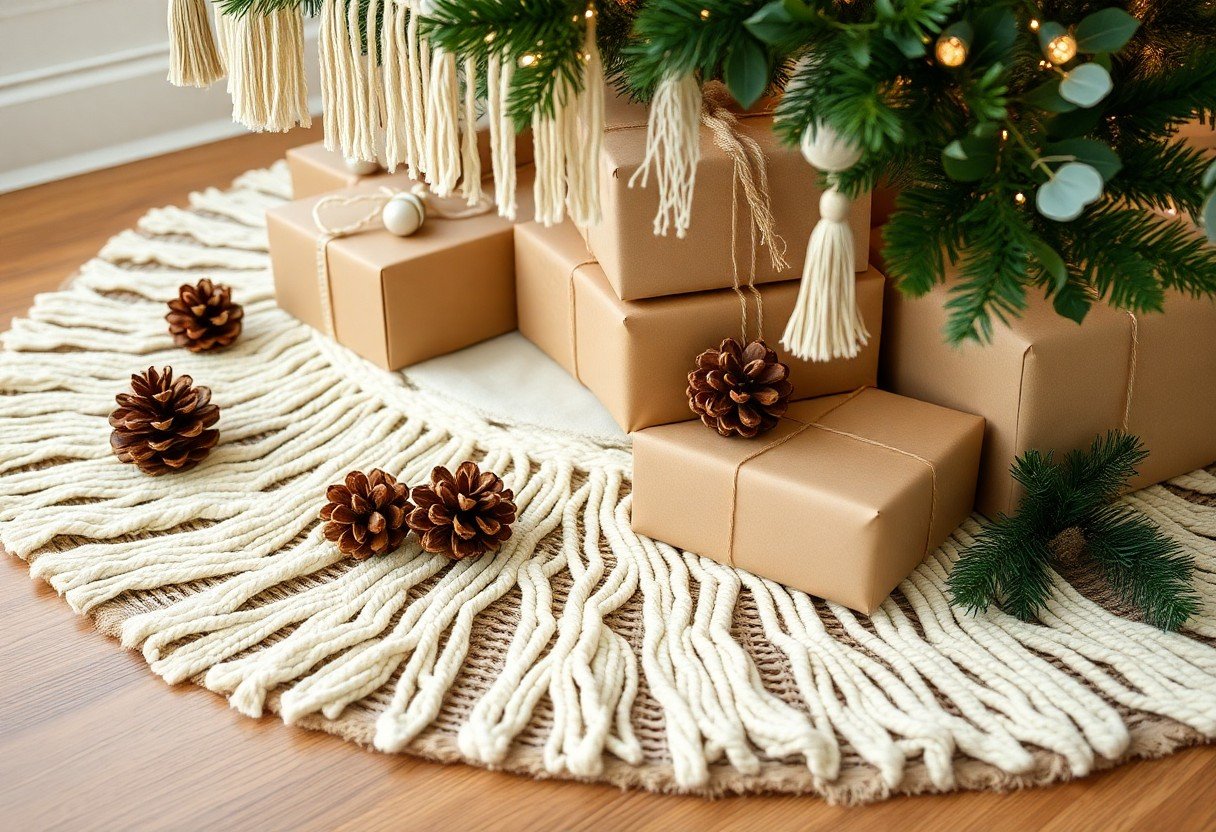
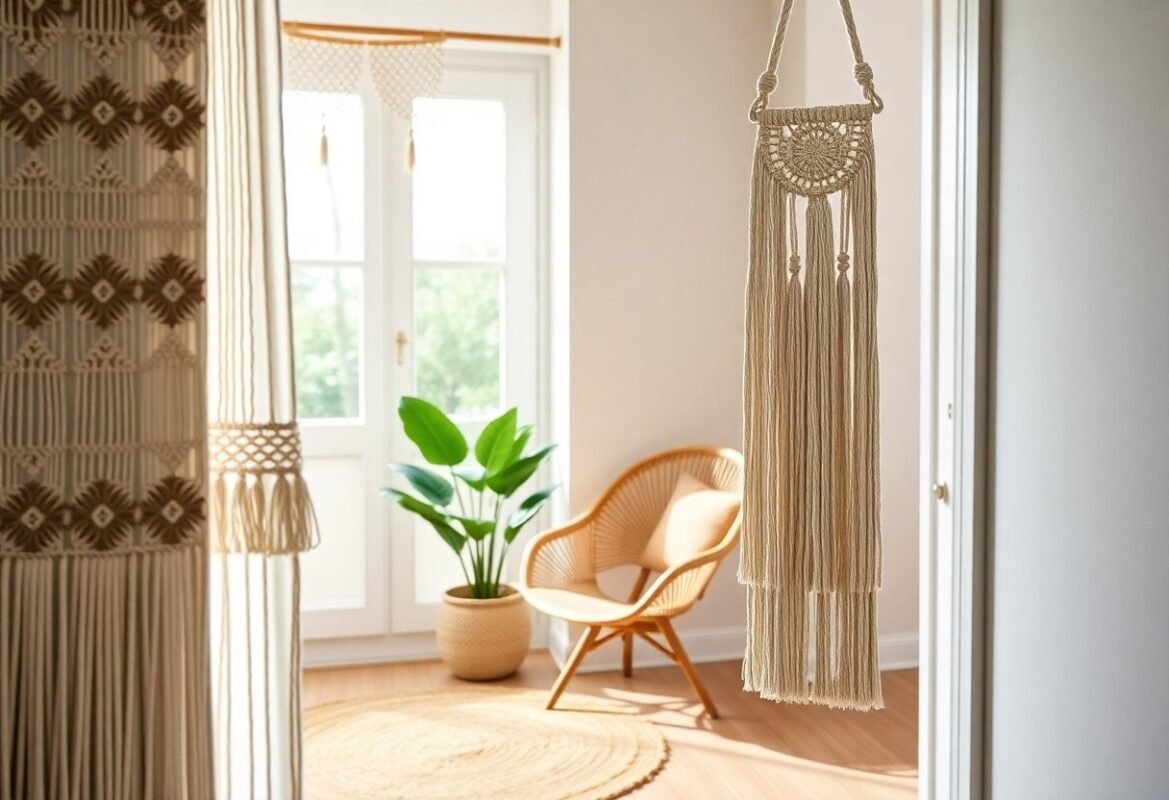
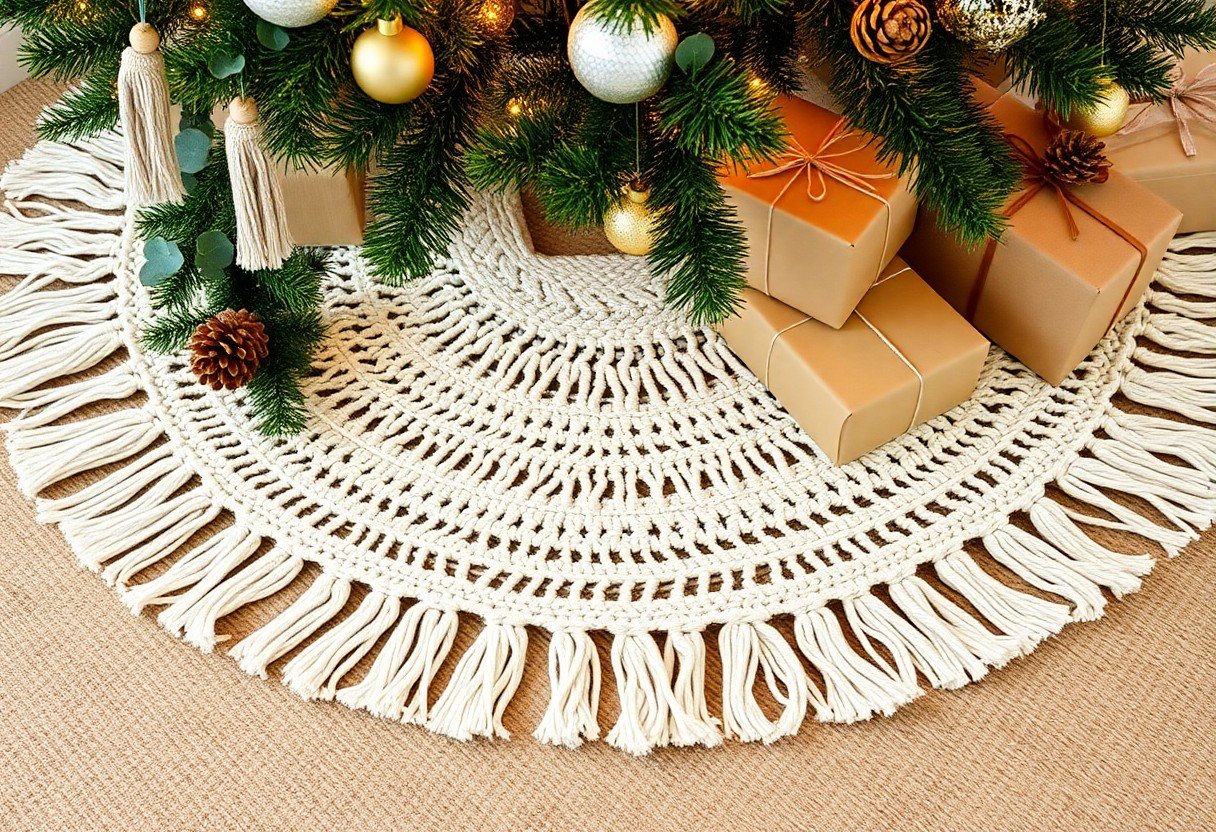
Macrame Tree Skirts
For a polished base, size your macrame skirt to 36″, 48″, or 60″ diameters using 6-8 mm cotton or jute cord and radial square-knot rows or concentric fringe for texture; a 48″ skirt typically takes 4-6 hours to knot if you work in 6-8 panels. You can stabilize heavy skirts by joining panels with whip-stitch and reinforcing the inner ring with a stitched cotton tape to keep the shape under presents.
Designs to Complement Your Holiday Decor
Match pattern and scale to your holiday scheme: opt for tight geometric square-knot bands and natural cotton for Scandinavian minimalism, or choose 4-6″ fringe, metallic thread accents, and dip-dyed panels for boho-glam. You should size the skirt 12-18″ larger than the tree trunk spread-so a 36″ spread pairs well with a 48-54″ skirt-and coordinate colors with garland, ornaments, and your mantel for a cohesive room palette.
Tips for Adding Personal Touches
Personalize by integrating initials, sewn-in family ornaments, or color-block panels-embroider a monogram with 2-3 strands of floss or thread 4-6 mm wooden beads onto key cords for a tactile border. You can also tuck battery LED fairy lights into the knotwork for subtle illumination, or add small felt appliqués stitched discreetly to the backing to protect floors while showcasing custom details.
- Use contrasting cord color on every third square knot to create a subtle checkered motif that reads from three feet away.
- Stitch a thin felt or cotton backing in a coordinating color to protect hardwood floors and hide stray ends for a neater look.
- The simplest monogram method is knotting initials onto a 6″ macrame disc and hand-sewing it to the skirt edge.
Measure your tree’s branch spread then add 12-18″ to determine skirt diameter; when cutting cords allow roughly 3× the finished drop for knotting and fringe, so a 12″ drop needs ~36″ working lengths. If you choose 6-8 mm cord, expect to use 80-120 yards for a densely knotted 48-60″ skirt depending on knot density, and finish joins with whip-stitch plus a dab of clear fabric glue to lock ends.
- Test any dye or metallic thread on a small scrap of the same cord to confirm colorfastness before committing to the whole skirt.
- Clamp or pin the finished skirt flat and steam-block for 12-24 hours to even out tension and fringe length.
- The most consistent finish comes from trimming fringe after blocking and brushing fibers with a natural-bristle brush to soften the look.
Caring for Your Macrame Decor
When handling macrame you should treat natural fibers like cotton and linen gently: avoid direct sunlight longer than 3-4 hours to prevent yellowing, keep humidity around 40-60% to reduce mildew risk, and test any stain remover on a 1-inch hidden area first. Use a soft brush or lint roller for surface dust, spot-clean with mild soap and cold water, air-dry flat to preserve knots and bead finishes, and see styling inspiration at Look at this boho Macrame Christmas tree 😍.
Cleaning and Maintenance
Vacuum macrame on low suction with a brush attachment or shake pieces outdoors to remove dust. Use a handheld steamer 6-8 inches away to relax fibers and reshape knots, avoiding direct steam on wool. For stains mix 1 tsp mild detergent per cup cold water, dab gently and blot-limit soaking to 10 minutes-then rinse and lay flat to dry. Wipe metal beads with a soft cloth to prevent tarnish.
Storing After the Holidays
After the season roll macrame loosely around an acid-free tube or padded cardboard to avoid creases, then place in a breathable cotton storage bag; avoid plastic which traps moisture. Add 2-3 cedar blocks or lavender sachets for moth deterrence, and store in a climate-controlled spot under 70°F and about 60% humidity to reduce mildew risk.
Label each piece with fiber content and cleaning notes so you can treat it correctly next season; store heavy pieces flat to prevent stretching and hang lighter pieces on wide padded hangers inside garment bags. Wrap bead-heavy sections in two layers of acid-free tissue to prevent abrasion, and check stored items every 3 months to air them and inspect for pests or moisture.
Summing up
With these considerations, you can confidently select cord, scale, color, and embellishments to craft macrame ornaments and garlands that complement your tree and home. Focus on balanced textures, secure hanging, and simple care so your pieces last season after season. Personalize patterns and pair with warm lighting to create a cohesive, handmade holiday aesthetic you’ll enjoy.
FAQ
Q: What materials and tools do I need to create macrame Christmas tree decorations?
A: Choose cords such as 3-6 mm cotton rope for soft, classic pieces or jute and hemp for a rustic feel; synthetic cord (polypropylene, nylon) works for bright colors and durability. Tools and extras: sharp scissors, a measuring tape, a comb or brush for fringing, a dowel or cone form for shaping small trees, metal or wooden rings for hanging, wooden beads, fabric glue or clear-drying craft glue for secure joins, and thin craft wire or stainless-steel thread for structural elements. If using synthetic cord, a lighter can tidy cut ends; if dyeing, have dye, gloves and a plastic tub ready.
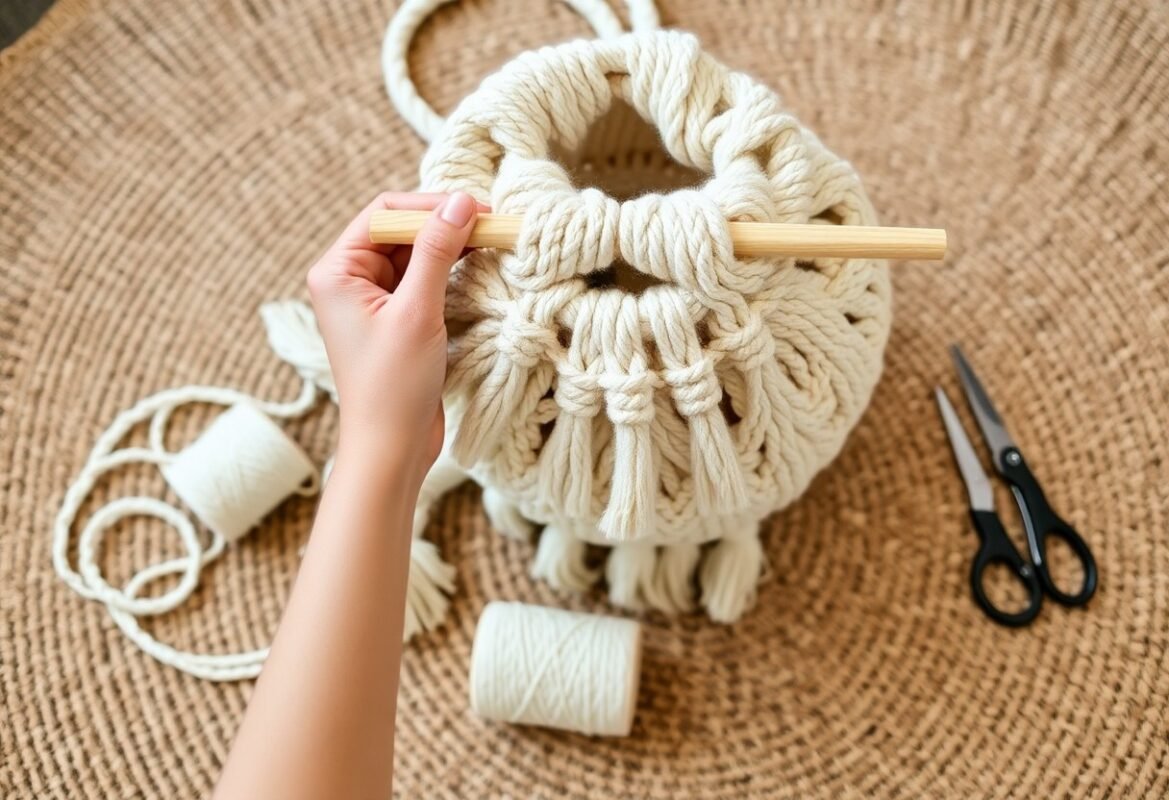
Q: How do I make a simple mini macrame Christmas tree ornament step by step?
A: Cut several working cords of equal length (for example 6-8 cords, each 50-80 cm depending on desired size). Fold cords in half and attach to a small ring with lark’s head knots. Use square knots or half-knot spiral rows to form tiers; shorten successive tiers to create a cone shape. For definition, tie a row of gathering knot to compress each tier, then trim and comb the fringe to a tapered point. Add a small wooden bead or tiny star at the top and attach a hanging loop. Adjust cord length and knot density to scale the ornament.
Q: What are good design ideas for macrame tree ornaments and garlands?
A: Create layered mini trees, snowflake motifs, tassel icicles, and tiny wrapped cone trees. Combine varying knot styles-square knots for solid panels, alternating half knots for texture-and alternate natural and metallic cord for contrast. Make garlands by stringing graduated macrame elements and wooden beads, alternating tree shapes with pom-poms or felt balls. Use monochrome palettes for a modern look or mixed neutrals and greens for a woodland theme.
Q: How can I add lights to macrame Christmas decorations safely and attractively?
A: Use low-heat LED micro light strings or battery-operated fairy lights. Weave or gently thread lights through open knot patterns or secure the battery pack behind a dense knot cluster or inside a hollow cone form. Fasten lights with small slip knots, clear thread, or inconspicuous clips so they don’t shift. Keep battery packs accessible for changes and avoid running lights across areas where cords will be frequently handled; never use mains-powered lights that generate heat against natural fibers.
Q: How do I color, dye or embellish macrame pieces for a festive look?
A: For color, use fiber-reactive or all-purpose fabric dyes on pre-washed natural fibers, applying dip-dye or tie-dye techniques for ombre effects; test on scraps first. Natural staining with tea, coffee or diluted fabric paint gives muted tones. Embellish with metallic thread accents, painted wooden beads, small bells, or sewn-on felt stars. Seal painted areas lightly with a textile medium to reduce flaking, and keep metallic yarns separate from coarse jute to avoid abrasion.
Q: What are the best ways to display macrame decorations on a tree, wreath or mantel?
A: For tree display, use ornament hooks or small ribbon loops to hang lightweight macrame pieces on outer branches; secure heavier items to strong branches with thin wire or twine looped discreetly. For wreaths and garlands, integrate macrame elements by tying them to a grapevine or wired frame, spacing for balance and alternating textures. On a mantel, arrange small standing macrame trees on non-slip mats or combine with candles and greenery; support taller pieces with hidden dowels or cones taped to a base for stability.
Q: How should I clean and store macrame Christmas decor after the holidays?
A: Dust pieces with a soft brush or shake gently outdoors. Spot-clean cotton and natural fibers with a mild detergent and cold water; blot, avoid wringing, reshape while damp and air-dry flat. Avoid prolonged exposure to moisture or direct sunlight in storage. Store in breathable containers or cloth bags with acid-free tissue between items to prevent tangling; loosely roll larger pieces and hang delicate ornaments individually. Keep stored items in a cool, dry place away from pests.