Most beginners find a macrame kit simplifies materials and instructions so you can focus on mastering basic knots; this guide walks you through setting up your workspace, choosing cord tension, following pattern steps, and finishing pieces with professional tips so you get consistent results as you gain confidence and create decorative projects.
Key Takeaways:
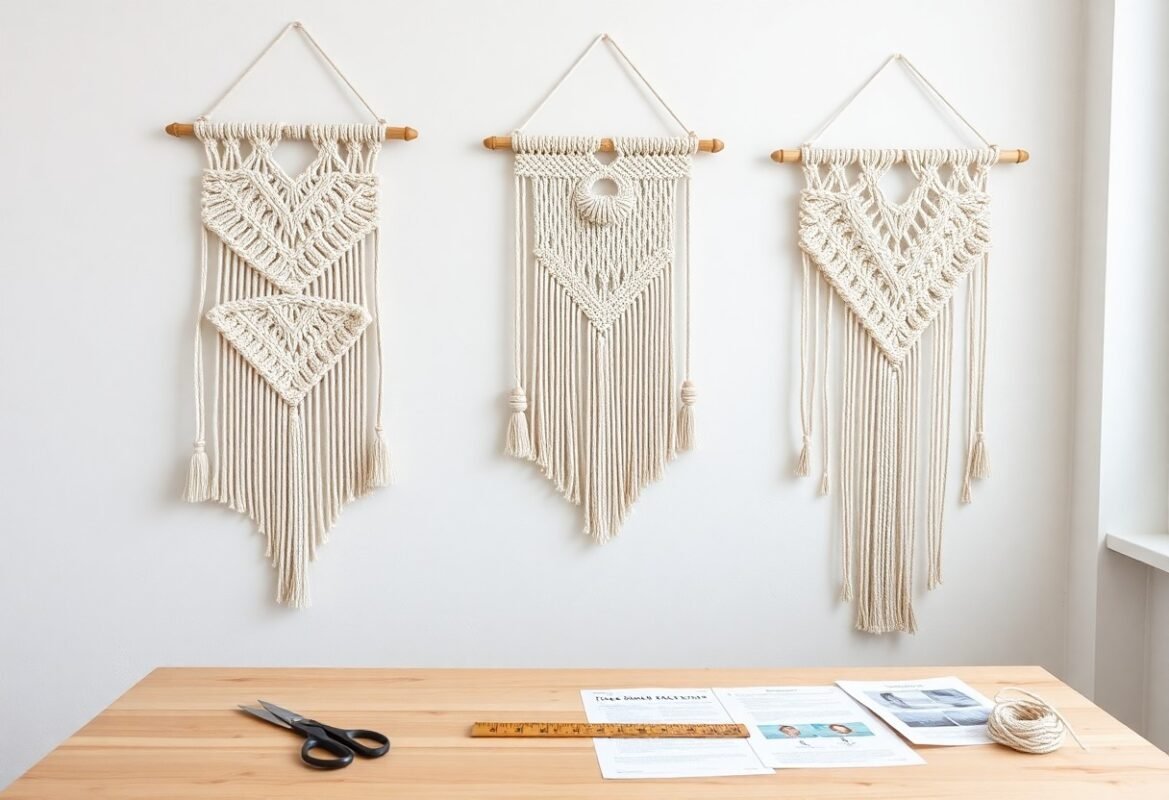
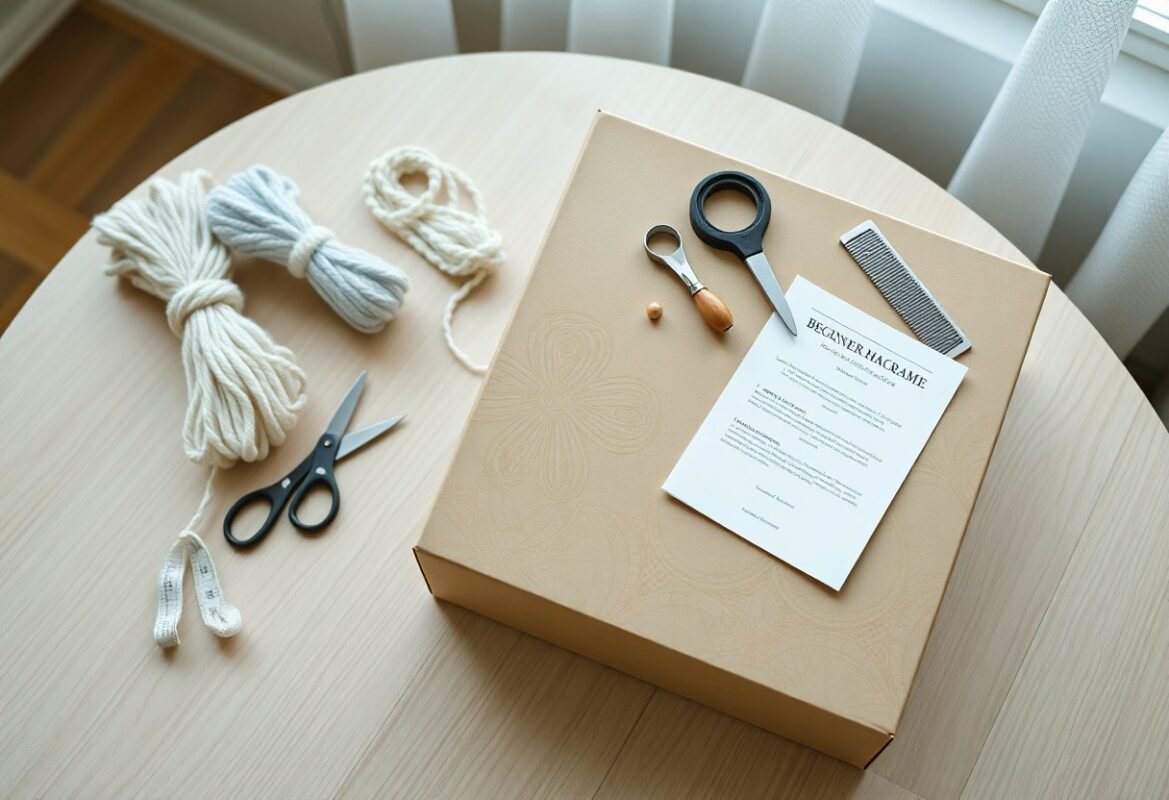
- Unpack and organize the kit: identify cords, mounting ring/dowel, tools and pattern, then set up a comfortable, well-lit workspace with a secure anchor for your project.
- Learn a few basic knots and consistent tension: start with lark’s head to attach cords, practice square knots and half-hitches, and follow the step-by-step pattern while keeping even tension for neat results.
- Finish and maintain your piece: secure ends with whipping or glue, trim and style fringe, and follow simple care instructions (gentle washing or dusting) to preserve the work.
Types of Macrame Kits
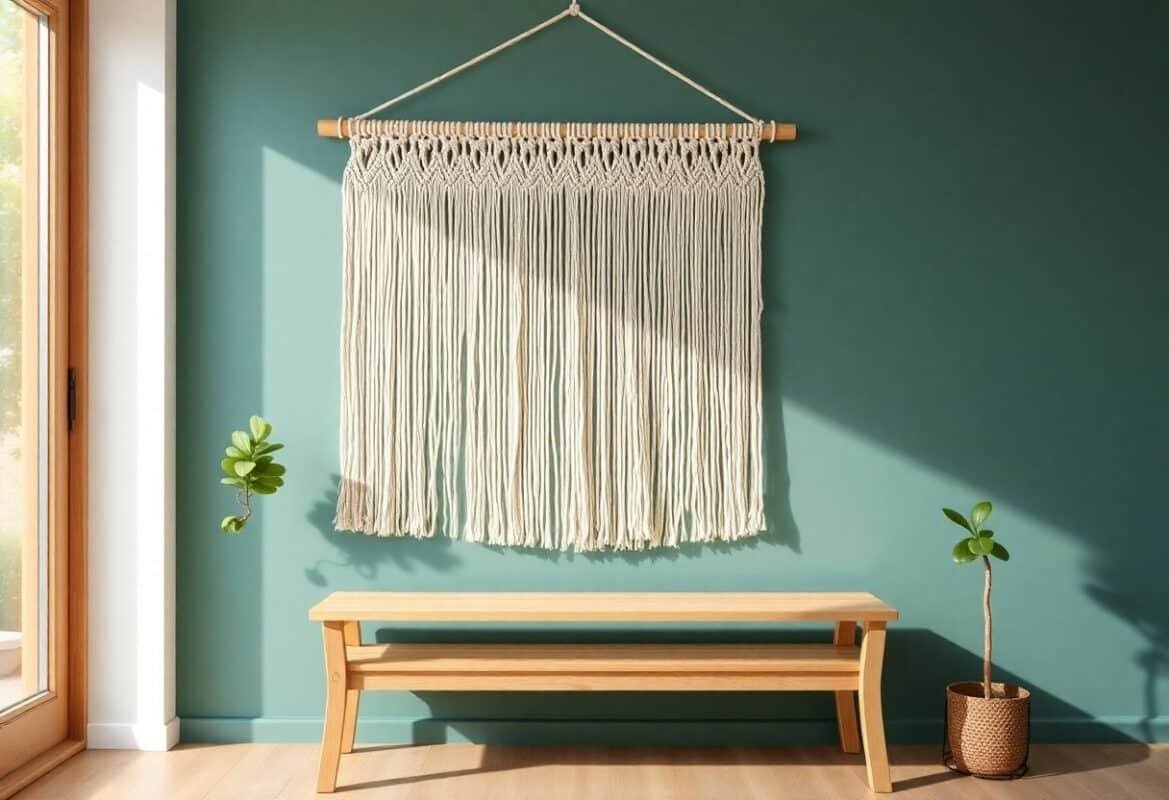
You’ll find kits tailored to specific projects: wall-hanging kits often include 50-200 ft of 3-6 mm cotton cord and a 12-24 inch wooden dowel; plant-hanger kits usually supply 20-60 ft and a 2-4 inch ring; jewelry kits give 3-5 m of 1-3 mm cord and clasp hardware; advanced pattern kits add pattern charts and video links. Choose by project size, cord thickness, and included hardware to match your skill and space.
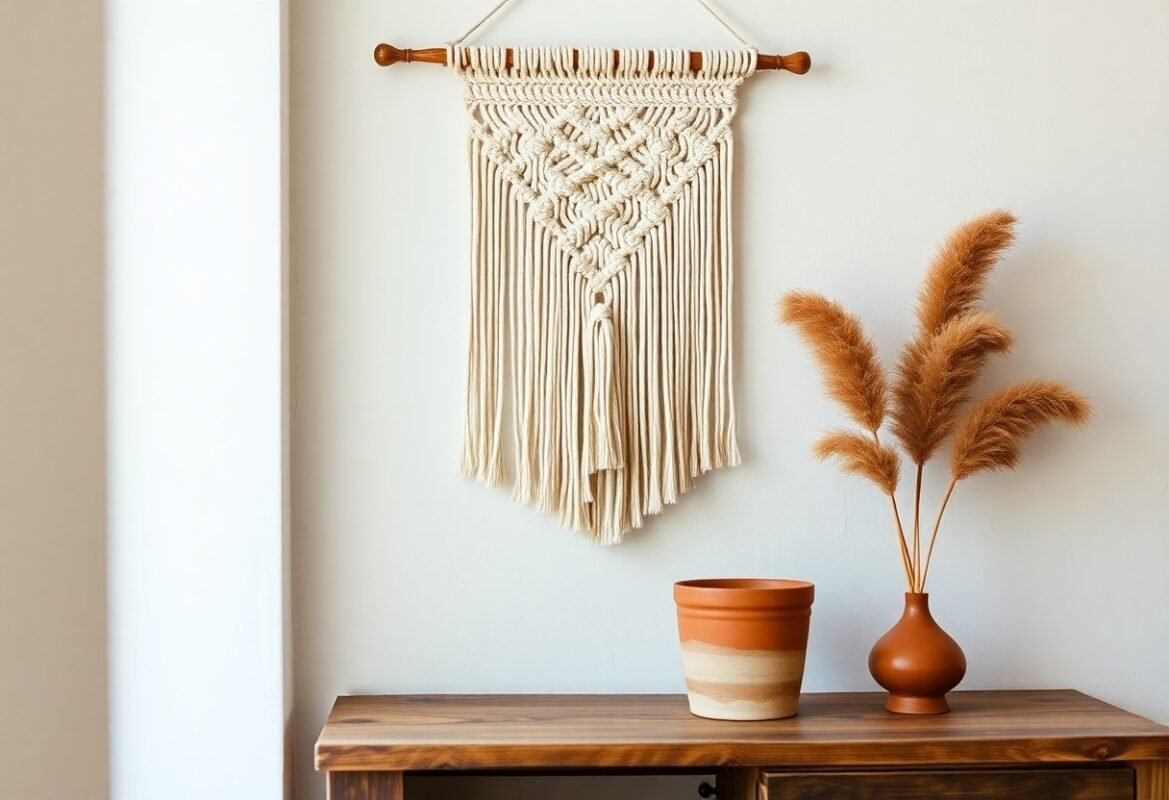
- Beginner wall-hanging kits: large cords, clear step-by-step patterns.
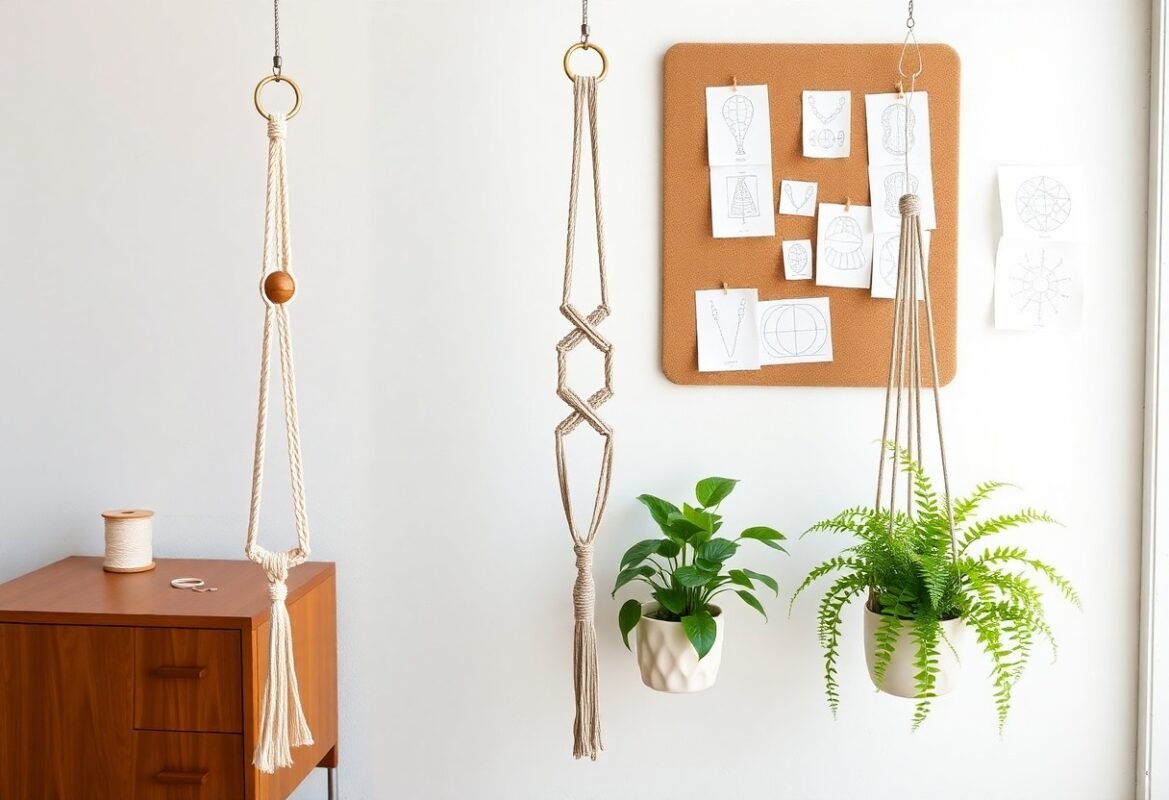
- Plant-hanger kits: shorter cord lengths, metal or wooden rings, quick builds.
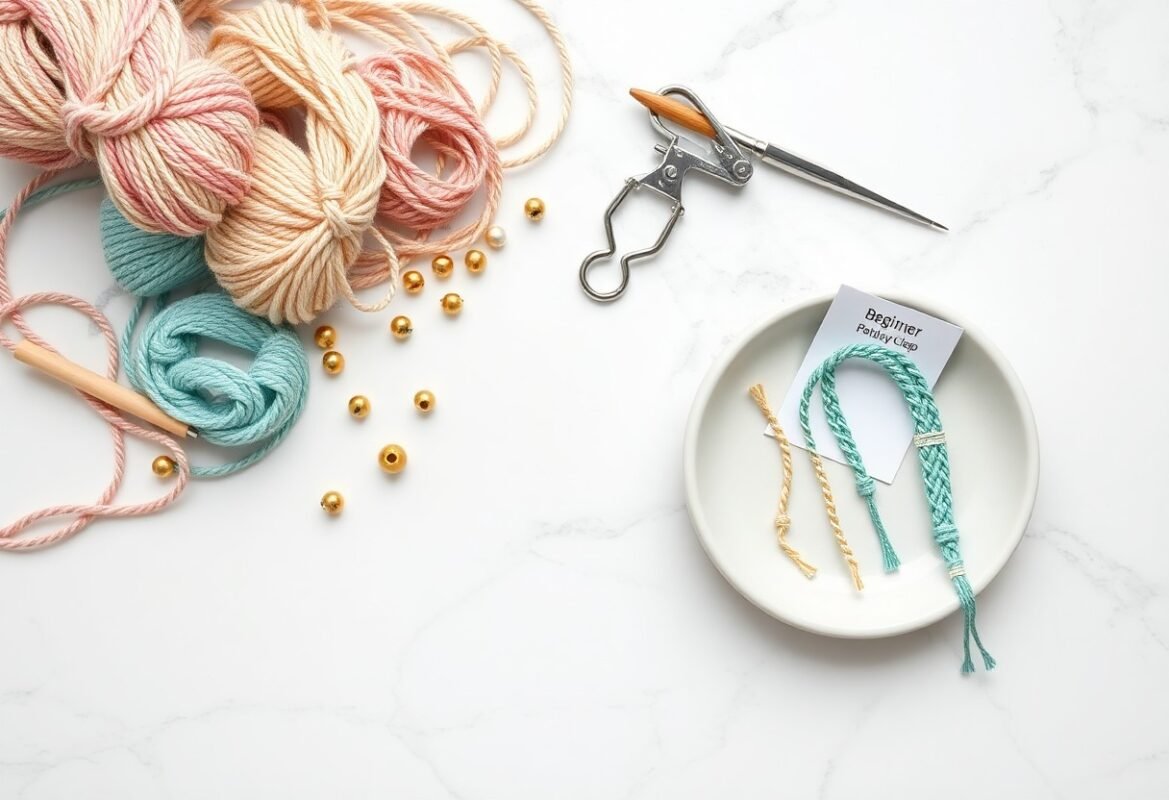
- Jewelry and bracelet kits: 1-3 mm cords, clasps, and bead assortments for precision work.
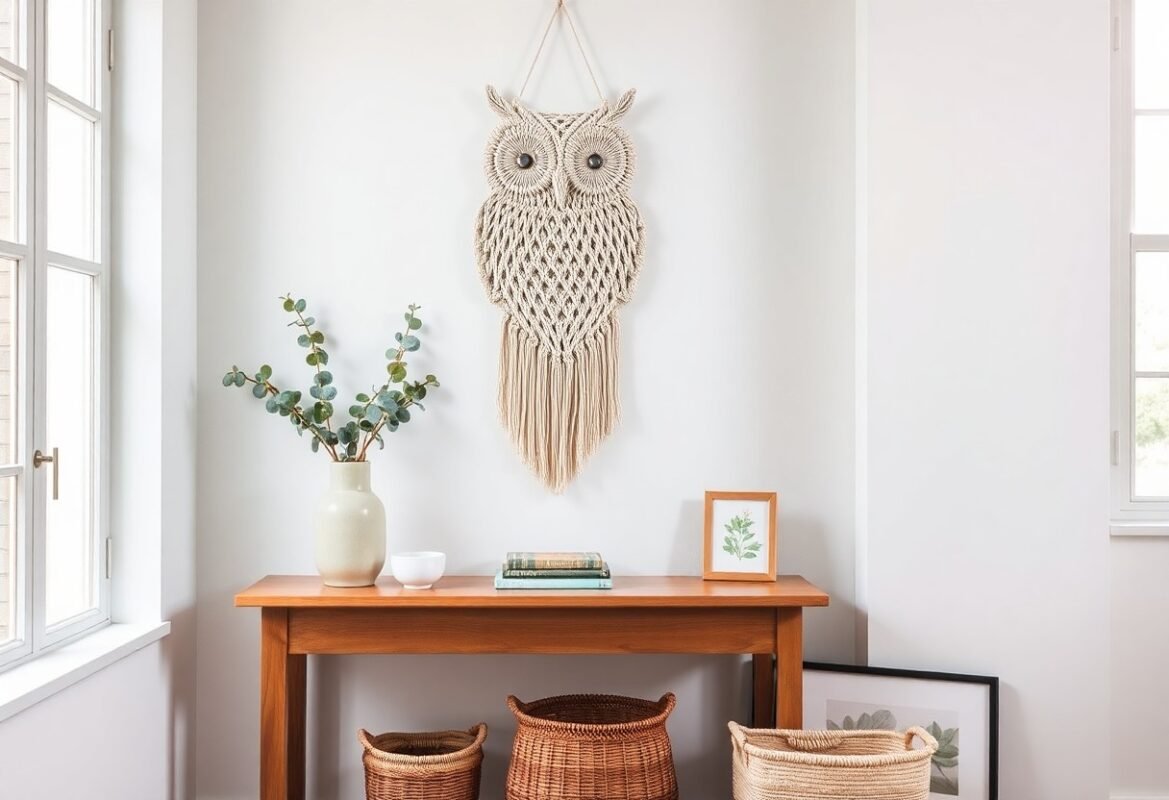
- Mixed-skill home-decor kits: multiple cord types, tassel combs, and pattern variations.
- Recognizing how cord thickness, included hardware, and tutorial depth affect the time and tools you’ll need helps you pick the right kit.
| Kit Type | What’s Included / Notes |
|---|---|
| Beginner Wall Hanging | 50-200 ft cotton cord (3-6 mm), dowel, illustrated pattern; difficulty: easy |
| Plant Hanger | 20-60 ft cord, wooden/metal ring (2-4 in), quick 30-90 minute project |
| Jewelry & Bracelet | 3-5 m thin cord (1-3 mm), clasps, beads; precision knots and closures |
| Advanced Pattern Kit | Mixed cord gauges, pattern charts, video tutorial; recommended after 5-10 small projects |
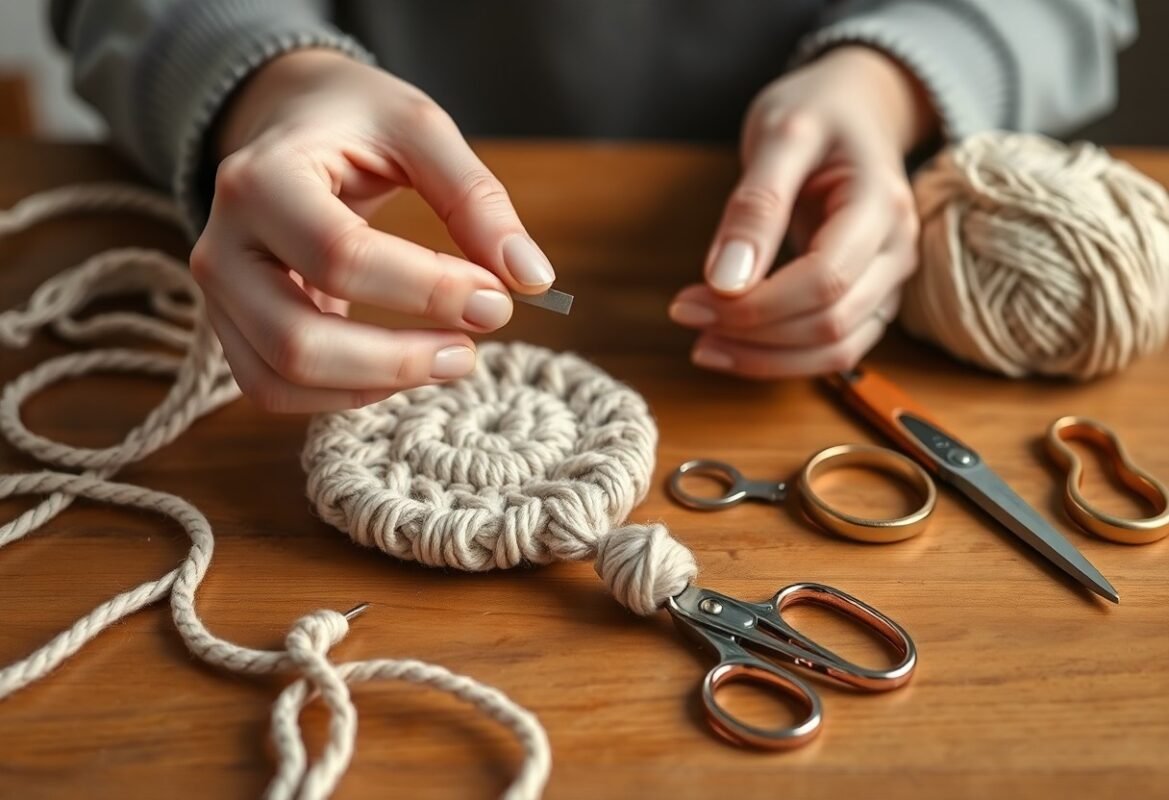
Essential Tools
You’ll work faster with a few reliable tools: an 8-9 inch craft scissors, a measuring tape, a 10-12 inch dowel or 2-4 inch wooden ring, packing tape or masking tape to secure cords, a wide-tooth comb for fringe, and T-pins or a clipboard to hold your project while you knot; many kits include at least one of these, but having your own set reduces setup time.
Variety of Materials
You’ll encounter cotton (soft, dye-friendly), jute (rustic, coarse), nylon/polyester (weather-resistant for outdoors), and wool blends; cord thickness typically ranges 1-6 mm, with 3-4 mm common for wall hangings and 1-2 mm for bracelets, so match material and diameter to the project’s weight and detail level.
When you compare materials, consider knot behavior and care: cotton holds knot structure well and dyes vividly, making it ideal for colorful indoor pieces; nylon and polyester resist mildew and UV, so they’re better for plant hangers on a sunny porch; jute adds a natural texture but may shed-testing a 20-30 cm sample knot helps you judge stretch, finish, and how fringe will comb out before committing to a full project.
Pros and Cons of Using a Macrame Kit
You can get started fast with curated materials and step-by-step patterns that let you finish a small wall hanging in 2-4 hours, yet kits sometimes lock you into specific colors or cord types; for real-world beginner questions and community feedback see I’m very interested in learning about macrame and starting ….
| Pros | Cons |
|---|---|
| All materials included (cord, dowel, beads, pattern) | Limited color and fiber choices |
| Beginner-friendly step-by-step instructions | May use lower-grade cord in budget kits |
| Saves prep time – good for gifts or quick projects | Less opportunity to learn material selection skills |
| Often priced lower than buying individual components separately | Cost per meter of cord can be higher |
| Includes tools you might not own (tapes, needles) | Tools may be basic or single-use quality |
| Provides consistent results for practice | Patterns can be restrictive for experimentation |
| Good way to sample new techniques (e.g., square knots, lark’s head) | May not supply enough cord for larger or altered designs |
Advantages of Prepackaged Kits
You get measured cord lengths-many kits include 3-10 meters total-plus a tested pattern and labelled materials, so you avoid buying excess or incompatible fibers; beginners often complete a 25-35 cm wall hanging over a weekend, and kits frequently include beads or dowels that add professional polish without extra trips to craft stores.
Limitations and Considerations
You should check cord length and diameter before buying because kits for plant hangers or large pieces often under-supply rope; also expect fewer colorways and occasional substitution of cheaper components in budget bundles, which can change drape and knot behavior.
For more detail, compare kit specs: a 100 cm plant hanger typically needs ~15-20 meters of 3-4 mm cord, so a kit supplying only 5-8 meters forces modification or extra purchases; additionally, synthetic blends behave differently than 100% cotton-knot grip, fraying, and dye transfer vary-so inspect fiber content and test a short sample knot before committing to the full pattern.
Step-by-Step Guide to Using a Macrame Kit
You’ll find most beginner kits include 1-3 bundled cords (3-6 mm), a dowel or ring, scissors, and an instruction sheet; start by measuring cord length at 4-6× your intended finished length (e.g., 24″ finished → cut 8-12′ cords), sort cords by thickness and color, and follow pattern diagrams step by step while testing knots on short scraps to dial in tension and spacing before committing to the main piece.
Quick Steps
| Step | Action |
|---|---|
| Preparing Your Workspace | Set up a 2×2 ft flat area, clamp or tape your dowel at chest height, keep scissors, measuring tape, pins, and a clipboard within reach. |
| Basic Knot Techniques | Practice lark’s head, square knot (4 cords), and double half hitch on 12″ scraps; use 3-6 mm cord for predictable tension. |
| Project Assembly | Attach cords to the dowel, follow the row sequence, trim ends to desired fringe length, and secure with glue or whipping knots. |
Preparing Your Workspace
You should clear a 2×2 ft surface near a bright light source and hang your dowel at shoulder height using a clamp or wall hook; keep measuring tape, sharp scissors, masking tape, T-pins and a clipboard close, and lay out cords by color and length so you can grab the right strand without interrupting knot flow.
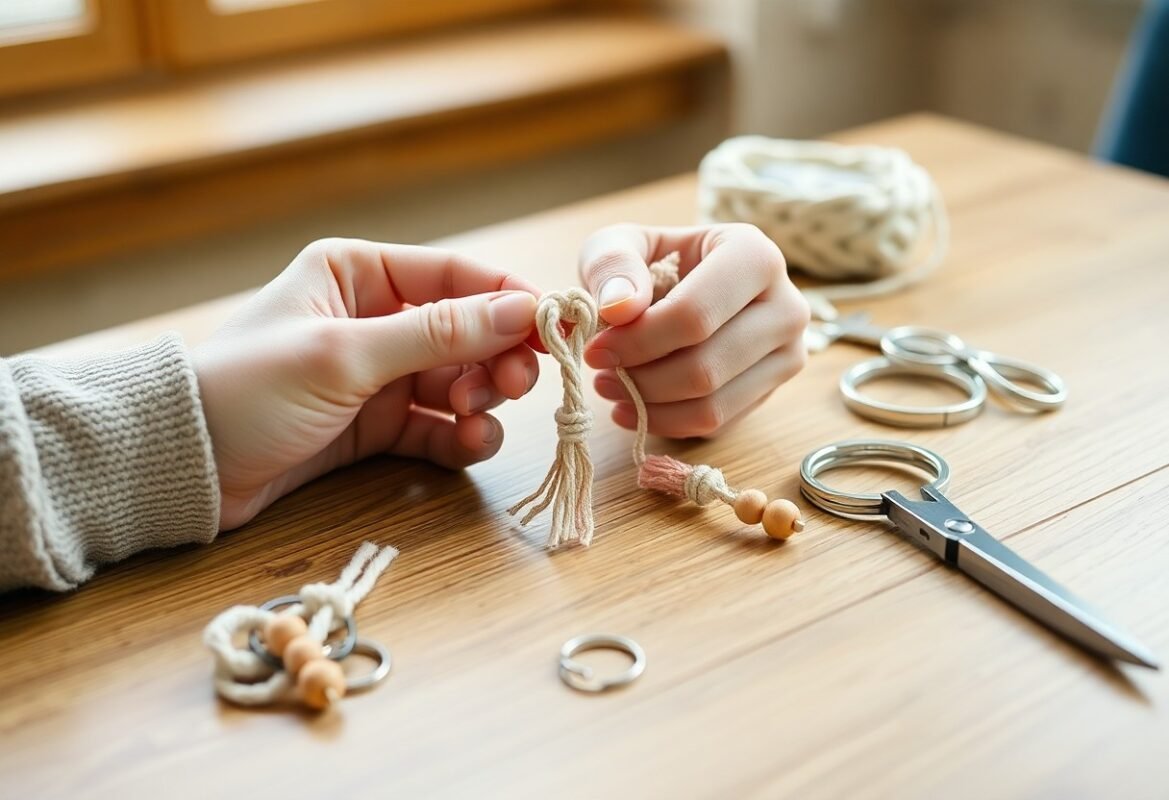
Basic Knot Techniques
You’ll start with lark’s head for mounting, use square knots built from four working cords for body texture, and employ double half hitch to create diagonal lines; practicing 10 repetitions of each knot on 12″ scrap pieces helps you standardize tension and produces even rows-three square-knot repeats typically gives a 1-2″ band depending on cord thickness.
For a square knot, take four cords: hold the two center cords as fillers, pass the left working cord over the two centers and under the right working cord, then pass the right cord under the centers and up through the loop-pull both working cords evenly to set the knot; adjust tension so rows lie flat (3-4 mm cord often needs firmer pulls than 5-6 mm), and use spacers or a ruler to keep consistent gaps when creating patterns like alternating square-knot ladders.
Project Assembly
You should attach cords to the dowel with lark’s head knots following the kit diagram, work rows in the prescribed sequence to avoid redoing sections, trim fringe to within ½”-1″ of the desired length, and secure cut ends with a dab of fabric glue or a whipping knot if the kit lacks metal crimps.
When assembling the finished piece, test-block by dampening natural-fiber cords and shaping the hanging on a flat surface to correct asymmetry; for hanging hardware, use a picture-hook rated 10-15 lb for typical 12-18″ wall hangings, and if your pattern calls for beads or rings, thread them on before final trimming so they sit cleanly within the knot rows.

Tips for Beginners
Start with a kit that uses 3-5 mm cotton cord and includes a wooden dowel, beads, and clear instructions so you can practice square knot, half hitch and lark’s head on a 12-18 inch plant-hanger or small wall piece; make a 6-8 inch sample to master even tension and aim for consistent knot spacing (about 4-6 repeats per pattern). Use binder clips and a tape measure to keep cords aligned and avoid costly length errors. Thou leave extra length for fringe and practice swatches.
- Choose 3-5 mm cotton cord for smooth, forgiving knots.
- Practice a 6-8 inch swatch to dial in tension.
- Pre-cut cords with 30-50% extra length for safety.
- Use clips, a ruler, and good lighting while working.
Choosing the Right Kit
Check the kit contents so you know cord thickness, total yardage, and included tools; a small plant-hanger kit often supplies four 6-10 m cords (total 24-40 m), a metal ring or wooden dowel, and an instruction card. Pick kits that list cord length and fiber type-cotton is beginner-friendly for grip and forgiving tension-so you can predict finished size and avoid mid-project shortages.
Common Mistakes to Avoid
You frequently underestimate cord length and cut cords too short, which forces rework; for many patterns multiply finished length by 4-6 and add 10-30% for knots and fringe. Uneven tension produces waves and asymmetry, so perform a 6-8 inch test strip and adjust your pulling technique. Mixing cord materials or diameters also ruins drape and symmetry.
For example, if you want a 24-inch finished wall hanging, cut each working cord to 96-144 inches (8-12 ft) depending on knot complexity-square-knot series trend toward ×4 while dense hitching moves toward ×6. To remedy mistakes, secure the base with a clamp, re-tension one section at a time, and label cords during layout so you don’t swap lengths or disrupt pattern sequences.
Factors to Consider When Selecting a Macrame Kit
You should check material type, cord length, included tools and pattern clarity before buying; many beginner kits include 100-300 ft of cotton cord, a 6-12 mm dowel or ring, and simple bead accents. Pay attention to cord thickness (2-5 mm affects knot scale) and whether the kit offers video support. For step-by-step technique context, consult How To Macrame – The Ultimate Beginner’s Guide.
- Material: cotton vs. jute changes drape and durability for indoor or outdoor projects.
- Cord length & gauge: match the kit’s listed feet/meters to the project size you want.
- Tools & extras: look for dowels, rings, beads, tape measure, and a cord cutter.
- Pattern clarity: step photos or video cut project time and reduce frustration.
- Support: check if the seller offers PDF downloads or tutorial links for troubleshooting.
Any kit that lacks a clear materials list or pattern preview will likely cost you time and extra purchases.
Skill Level
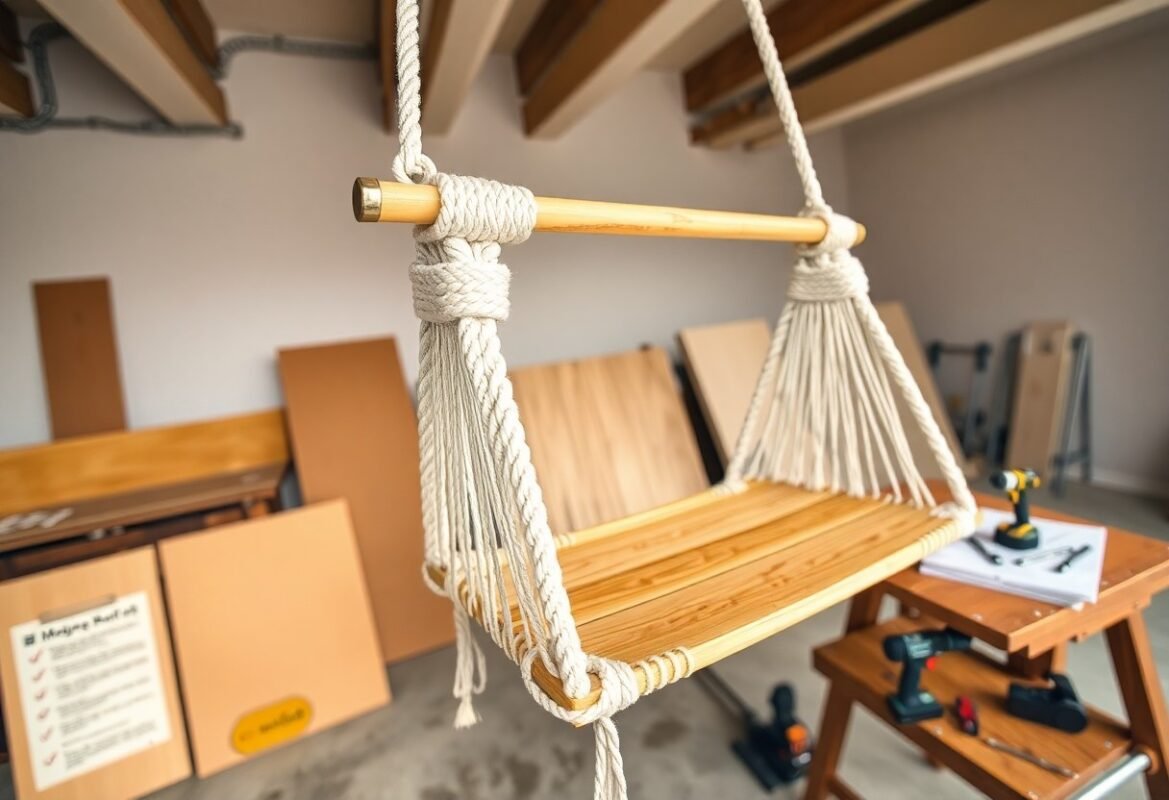
You should select a kit that matches your experience: beginner kits usually focus on square knots and lark’s head knots and take 30-120 minutes, intermediate kits introduce diagonal clove hitches and macramé netting with 2-6 hour projects, while advanced kits include complex layering and demand multi-day commitment and 20+ cords-pick kits labeled for your level and those that provide video or step-by-step images.
Project Complexity
You should gauge complexity by cord count, knot variety, and finishing techniques; simple plant hangers use 4-8 cords and 2-3 knot types, medium wall hangings use 10-20 cords and 3-6 knot families, and large tapestries may require pattern charts and blocking-check estimated hours and sample photos before you buy.
For more detail, compare examples: a basic plant hanger often requires 4 cords of 3-4 mm cotton and can be completed in 30-60 minutes, while a decorative wall hanging might specify 12-24 cords at 3-5 mm and include diagonal clove hitch, Josephine, and square-knot rows that take 2-6 hours. Large tapestry kits can list 50-150 meters of cord, multiple color changes, and fringe work-those kits benefit from templates, numbered cord guides, and video walkthroughs. If you want to scale a pattern, check whether the kit provides cord length per cord or total length; that lets you estimate how much extra cord to buy for fringe, mistakes, or resizing.
Summing up
As a reminder, follow the kit’s step-by-step instructions, practice basic knots, keep your cords organized, and maintain even tension so you complete polished pieces; when a section goes wrong, unpick and rework it, and with patience your skills will grow and you can confidently tackle more complex designs.
FAQ
Q: What comes in a typical macrame kit and what extra tools should I have?
A: Most beginner kits include pre-cut cords, a wooden ring or dowel, pattern/instructions, and sometimes beads or a needle. Useful extras: sharp scissors, a tape measure or ruler, small binder clips or masking tape to secure your work, a clipboard or macrame board for anchoring, a comb or stiff brush for fringe, and a small glue (fabric glue or clear-drying craft glue). If your cords are synthetic, a lighter or heat source can be handy to seal ends safely; for natural fibers, a needle or crochet hook helps with threading beads and tightening knots.
Q: How should I prepare and set up my workspace before I begin?
A: Choose a flat, well-lit surface with enough space to spread cords. Anchor the top of your project to a stable point: clamp the dowel or ring to a table edge with a clip, hang from a hook at eye level, or attach to a clipboard. Lay out cords in the order specified by the pattern and straighten each strand to remove twists. If cords are longer than your workspace, coil excess neatly. Label cord groups with masking tape if the pattern uses different lengths. Test a practice knot section on scrap cord to establish comfortable tension and hand position before starting the main piece.
Q: Which basic knots do beginners need to learn and how do I tie them step-by-step?
A: Start with these four knots: 1) Lark’s Head: fold a cord in half, place loop behind the dowel/ring, pull the ends through the loop and tighten. 2) Square Knot: use four cords (left working, two middle fillers, right working). Cross left working over the two fillers, pass right working over left, under fillers, through the loop on the left, tighten; then reverse (right over fillers, left through loop) to complete the knot. 3) Half Hitch (single): wrap the working cord over and around an adjacent cord, pull through the loop, and tighten to create a single hitch; repeat for a row or use double half hitches for stronger lines. 4) Double Half Hitch: make a half hitch twice in succession with the same working cord around the holding cord to lock a diagonal or horizontal line. Practice each knot slowly until spacing and tension look even.
Q: How do I measure cord lengths and follow a pattern without running out of material?
A: Patterns often list required cord lengths; if not, use this rule of thumb: allow 3-4 times the finished length for simple projects and 4-6 times for complex designs with many knots or long fringe. For long vertical pieces or plant hangers, measure per section (top loops, body, fringe) and add extra for finishing. Lay out and cut all cords before you begin to avoid mid-project mismatches. Keep a few spare lengths of the same cord on hand to patch mistakes; join by using lark’s head or by splicing in with a concealed knot. Track progress against the pattern after each row so you can adjust tension early if the piece is pulling shorter than expected.
Q: How do I finish, secure, and care for a completed macrame piece?
A: Finish by straightening final knots, trimming excess cord to the desired fringe length, and sealing ends: use fabric glue for natural fibers or carefully melt synthetic ends with a lighter and press to seal. For an invisible finish, tuck ends back into knots or use a small darning needle to weave them into the back. If adding beads or hardware, tighten and secure with a tiny dab of glue. To clean, spot-clean with mild soap and water or hand-wash gently, then reshape and air-dry flat or hanging. Brush the fringe gently with a comb if needed. Store flat or hung in a dry place away from direct sunlight to prevent fading and distortion.