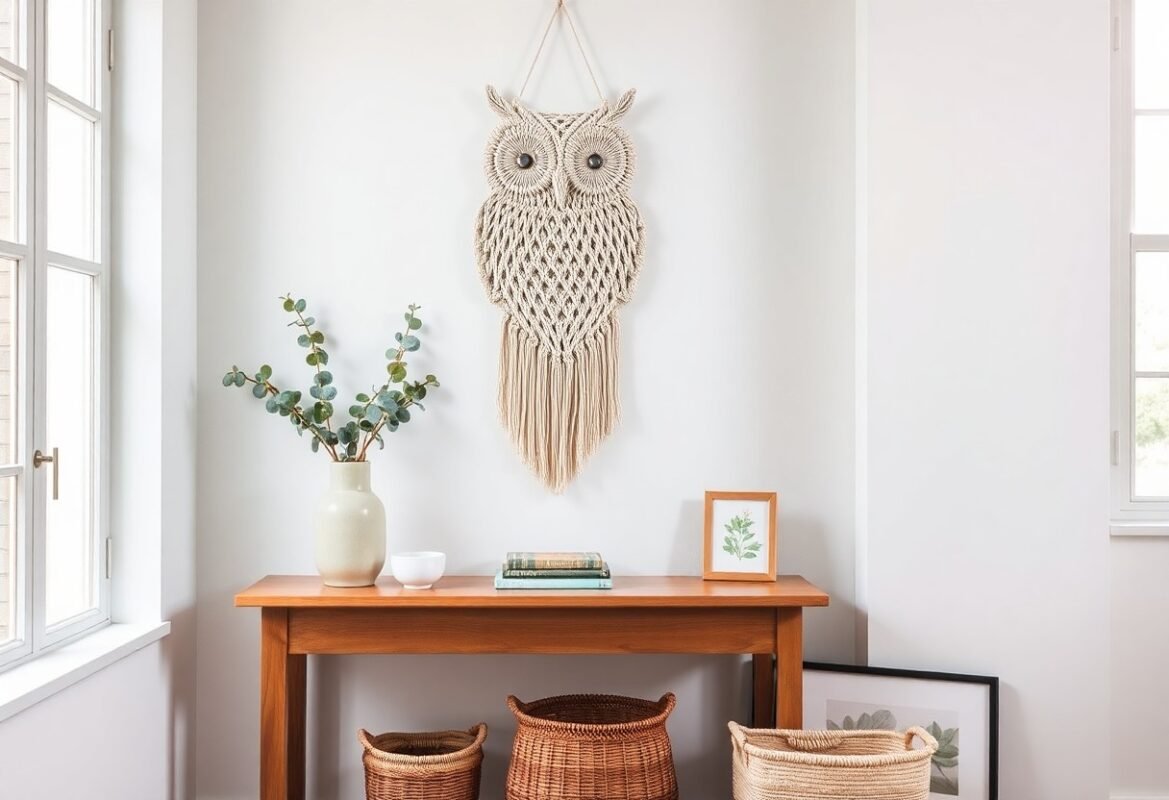

Over the past few years you’ve probably seen macrame owls pop up in every cozy corner, and making one yourself matters because it’s personal, budget-friendly and gives you a handmade touch you can’t buy. You’ll learn knot basics, shaping tricks and how to add those cute feather-eyes – all without fancy tools. Want to try? It’s easier than it looks, and you’ll be surprised how fast it comes together…
Key Takeaways:
You can make a charming macrame owl even if you’ve never tied a knot before – it’s mostly about rhythm, patience, and a few go-to knots.
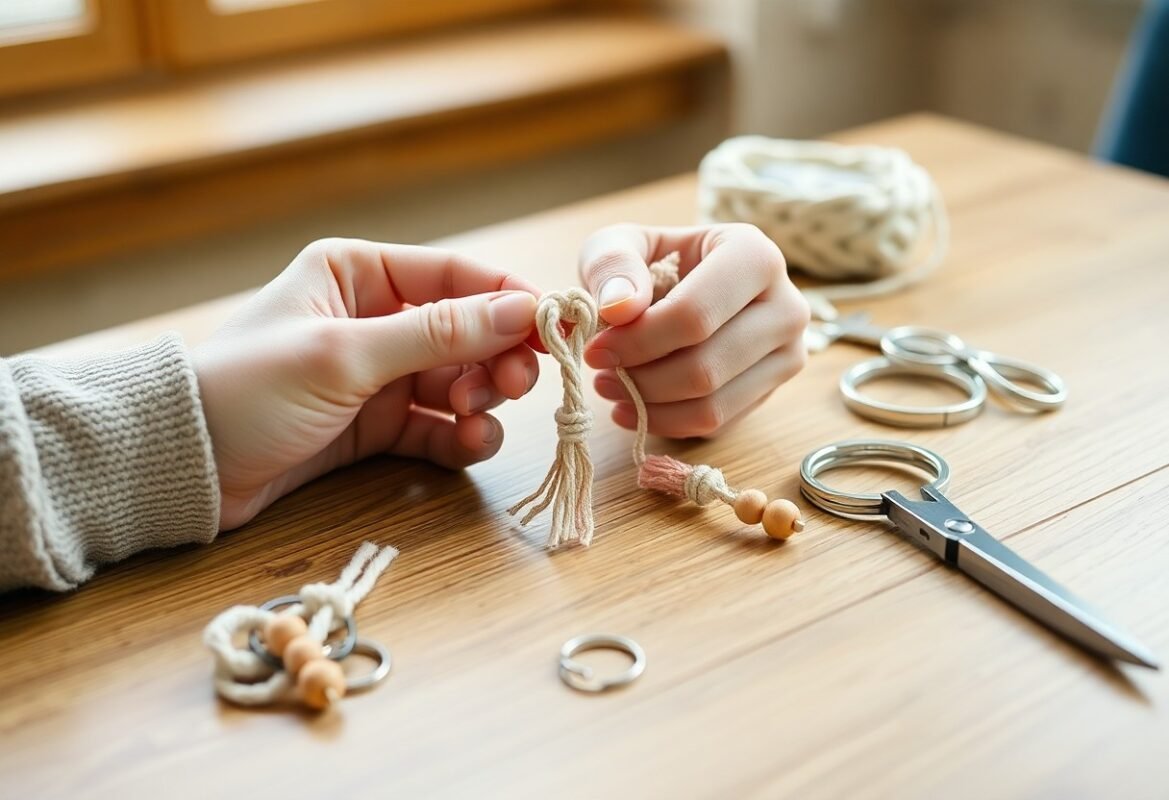
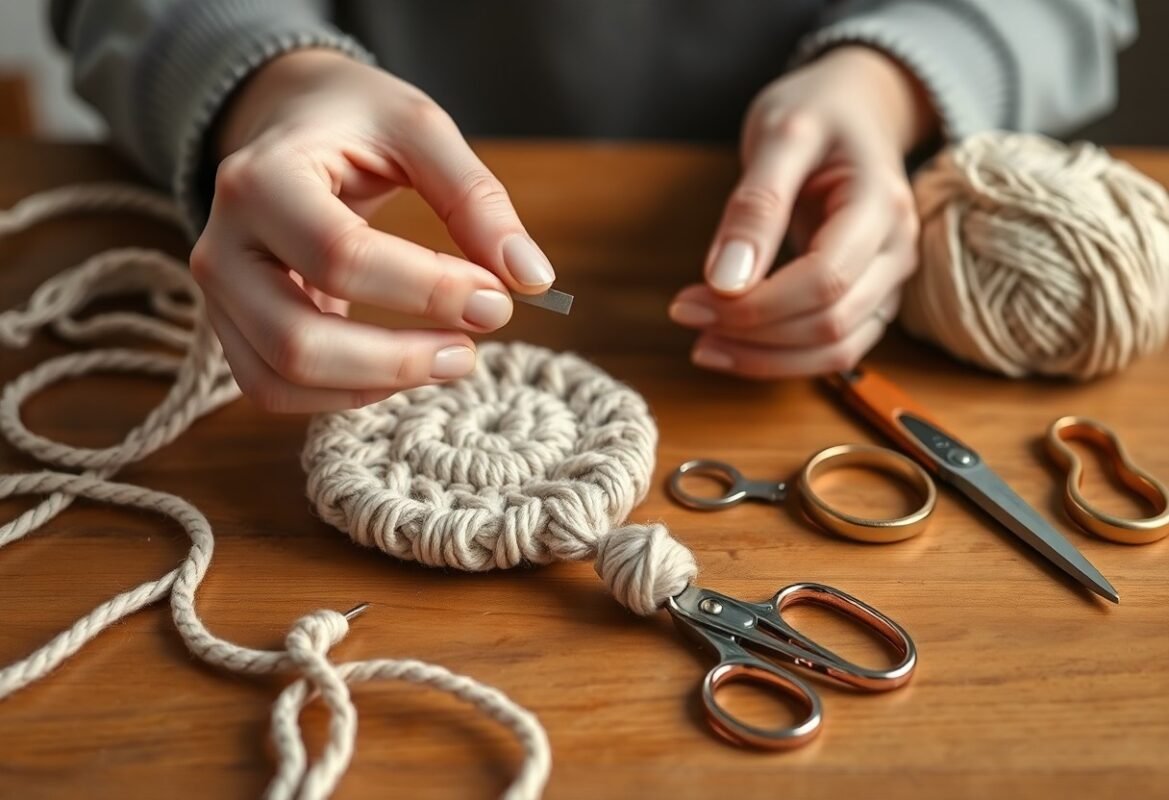
- Gather simple supplies and prep well: 3-5mm cotton cord, a wooden dowel or branch, scissors, a small comb and optional beads or a metal ring for eyes. Cut cords generously – about 4-6 times the finished length – and attach with lark’s head knots so you can play with placement later. Got a scrap cord? Practice your square knot and double half hitch on that first.
- Build the owl from the center out: form the head with wrapped rings or bead eyes, use alternating square knots for the body and diagonal half hitch for the brow and wing shaping. Tight knots give structure, loose knots give fluff.
Tight knots where you want structure, loose knots where you want fluffy feathers. - Finish like a pro: comb and trim the fringe for feather texture, block the piece by wetting and drying to set shape, and hang at eye level for best effect. Don’t worry about tiny mistakes – they hide well under feathers – and once you get the rhythm you’ll crank these out faster than you expect.
What’s This Macramé Owl Thing Anyway?
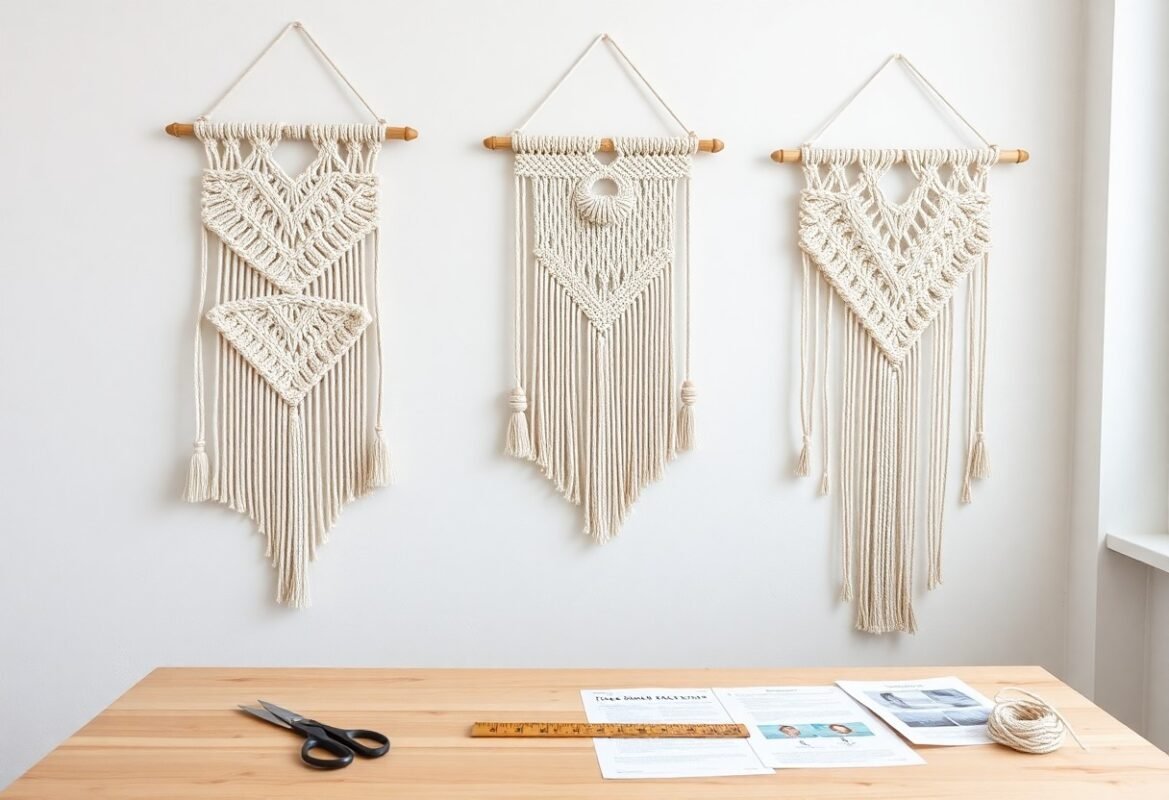
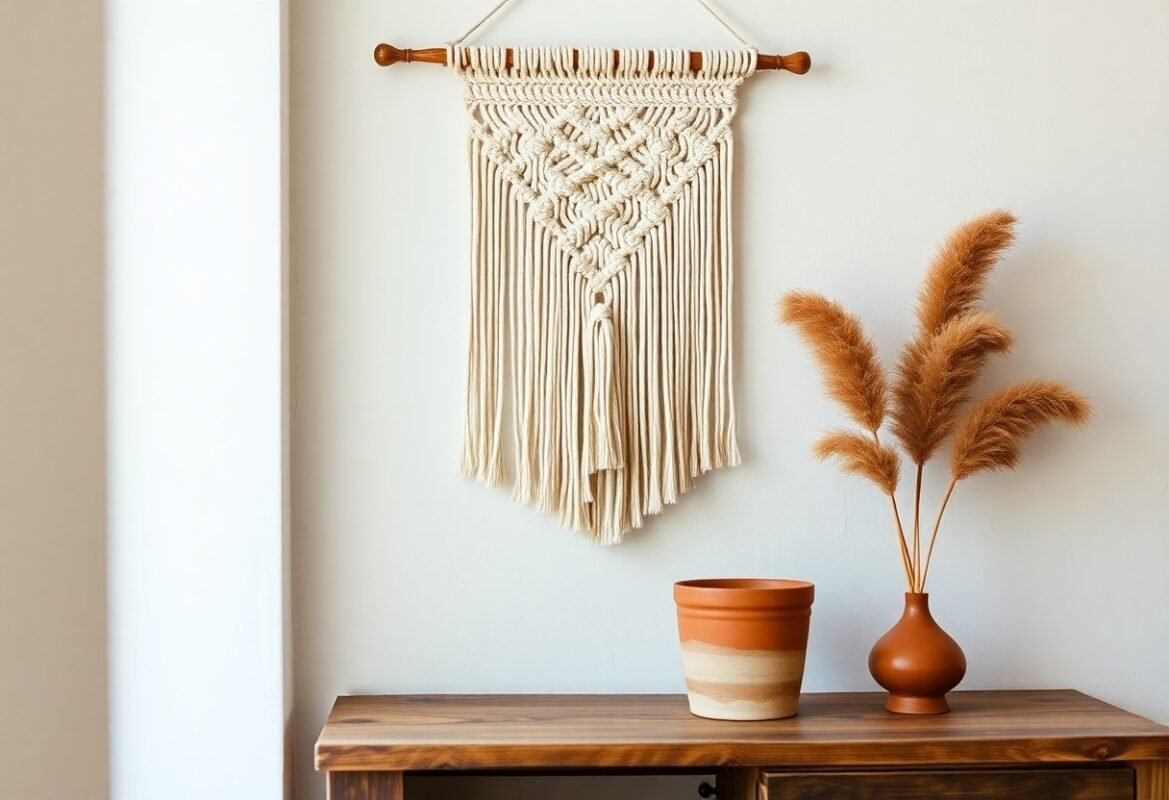
You’ve probably seen one at a weekend market – a little owl made from cotton cord and a wooden dowel, hanging over a plant pot or crib. They’re often 10-20 inches tall, made with 8-12 cords, and take you about 2-4 hours to knot up front-to-back. Materials usually cost $5-20, so you get a handmade, tactile piece that’s affordable, quick to make, and easy to tweak with color, bead accents, or different fringe lengths.
A Quick Overview of Macramé Owls
You start by attaching cords with lark’s head knots to a dowel, and then use square knots plus double half-hitches to form the eyes and feather texture – just 3 basic knot types will get you a convincing owl. Typical supplies: 3-5 mm cotton cord, a 12-18 inch dowel, and scissors; many patterns ask you to cut cords about 3-5 times the finished length. Easy to scale, too – make a 6 inch keychain or an 18 inch wall piece.
Why They’re So Popular
You notice how they fit modern boho vibes straight away – natural fibers, neutral tones, lots of texture. They’re cheap to make, beginner-friendly, and highly customizable, which is why you see them in nurseries, living rooms, and gift shops. That mix of low cost, quick build time, and big visual payoff makes them a go-to for makers who want a satisfying weekend project that still looks like a designer piece.
And there’s a social side too – they photograph great on Instagram, they sell well on Etsy, and you can teach the pattern in a 90-minute workshop. Because you can swap cord thickness, dye colors, or add wooden beads, the same base pattern becomes dozens of unique products, so makers can scale from one-offs to small batches without reinventing the wheel. Want to sell them? Price them under $30 and they usually move fast.
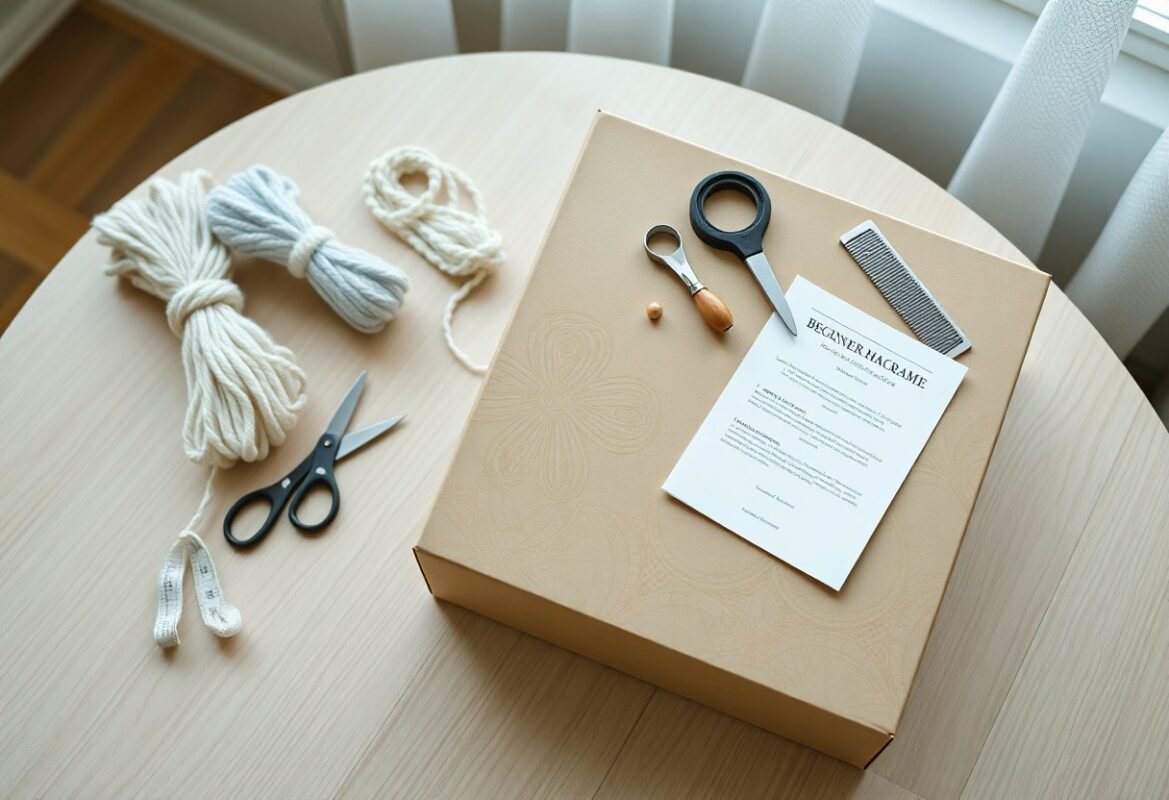
What You’ll Need to Get Started
You want the right kit so you don’t stall halfway through – good supplies speed things up and make the owl look pro. Aim for about 100-150 ft total of cotton cord (mix 3 mm for detail and 4-5 mm for structure), a 12-18 inch wooden dowel or branch for the perch, one 3-4 inch metal ring for the head base, 8-20 mm wooden beads for eyes, plus small amounts of yarn or wool for tufting and fringe. Those specifics save you trips to the store.
Materials That Make Your Owl Come to Life
You’ll want materials that give texture and contrast so your owl actually pops on the wall. Go with natural cotton cord in two weights (4 mm for body, 3 mm for accents), a smooth 14 inch dowel, a 3 inch metal ring, two 10-12 mm beads for pupils, and a small bundle of wool or yarn for the chest tuft. Throw in a bit of leather or suede for talons if you like a rustic vibe.
Tools You Can’t Do Without
You need a handful of simple tools to keep knots tidy and measurements accurate. Grab a pair of sharp craft scissors, a tape measure, a fine crochet hook (2-3 mm) for pulling cords through knots, and a metal comb or pet slicker brush for teasing out the fringe. A sturdy clip or small clamp to anchor the dowel makes your life way easier.
More detail: the scissors should cut cleanly through multiple strands-look for blades at least 6 inches long; the crochet hook helps you tidy tight lark’s head and double half hitch knots without fumbling; use binder clips or a small C-clamp to secure the dowel to a table or foam board while you work. And if you plan to block the final piece, have rust-free pins and a blocking mat on hand.
Knots and Techniques: How to Make It Happen
Compared to plain macrame pieces, your owl depends on knot placement and tension to read like a face not a blob, so you’ll plan for structure: use 8-12 cords around 3-4 mm for a 10-12 inch owl, allow 2.5-3 meters per cord, and map where eyes, beak and wings sit before you knot; keep a scrap for practice and test a 5 cm sample row of square knots to match tension across the piece.
The Must-Know Knots for Your Owl
Unlike freestyle knotting, this owl calls for a handful of reliable knots: lark’s head to mount cords, square knots for body texture, double half hitch for wing shaping, spiral knot for decorative rows and a gathering knot to finish – each serves a visual purpose, like using square knots in rows of 6 to build a stable torso and double half hitch to curve the wing edge precisely.
- Lark’s head – mounting and starting symmetry.
- Square knot – body texture; try 4-8 repeats per row.
- Double half hitch – outlines and sweeping curves.
- Spiral knot – decorative column for the chest.
- Gathering knot – tidy finish, cinch to 1 cm width. Perceiving how each knot changes angle helps you place eyes and beak.
Tips on Making Those Knots Look Good
Compared to sloppy loose rows, consistent tension makes the owl look handcrafted-not-rushed, so you’ll pull square knots to about 1-1.5 cm tightness, use a comb or a stiff brush to beat rows flat, and trim tails to staggered lengths for feathers; if you get a twist, undo just the last 6 knots then re-tension – you’ll save hours later.
Compared to guessing, measure as you go – mark 2 cm guides on your dowel for symmetry and count cords in mirrored groups; practice a 10-knot swatch to dial tension, and don’t be shy about wetting cotton slightly to set shape, it firms stuff up fast. Want crisp eyes? Use tighter double half hitches around a 2 cm ring for definition. And play with a tiny bit of fabric starch if your cord is too floppy, it’ll hold curves better.
- Use a ruler and mark repeat intervals on the dowel to keep rows even.
- Comb or brush each section after knotting to align fibers.
- Trim with sharp scissors and singe synthetic ends gently if needed.
- Treat small swatches like tests – tweak tension in 5-knot increments. Perceiving those tiny adjustments lets you mimic professional finish work.
Let’s Craft This Owl Together!
This section matters because you want a finished owl that actually hangs straight and looks intentional, not like something you slapped together at midnight. You’ll get clear, hands-on steps so your wing shapes match, eyes sit even, and the fringe fans nicely – and yes, you can finish a medium owl in about 2-3 hours if you prep well. Stick with the sequence and you’ll avoid redoing whole rows later.
Step-by-Step Guide to Making Your Owl
You’ll follow a tight sequence: attach cords, form the head with alternating square knots, create eye loops, shape the beak with diagonal half-hitches, then build the wings using lark’s head plus rows of square knots – simple building blocks stacked. Work in sections, count knots per row (6-8 is common), and trim at the end for a clean silhouette.
Step Breakdown
| Step | Action / Detail |
|---|---|
| 1 | Cut cords – typical owl: 12 cords at 4x desired length + 20% extra |
| 2 | Attach to dowel with lark’s head, center two for head base |
| 3 | Make head: alternating square knots, 3 rows |
| 4 | Create eyes: form loops with doubled cords and secure with tight half-hitches |
| 5 | Beak: 2-3 diagonal half-hitches on center cords |
| 6 | Wings: group side cords, work 4-6 rows of square knots, taper ends |
| 7 | Fringe: comb and trim to shape, then block if needed |
| 8 | Finish: secure loose ends with small knots or fabric glue and hang |
Common Pitfalls to Watch Out For
You’ll want to avoid uneven tension – it ruins symmetry fast – and cutting cords too short, which forces a redo. Miscounted cords is another biggie; if one wing has two extra cords it shows. Also, don’t overload the dowel with heavy beads unless you space supports, and don’t skip blocking if you want crisp lines.
Give yourself a scrap test first, especially for knot tension and fringe trimming. Test-tie one square knot row and measure how much length it eats – cords shrink about 15-25% after knotting. Tape the dowel ends during assembly to keep cords from sliding.
Try this quick check:
Test one motif before committing to all rows.
This saves hours later.
Want Something Unique? Design Variations to Try
3 design tweaks – swapping cord thickness (3mm vs 5mm), tweaking eye diameter (2cm to 4cm), and adding dyed fringe – will transform your owl. You can go boho with 4 earthy tones, go modern with monochrome plus a copper hoop, scale it up to a 60cm wingspan for drama or keep it 20cm for a cozy nook. Try one change at a time so you actually see what each tweak does to shape, texture and overall vibe.
My Take on Customizing Your Owl
2 quick rules I follow: contrast and proportion. You want contrasting textures – use a chunky 6mm cord for the body and a 2mm for feather accents – and make the eyes about one-third of the head width for balance. I usually add a single wooden bead as a beak, it gives character. Test proportions with a 15-30 minute mock-up and you’ll catch awkward sizing before you commit.
Popular Design Twists That Make a Difference
4 twists that really move the needle: ombre-dyed fringe, mixed cord thickness, bead-and-tassel eyes, and framing the piece on a metal or wooden hoop. You can get ombre with just 2 dye baths, swap in brass beads for a vintage feel, or stitch in extra loops for wing texture; each change shifts the mood a lot. Want whimsy? Try mismatched eyes – charming, not wrong.
60% of the visual impact comes from texture changes – so mix a 3mm core with 5mm outer cords and add looped half-hitch rows for depth. If you’re dyeing fringe, dip for 30-60 seconds for a soft gradient, or use fiber-reactive dyes for colorfast results; drill beads to fit the cord snugly so nothing slips. Pick one twist as the star and let the rest support it, don’t clutter the design.
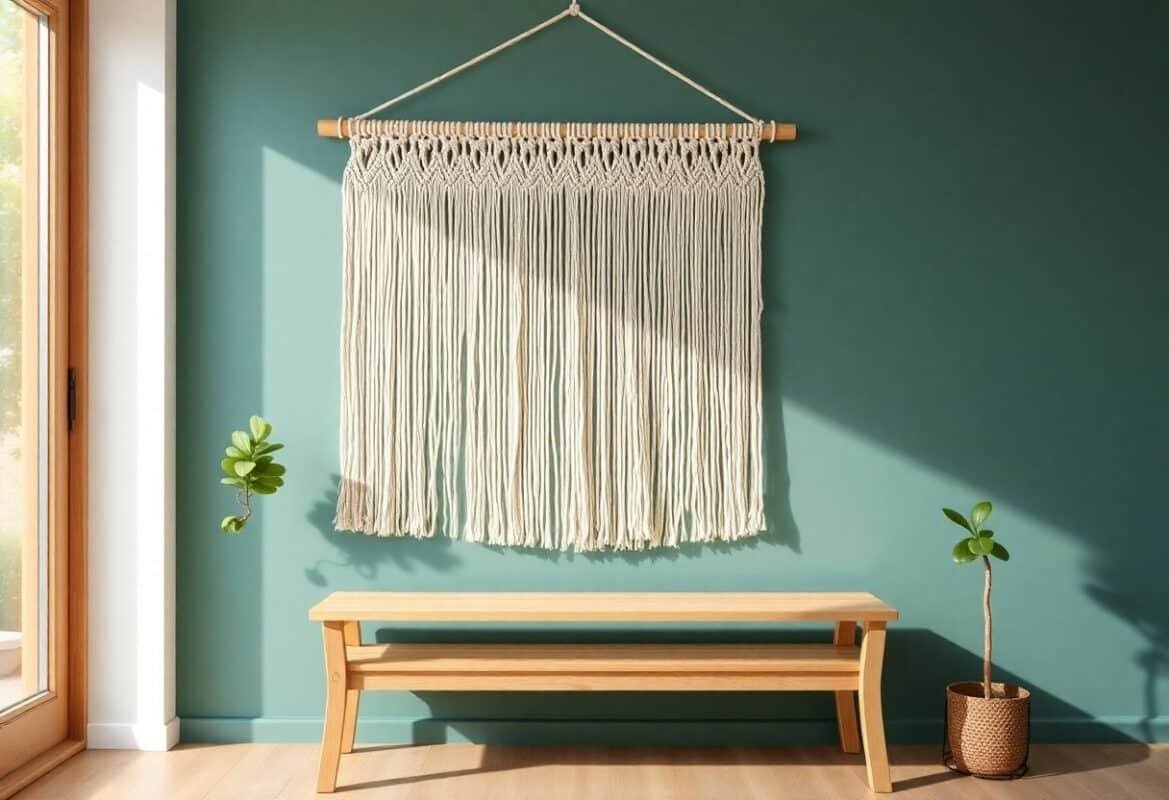
Hanging and Finishing Touches: Let’s Wrap It Up
With boho and handmade decor blowing up on Instagram this year, finish like you mean it so your owl reads as intentional – not tossed on the wall. Use a solid branch or 1/2-inch wooden dowel for even weight distribution, trim fringe to suit your room’s scale, and test on a hook rated at least twice the piece’s weight; most macrame owls are under 3 lb so a 25 lb anchor covers you. Small tweaks make a big difference…
The Best Ways to Hang Your Creation
Want it level and secure? Screw a 3/8-inch hook into a stud for pieces up to 10 lb, or use a 1/4-inch toggle anchor for drywall when a stud’s out of reach. For wider owls – say 20-24 inches – place two anchors about 18-20 inches apart to prevent sag. Mount into a stud when possible.
And if you’re using a branch, pre-drill and install brass loop screws so the cord won’t slip.
Finishing Details You Shouldn’t Overlook
Small details give that pro look – comb the fringe with a wide-tooth comb in 2-3 gentle passes, then trim in 1/4-inch increments until symmetrical, and steam from 6-8 inches to relax fibers; use a tiny dab of clear craft glue on hidden knot ends to stop slippage, and add one accent bead or feather to tie the palette together.
If your cord is 3-5 mm thick you’ll get crisp owl features; thinner cord fluffs more. Try a light fabric spray to set color and repel dust – always test on a scrap first. Block the piece flat and pin fringe while it dries for neat shaping. Want a vintage vibe? Rub a little tea stain on a hidden edge to test tone before you go all in.
Summing up
From above You’re more than capable of making a charming macrame owl in a few hours. You follow knot basics, pick yarn you like, and wing it a bit – that’s the trick. Want variation? Try different fringe lengths or beads. It’s hands-on, kinda meditative, and you’ll end up with a piece that says you made it. So grab your cord, a stick, and get going; you’ll learn as you go and have fun doing it.
FAQ
Q: What materials and tools do I need to make a macrame owl wall hanging?
A: I went into the craft store thinking I only needed a few cords and came out with half the aisle in my basket – you know how that goes. I grabbed more than I planned but honestly most of it I used, so it’s not a waste, it’s research. Want to keep it simple? You can.
Basic stuff – cotton cord (3-5 mm is the sweet spot), a wooden dowel or branch for the perch, scissors, a tape measure, a comb or metal brush for the fringe, and some wooden beads if you want fancy eyes. Optional but handy: a yarn needle for threading, a lighter or fray stopper for synthetic blends, and a small bottle of clear craft glue to secure tiny ends.
Pick neutral cords for a classic look or mix colors for personality – both work great and both will make you smile when it’s done.
Q: How do I knot the owl’s body and create the eyes so it actually looks like an owl?
A: First time I tried the owl I made a spaghetti mess of cords and almost gave up, but once you get a couple of base knots the whole thing clicks – really. It takes a few tries, and the eyes are fiddly, but that’s part of the fun, right?
Attach cords to the dowel with lark’s head knots to make the base row. Use square knots to build the body; do alternating rows of square knots to create that feathered texture – tighter tension for a compact body, looser for fluff. For the wings, switch to half square knot rows on each side so they flare a bit.
Make the eyes by forming two tight wrapped loops or by using two big wooden beads threaded on a cord and secured with knots behind them. A little cluster of smaller knots around each eye gives the owl expression – squinty, surprised, sleepy, whatever you like. For the beak use a short length of cord and a couple of diagonal half hitch knots.
Tension shapes everything. Keep an eye on symmetry and don’t be afraid to untie a knot and redo it – it almost always looks better after one tweak.
Q: How do I finish, trim, and hang the macrame owl so it looks polished?
A: I once left the fringe untrimmed for days because I kept walking by and fussing with it – you’ll do the same, trust me. That finishing stage is oddly meditative; you trim bit by bit and it slowly becomes ‘done’.
Trim the fringe to shape with sharp scissors, cut a little at a time. Use a comb or metal brush to tease the fringe into a feathery look – go easy at first. If you want a softer, blended look, separate small sections and comb them individually.
Attach a hanging loop to the dowel with a wrapped knot or just tie a simple cord loop and secure it behind the bar. For extra durability put a drop of clear craft glue inside tiny knots that feel loose. Add beads or feathers at the bottom if you want a boho vibe.
Hanging it at eye level looks best in most rooms.
Small changes – trimming, combing, swapping a bead – make a big difference.