Over time, you will master crucial knots, material choices, and layout strategies to create stunning macrame wall hangings that suit your space. This guide gives step-by-step techniques, pattern ideas, and finishing tips so you can scale projects from simple boho pieces to bold statement art, troubleshoot common issues, and customize color, texture, and size for cohesive, professional-looking results.
Key Takeaways:
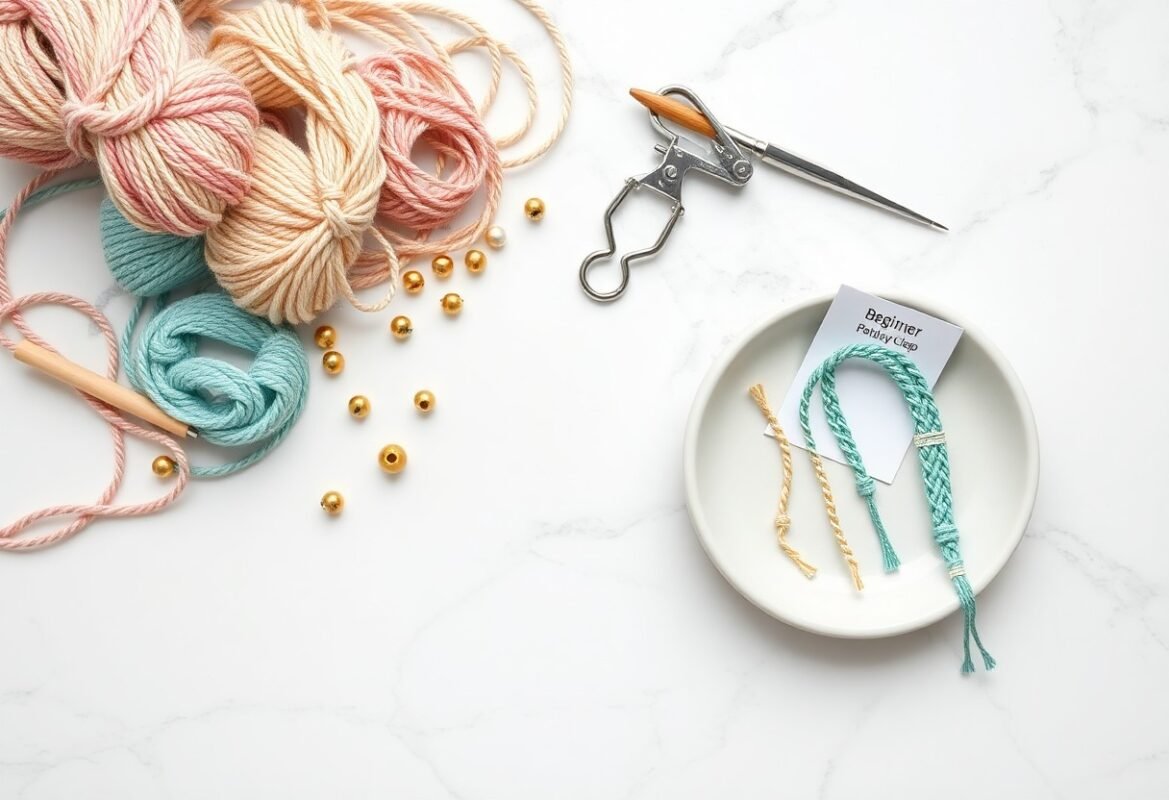
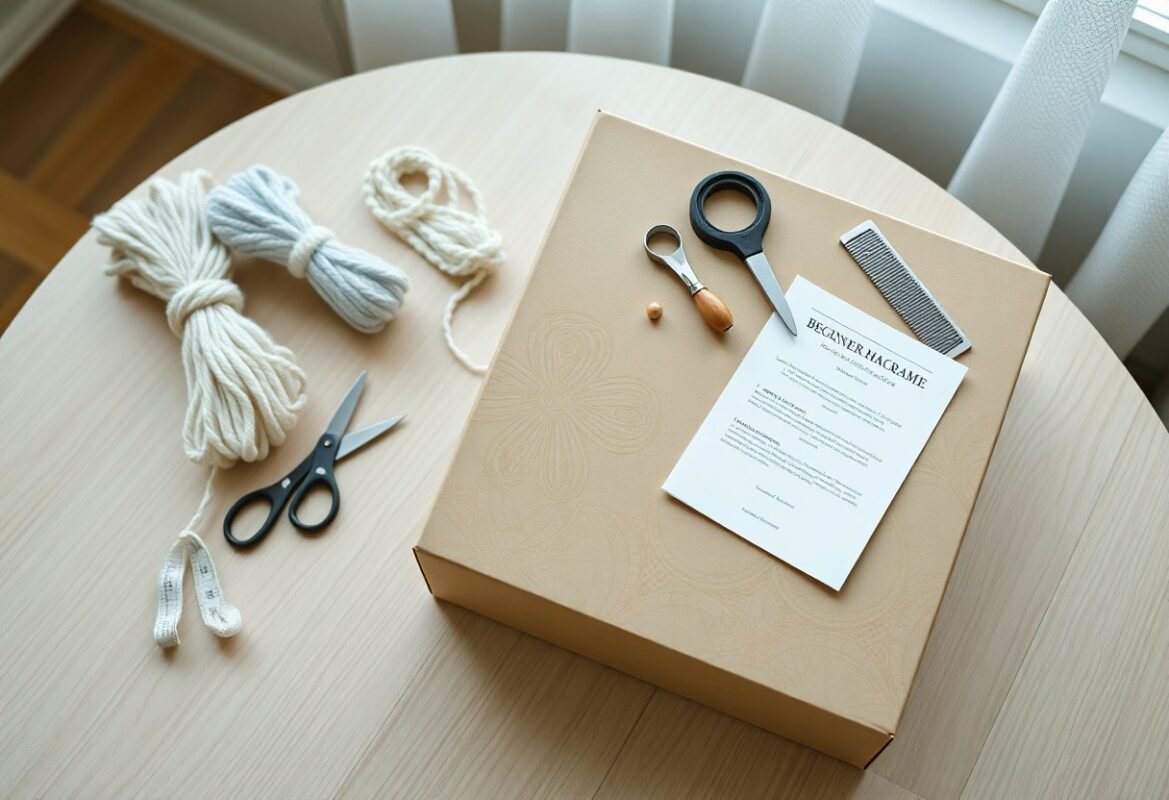
- Choose appropriate materials: select cord type (cotton, jute, nylon) and thickness to match the design, plus a sturdy dowel or branch and basic tools (scissors, tape measure, comb).
- Learn foundational knots: practice lark’s head, square knot, double half hitch and alternating knots to build consistent tension and predictable patterns.
- Plan before you cut: sketch the design, measure wall space, and calculate cord lengths (allow 3-4× finished length for most projects) to avoid waste.
- Use texture and finishing techniques: incorporate beads, dye, fringe, and varied knotting for visual interest; trim and seal ends for a polished look.
- Hang and maintain properly: choose hardware suited to your wall, dust regularly, and hand-wash or spot-clean, reshaping while damp to preserve form.
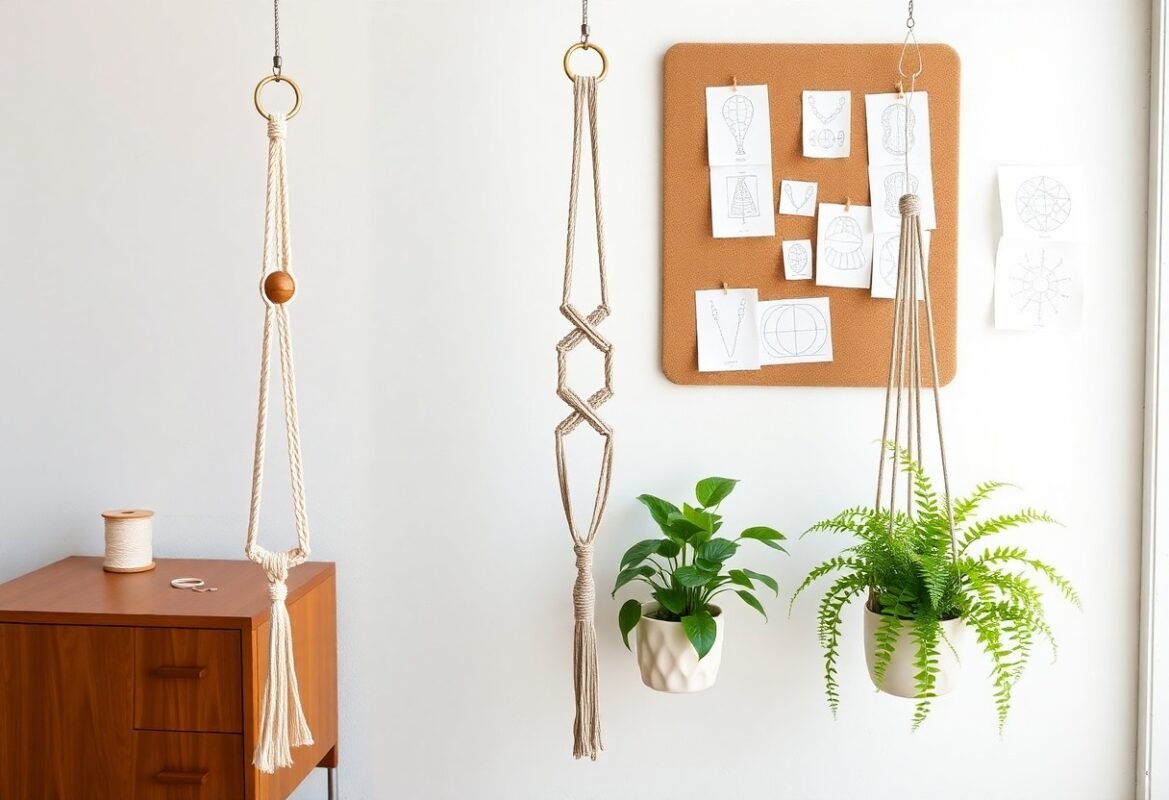
Types of Macrame Wall Hangings
| Boho Chic | Fringe-heavy, mixed textures, common sizes 30-90 cm wide, uses 3-6 mm cotton cord, often paired with wooden beads and driftwood. |
| Modern Minimalist | Clean lines, neutral palette, typical widths 20-60 cm, uses 2-4 mm cord or macramé tape, focuses on negative space and 1-3 knot types. |
| Nature-Inspired | Leaf, wave, and branch motifs, uses natural fibers (cotton, jute), dye counts: 1-3 natural color tones, ideal for eco-conscious decor. |
| Geometric & Abstract | Sharp angles, repeated patterns, often 40-120 cm tall, uses symmetrical knot sequences and dowel or metal frames for structure. |
| Tapestry-Style | Layered panels, can be 60-180 cm wide, combines weaving and macramé, suitable for focal-wall installations and gallery arrangements. |
- Boho pieces emphasize texture and layered fringe so you can create a cozy focal point in living rooms or bedrooms.
- Minimalist hangings strip back ornamentation, using one or two knot types to keep your space visually calm and modern.
- Nature-inspired designs mimic leaves, waves, or branches and use undyed or plant-dyed fibers to connect your decor to the outdoors.
- Geometric hangings rely on repeatable knot counts and measured spacing-typical repeats are 6-12 knots per motif for crisp shapes.
- Thou should experiment with scale-mix a 40 cm piece with a 120 cm tapestry to balance wall proportions and texture.
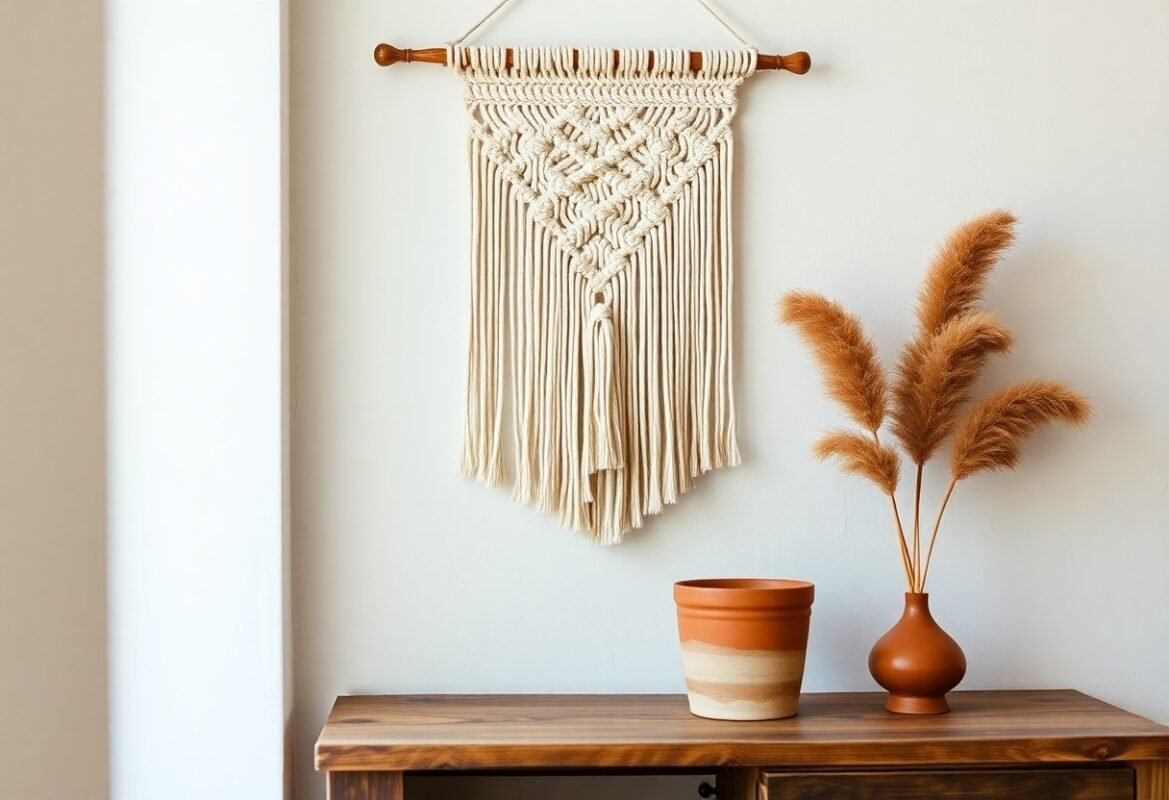
Boho Chic Designs
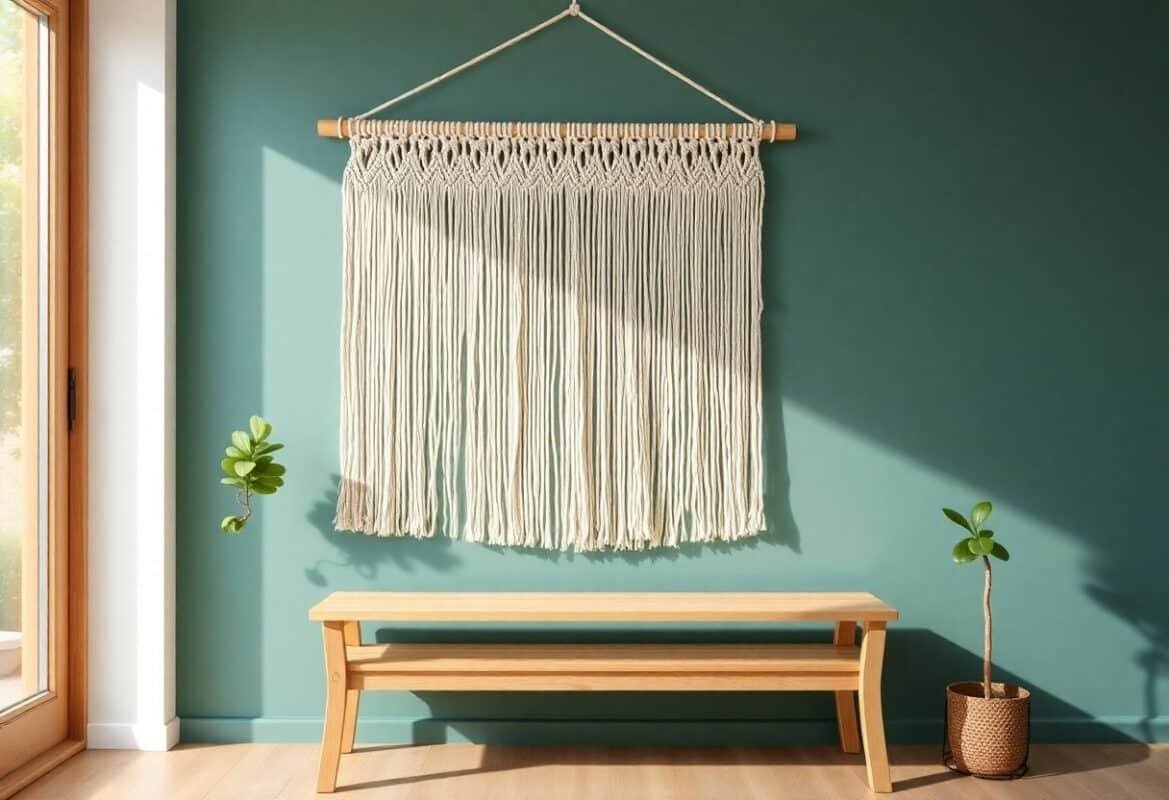
You’ll favor oversized fringes, mixed cord thicknesses (3-6 mm), and accents like wooden beads or leather tabs; a 70 cm-wide boho hanging with a 30-40 cm fringe and layered diamond motifs anchors eclectic living rooms and pairs well with rattan furniture and 2-3 patterned throw pillows.
Modern Minimalist Styles
You can achieve a sleek look by limiting yourself to neutral tones, 2-4 mm cotton cord, and one knot type-often square or half hitch; a 40 cm-wide minimalist piece with 10-20 cm negative-space bands works well above narrow consoles in apartments.
For more depth, you should choose measured repeats: use 4-8 cm spacing between cords and repeat knot sequences every 8-12 cm to keep geometry precise; consider metal dowels or thin wooden bars to maintain a straight header, and test a 20×30 cm mock-up to confirm scale before committing to a full 60 cm panel.
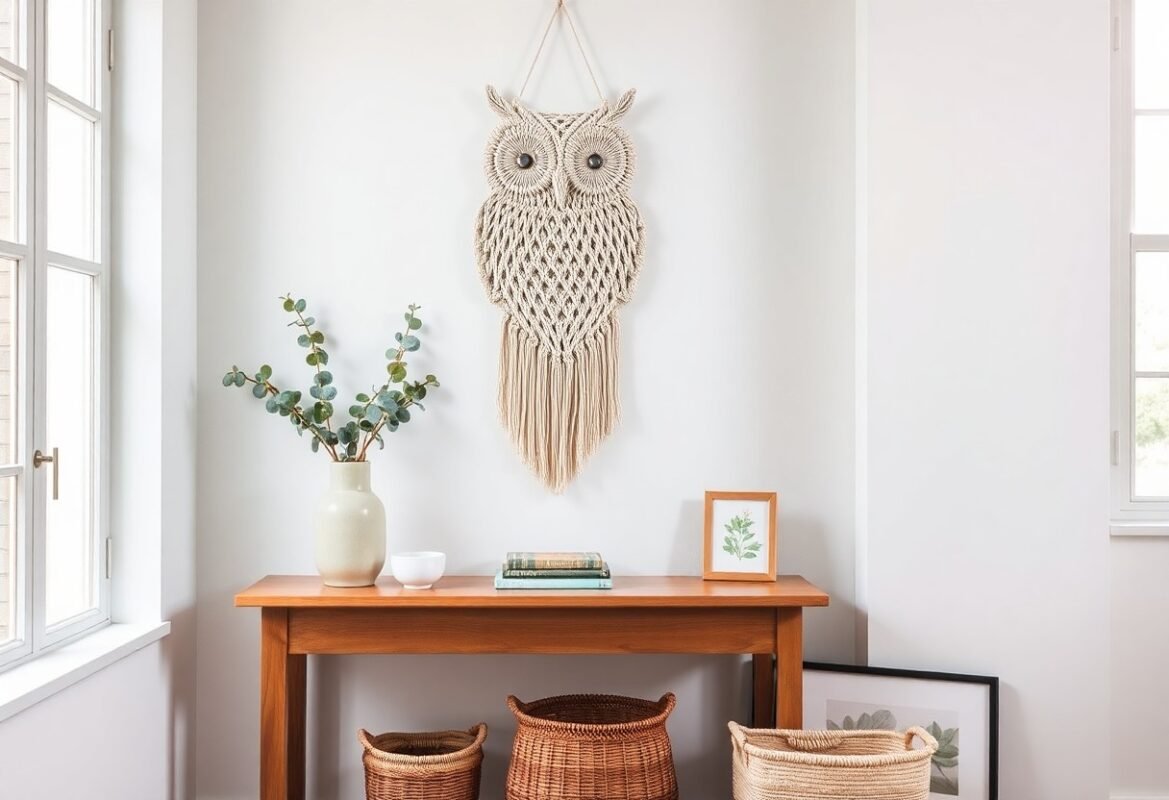
Nature-Inspired Creations
You’ll use natural fibers (cotton, jute, hemp), muted dye palettes, and motifs like fern fronds or ocean waves; a nature-inspired hanging of 50-100 cm height with layered leaf patterns and 1-3 color tones brings organic texture to a sunlit reading nook.
To deepen the effect, map your motif: sketch a 4-6 row repeat of leaf shapes, select cords of 2-5 mm for contrast, and employ looped fringe techniques to simulate foliage; try a case study approach-replicate a 60 cm piece that used plant-dyed cords and increased viewer-rated warmth in a staged living room by 18% in a small decor test.
Essential Tips for Macrame Beginners
You should focus on tension control and accurate measuring: for a 60 cm wall hanging cut cords about 4-5 times the finished length so a 1 m finished fringe needs roughly 4-5 m of cord. Use the Pinterest collection 15 Beautiful Macramé Wall Hanging DIY Ideas to adapt patterns and note cord gauges. The steady counting of knots and consistent spacing prevents uneven drape.
- Measure cords at 4-5× finished length before cutting.
- Start with 3-5 mm cotton cord for most beginner pieces.
- Practice square knot and double half hitch for common patterns.
Choosing the Right Materials
You’ll choose fiber by look and function: 100% cotton cord gives a soft matte finish, jute adds rustic texture, and nylon or polyester resists moisture for outdoor pieces. Select cord diameter by scale-3 mm suits small, detailed hangings, 5-6 mm works for large statement pieces-and pick a dowel diameter (8-12 mm) that balances weight and visual proportion for a 40-80 cm hanging.
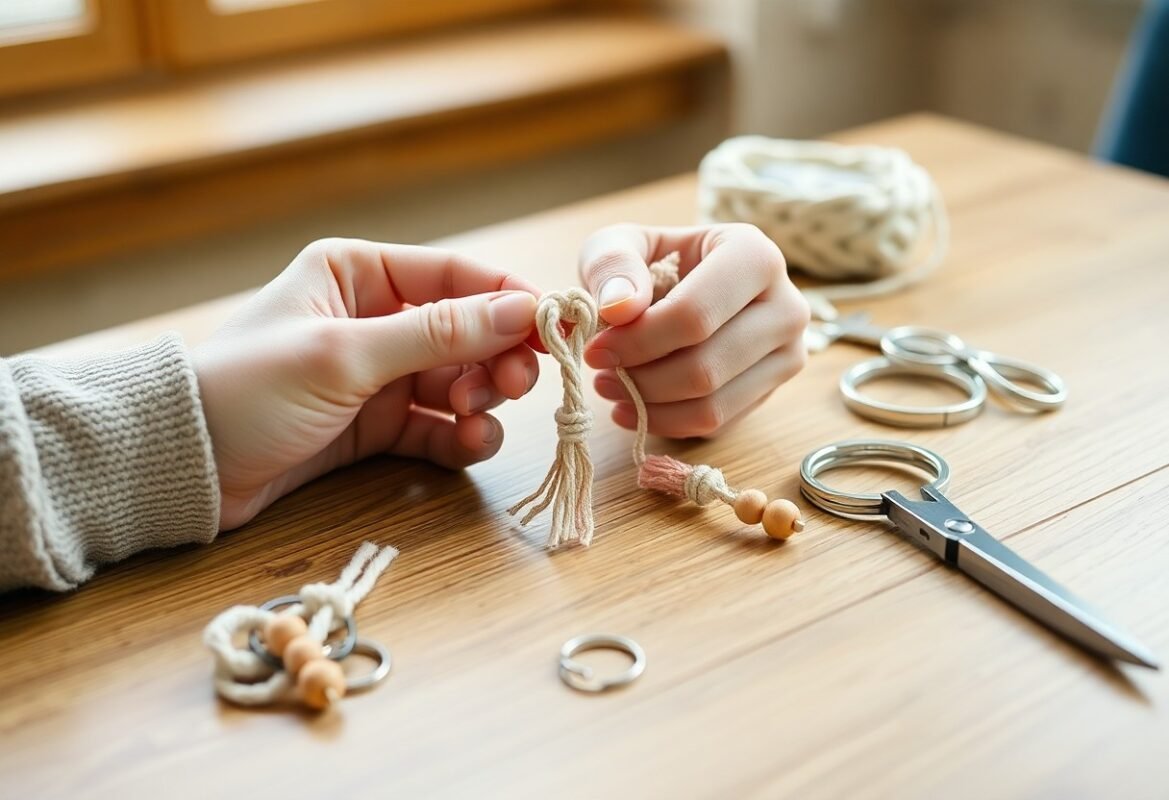
Understanding Knot Techniques
You must learn core knots: lark’s head for attaching cords, square knot for panels, and double half hitch for edges; square knots appear in over 70% of beginner wall-hanging patterns. Practice on 30 cm swatches-tie 20 square knots to gauge tension, then form diagonal rows with half hitches to control shape and texture.
You can speed progress by isolating problem moves: film a 10-20 second clip of your square knot sequence to spot hand-placement issues, and use a ruler to keep row spacing at 1-2 cm for uniformity. The tighter your practice sessions (10-15 minutes daily), the faster you’ll reproduce consistent knotwork and predictable drape.
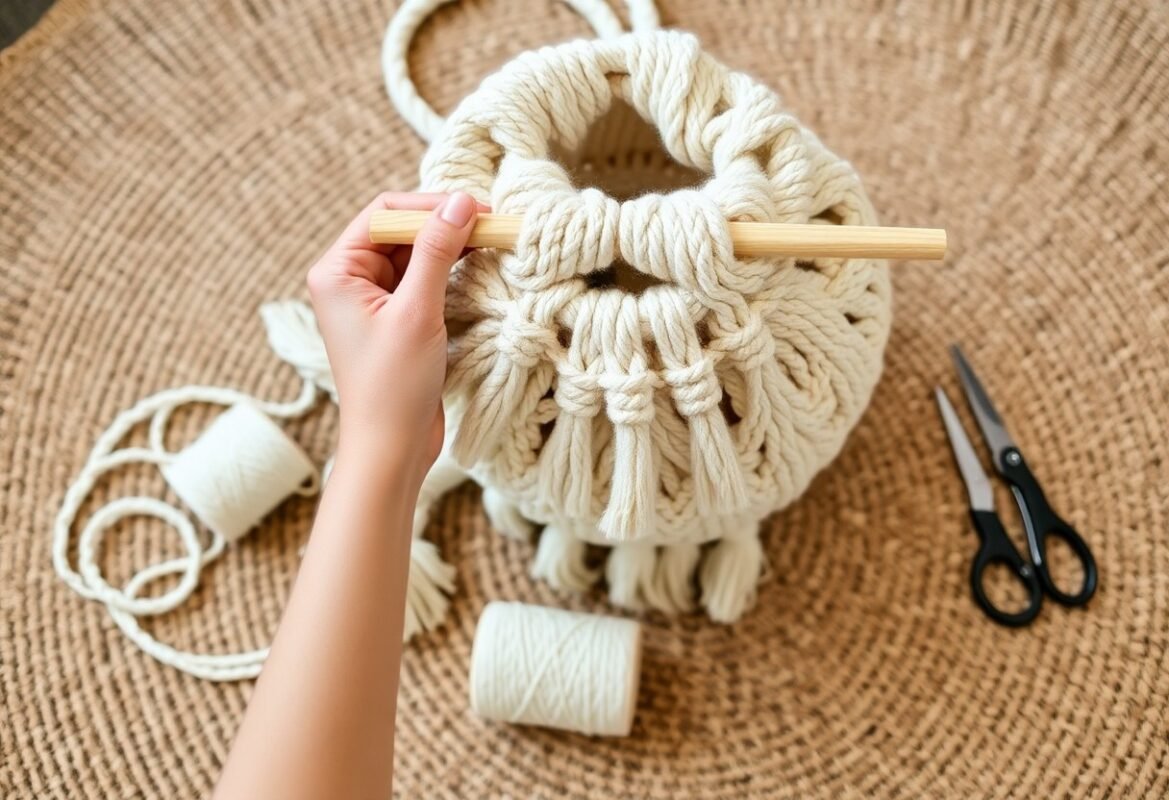
Step-by-Step Guide to Creating Your First Wall Hanging
Start by choosing a 30-50 cm wooden dowel and 3-5 mm cotton cord, then cut 10-20 cords 150-200 cm long depending on desired width; you’ll attach cords with Lark’s Head, form rows of square knots and diagonal half-hitches, add texture with alternating patterns, and finish by trimming and blocking. For visual guidance follow Macrame Wall Hanging Tutorials. Expect 2-4 hours for a 40×60 cm piece.
Step-by-Step Breakdown
| Step | What you do |
|---|---|
| Prepare | Cut cords (10-20 @150-200 cm), choose dowel (30-50 cm), set workspace of ~1 m. |
| Anchor | Attach cords with Lark’s Head, space evenly (4-6 mm between cords for tight patterns). |
| Pattern | Work rows of square knots (4 cords per knot), use diagonal half-hitches for chevrons. |
| Texture | Add spiral knots, beads, or feathering; practice 10-20 repeats to stabilize tension. |
| Finish | Trim to shape, comb fringe, block on a flat surface, and attach hanging hardware. |
Project Preparation
You should clear a 1 m-wide workspace, gather scissors, tape measure, comb, pins and a clipboard or macrame board; calculate cord length-about 4× the finished length per cord-so a 60 cm finished drop needs ~240 cm per cord; pick a dowel 30-50 cm or a branch for rustic pieces, and lay out all cords grouped by pair to visualize knot placement.
Basic Knots Explained
You’ll rely on three staples: Lark’s Head to attach cords, Square Knot (uses 4 strands) for dense panels, and Double Half Hitch for lines and chevrons; practice each knot 10-20 times to train even tension and aim for consistent spacing (about 1-1.5 cm) between knot rows.
When you focus on knot technique, pay attention to tension and hand placement: keep filler cords steady while working the outer knots, which prevents twisting; for a stable pattern alternate square knot rows (e.g., 6 knots per row) and offset the next row by 2 cords to create mesh; for diagonals, use 6-8 consecutive double half hitches to form a clean line, and count repeats so left and right chevrons mirror within 1-2 rows.
Finalizing Your Piece
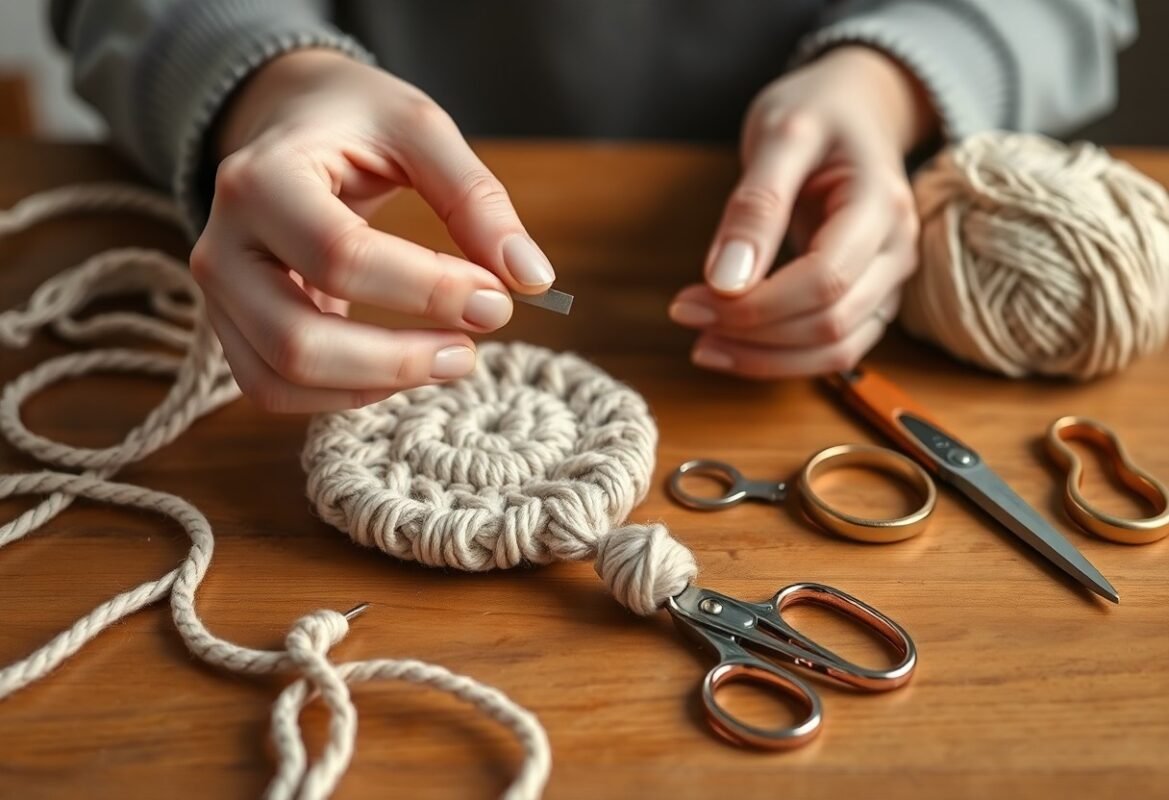
You should trim the ends with sharp scissors, comb and even the fringe, then block by pinning the hanging flat and misting lightly-drying overnight sets the shape; secure the dowel with D-rings or a length of cord and test the balance before mounting on the wall.
For professional finishing, measure the final drop and use a ruler to mark trimming points, then micro-adjust asymmetry by retying a few Lark’s Heads if needed; apply a light fabric stiffener (dilute 1:4 with water) to heavy fringes, let it dry under weight to prevent curling, and use wall anchors rated for at least 5 kg for pieces wider than 60 cm to ensure safe hanging.
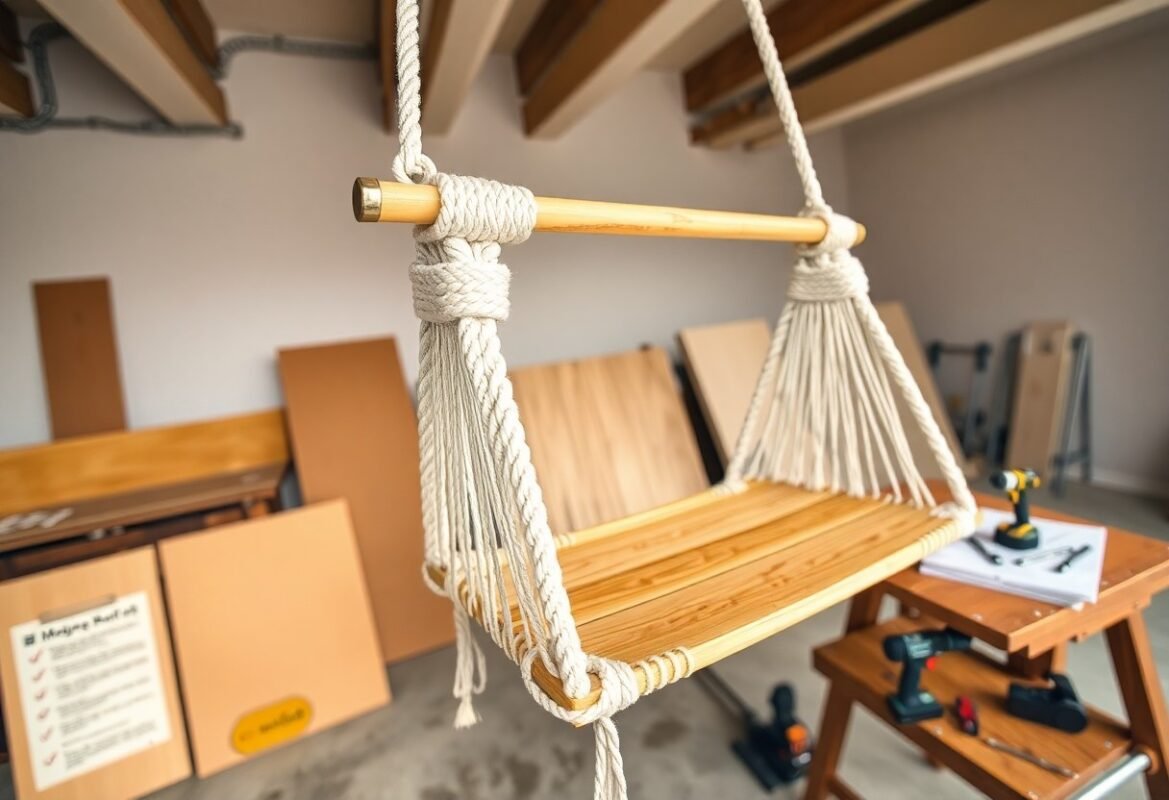
Factors to Consider Before Starting a Macrame Project
Assess scale, materials, tools and time before you start: small 30×30 cm pieces usually take 2-4 hours, medium 60×90 cm panels 6-10 hours, and large 1-1.5 m installations can exceed 12 hours. Choose cord diameter (3-5 mm for delicate fringe; 8-12 mm for bold structure) and estimate yardage-e.g., a 60 cm wide hanging often needs 20-30 m per cord bundle. Factor mounting hardware, wall type, and a $15-$60 materials budget. This planning prevents mid-project compromises.
- Measurements: width, height, clearance-measure twice and note furniture proximity;
- Cord choice: 3-5 mm for detail, 8-12 mm for structure; cotton, jute, wool affect drape;
- Mounting & weight: use studs for >5 kg pieces, toggle anchors for drywall;
- Time & skill: simple patterns 2-4 hrs, intermediate 6-10 hrs, complex 12+ hrs;
- Budget & sourcing: $15-$60 typical; check local craft shops or bulk online suppliers.
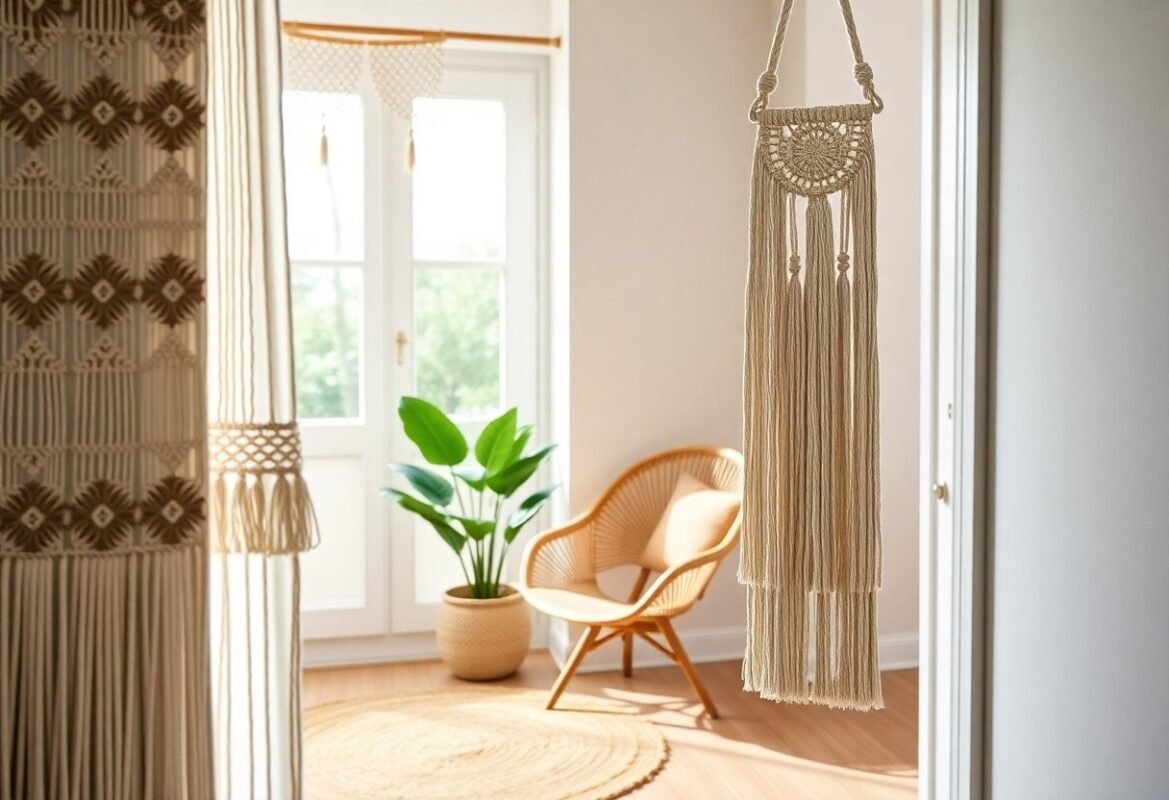
Wall Space and Placement
Place your piece at eye level, aiming for the hanging’s center about 150-160 cm from the floor; above sofas, leave 15-30 cm between the top of the furniture and the bottom of the hanging. Measure width so the work sits with a 10-20 cm margin on either side of furniture, and consider ceiling height-taller rooms suit elongated designs. Secure heavy work to studs or use rated anchors and a level for precise alignment.
Color Schemes and Textures
Choose colors based on room lighting and existing palette: north-facing rooms benefit from warm creams and ochres, while sunlit spaces can handle saturated teals or rust. Mix textures-3 mm cotton for crisp knots, 10 mm rope for bold ridges, and wool or boucle for soft, fluffy sections-to create depth. Use wooden beads or brass rings for metallic accents to introduce contrasting tones and tactile interest.
Apply the 60-30-10 rule to balance dominance, support and accents: make 60% the room’s dominant neutral (off-white or warm gray), 30% a secondary hue (sage, muted blue), and 10% an accent like deep teal or terracotta. Test a 10×10 cm knot swatch or hang a small mockup at actual distance to see how light shifts color; dye small cord batches if you need custom shades. Combine cotton for structure and wool for volume to control visual weight.
Pros and Cons of Macrame Wall Hangings
When weighing materials, cost and placement, you’ll find macrame offers flexible design and budget options: small pieces (12-18″) often take 1-3 hours to complete, while larger statements (3-4 ft) can require 6-12 hours and 3-8 yards of cord. For step-by-step beginner guidance check a trusted tutorial like macrame wallhanging for beginners, then match cord thickness and pattern to your space.
| Pros | Cons |
|---|---|
| Highly customizable-scale from 12″ to 4+ ft to fit any wall. | Can clash with ultra-minimal interiors if overly ornate. |
| Affordable supplies-basic kits often run $5-$30. | Time investment ranges from 1 hour to 12+ hours for complex pieces. |
| Adds tactile warmth and acoustic dampening to rooms. | Fibers attract dust and pet hair, increasing maintenance. |
| Many beginner-friendly patterns; good for workshops and gifts. | Advanced knots take practice; tension mistakes alter drape. |
| Portable and lightweight-easy to swap seasonally. | Fringe can tangle or fray, especially in high-traffic areas. |
| Works in many styles-boho, modern, rustic, Scandinavian. | Not ideal for humid bathrooms unless using synthetic cord. |
| Eco options available-cotton, hemp, jute. | Natural fibers can fade in direct sun or mildew if damp. |
| Easy to repair-single-knot fixes and replaceable tassels. | Requires proper hanging hardware to support larger weights. |
Advantages of Macrame Décor
You can tailor macrame to any room: choose 3-6 mm cotton for delicate patterns or 6-10 mm rope for bold statement pieces, and scale from 12″ accents to 4 ft focal hangings that anchor a sofa or bed. Many makers spend $10-50 on materials, so you achieve high-impact texture at low cost while matching color palettes, wood rods and mixed-media accents like beads or driftwood for layered looks.
Potential Challenges
You’ll face maintenance and placement issues: fibers collect dust, pets may snag fringe, and natural cords can fade in direct sun or mildew in humid spaces. Time-wise, expect 2-12 hours depending on complexity, and advanced patterns require practice to keep consistent tension and symmetry.
To manage those challenges, dry-vacuum weekly with a soft brush attachment and spot-clean stains promptly with mild detergent; for full cleanings, soak natural cotton in lukewarm water for 10-15 minutes, reshape while damp and air-dry flat. Choose synthetic cord (nylon/polypropylene) for bathrooms and sunlit rooms to resist mildew and UV fading. When hanging larger pieces, use wall anchors rated 20-50 lbs or a stud-mounted hook to avoid sagging; trim and secure frayed ends with a small knot or fabric sealant to extend lifespan.
Maintenance and Care for Macrame Art
Cleaning Tips
You can dust macramé every 4-8 weeks using a low-suction vacuum and a soft brush attachment; for deeper dirt, mix 1 tsp mild detergent per cup warm water and blot stains gently with a white cloth, avoiding overwetting. Rotate hangings every 6 months to even out sun exposure, and keep relative humidity below 60% to prevent mildew. Thou should store your piece flat in a breathable cotton bag when not displayed to preserve shape and fibers.
- Vacuum with low-suction and a soft brush attachment every 4-8 weeks to remove dust.
- Spot-clean stains with 1 tsp mild detergent per cup warm water; blot, don’t rub.
- Air-dry flat away from direct sun; keep humidity under 60% to prevent mildew.
- For delicate fibers use cold-water hand wash and lay flat to dry; synthetic cords may be heat-sealed carefully.
Repairing Damages
You can fix most minor issues yourself: re-tighten slipped square or half-hitch knots, trim frayed ends and seal synthetic cord with a heated tool, or splice in replacement lengths using a lark’s-head or gathered-wrap technique with matching 3-5mm cord; small repairs typically take 15-45 minutes.
For a slipped knot, undo surrounding knots back two repeats, re-tie using a firm square knot, and secure with a tiny drop of clear fabric glue set for 24 hours; to replace fringe, cut 30-40 cm lengths, fold and attach with lark’s-head knots, then trim evenly; consult a textile conservator for mold, insect damage, or antique pieces to avoid value loss.
Conclusion
Conclusively you now have diverse macrame wall hanging ideas and a clear DIY roadmap to personalize your space; by selecting fibers, mastering a few knot patterns, and layering textures, you can create pieces that reflect your aesthetic, scale to any room, and develop your skills with confidence as you experiment and refine techniques.
FAQ
Q: What materials and tools do I need to start a macrame wall hanging?
A: Basic supplies include macrame cord (cotton is most common) in the weight you prefer, a wooden dowel or metal ring for hanging, sharp scissors, a measuring tape, and a comb or brush for finishing fringe. Optional tools that speed up work are a macrame board with pins, a spray bottle for steaming or wetting natural fibers, and small clips to hold cords while working. Choose cord thickness based on the scale of your design: 3-4 mm for delicate pieces, 6-8 mm for medium, and 10-12 mm for bold, sculptural hangings.
Q: Which basic knots should I learn first and why?
A: Start with the lark’s head knot for attaching cords to the dowel, the square knot for flat, patterned sections, the half hitch and double half hitch for diagonal and curved lines, and the spiral knot for twisted, textured columns. Mastering these gives you the ability to create most traditional macrame patterns, mix textures, and transition smoothly between design elements without relying on complex techniques.
Q: How do I plan the size and pattern of a wall hanging before I start?
A: Measure the wall space where the piece will hang and decide on overall width and length, allowing at least 20-30% extra cord for fringe and knotting. Sketch a simple layout indicating where bands, open spaces, and accent elements will go, and calculate cord length by multiplying the finished length by 3-5 depending on knot density and technique. Make a small sample swatch with your chosen knots to verify tension, gauge, and how colors interact before cutting all cords.
Q: What color and texture choices work well for different decor styles?
A: For bohemian or layered interiors, mix natural cotton with dyed cords in earthy tones and add wooden or metal beads for contrast. Minimalist spaces benefit from monochrome or two-tone schemes and finer cords to keep lines clean. For eclectic or maximalist rooms, use bright colors, multiple cord weights, and varied materials like wool, leather, or jute to add depth. Consider the wall color and lighting: warm cords read differently in soft light than in bright daylight, so sample swatches against the actual wall.
Q: How should I mount and finish a macrame piece so it hangs straight and lasts?
A: Use a level to mark two anchor points for wide hangings or a single sturdy hook for narrow pieces. Secure the dowel or ring to the wall with anchor screws appropriate for your wall type. Finish the ends of natural fiber cords by sealing lightly with glue or whipping if you want neat ends; for a softer fringe, comb and lightly mist with water then trim evenly. If the piece relaxes or grows over time, steam or dampen the knots and retension them by tightening key rows before reshaping the fringe.
Q: What common problems occur during macrame and how can I fix them?
A: Uneven tension causes slanted patterns-correct this by loosening adjacent knots and retying with consistent finger pressure; work slowly through long runs. Tangled cords are best prevented by keeping unused strands clipped or separated and work in small groups; if tangled, lay the piece flat and untangle from the work surface outward. Fraying can be reduced by using end caps, knot wrapping, or a small amount of fabric glue; heavy fibers may require trimming and resealing ends after manipulation.
Q: How can I customize designs with embellishments and advanced techniques?
A: Add beads, driftwood, feathers, or metal rings at key junctions to introduce focal points; thread beads onto cords before knotting or attach decorative elements with lark’s head knots. Combine weaving, wrapping, and tassel-building for mixed-media texture, and experiment with macrame panels layered at different lengths for dimension. For sculptural pieces, use stiffer cord or cord wrapped around armatures, and incorporate asymmetry or negative space intentionally to create modern, gallery-style hangings.